 Vitalii Holben
How to take a website screenshot with Node.js
Learn how to capture website screenshots in Node.js using Playwright, Puppeteer, and a screenshot API. Step-by-step code examples with real output: full-page captures, custom viewports, mobile emulation, cookie banner handling, and production gotchas.
Today I'll show you how to take a screenshot of a web page using Node.js. We'll go through actual implementation, look at what can go wrong, and figure out how to deal with it.
In this guide we'll cover three working approaches: Playwright, Puppeteer, and a screenshot API. We'll start with the simplest script and then step by step work our way up to full-page captures, custom viewport sizes, mobile emulation, and even try to get around cookie banners and lazy-loaded page elements. Fair warning: this guide is long, but it covers a lot of ground and you'll pick up some things you probably haven't seen before.
To keep things clear, we'll run scripts step by step, add features one at a time, and look at the output after each change. Let's get started.
Before we start
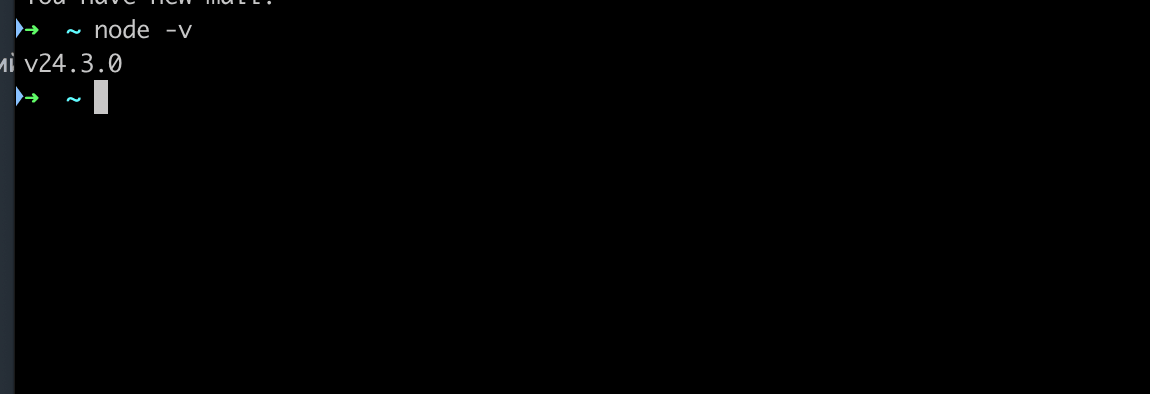
You need Node.js 18 or newer. Let's check:
node -vIf you see v18 or higher, you're good. Otherwise grab the latest LTS from nodejs.org. Here's what I've got at the moment:
Works for us. Now create the project folder:
mkdir screenshots
cd screenshots
npm init -y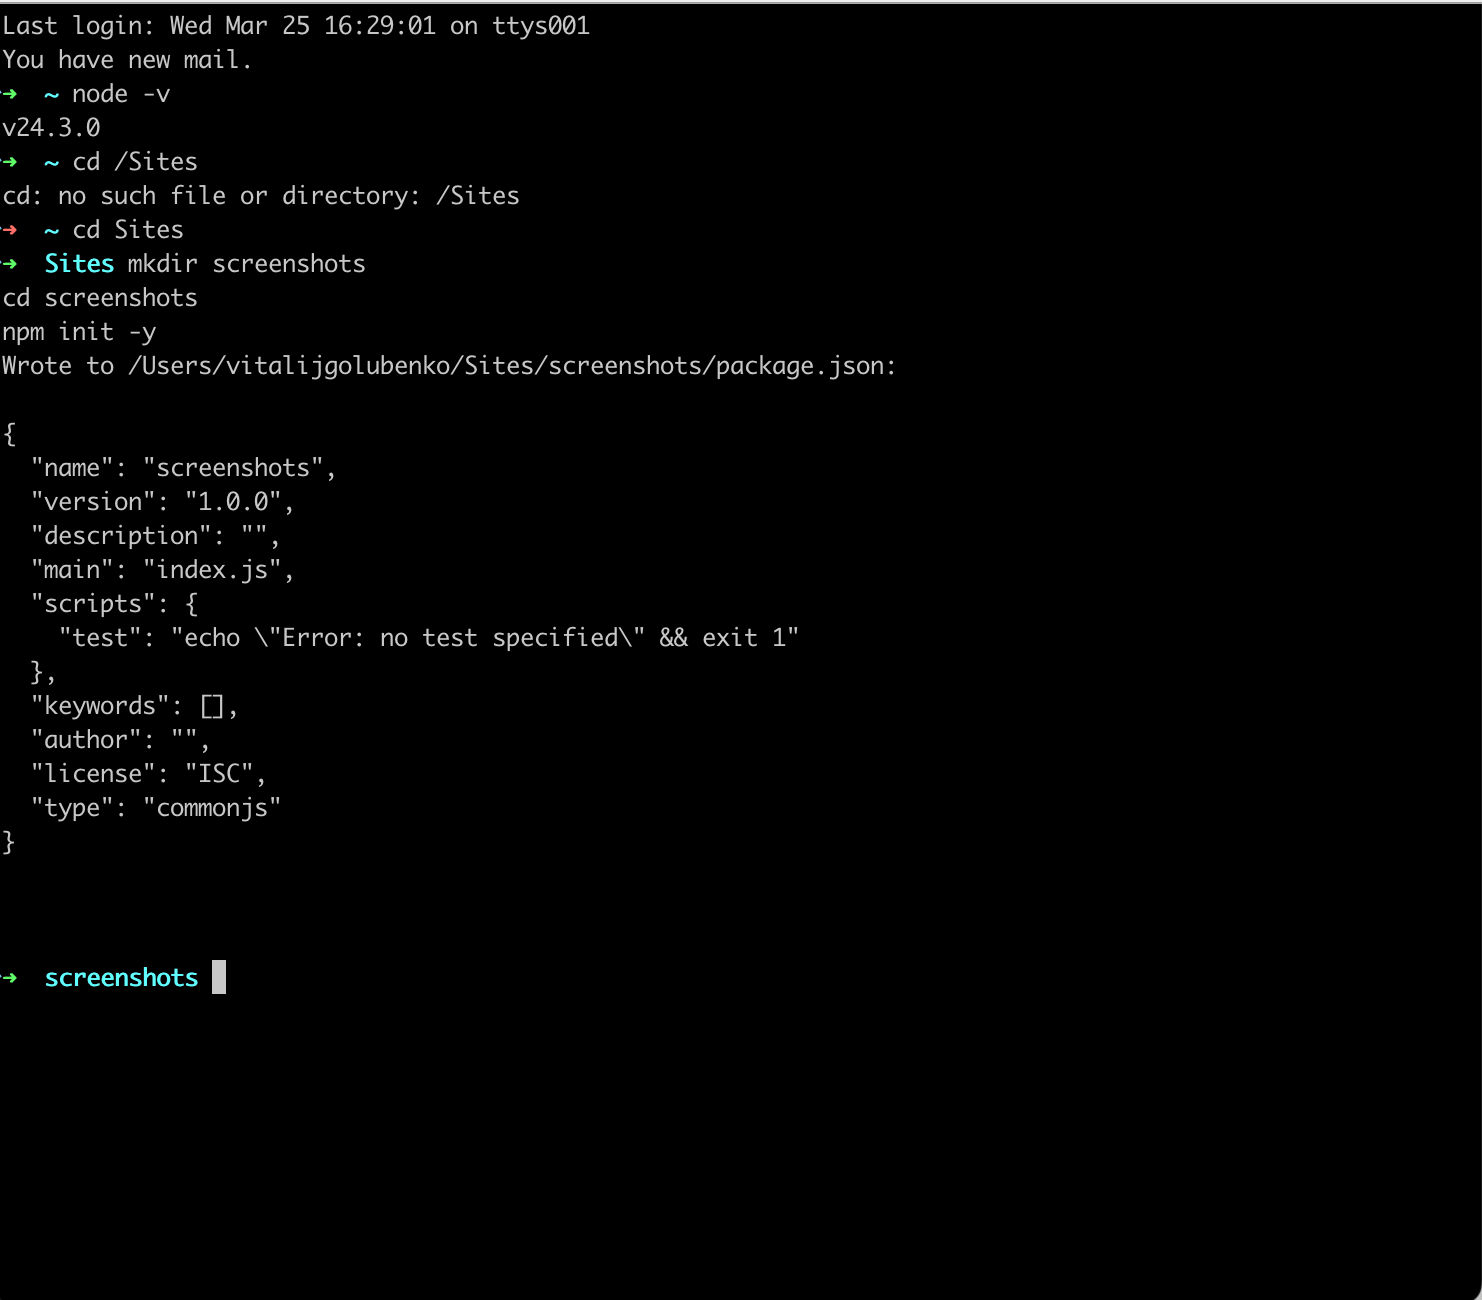
Folder created, we're inside it. Let's move on.
Method 1: Playwright
Playwright is my go-to tool for browser automation. It's maintained by Microsoft, supports Chromium, Firefox, and WebKit out of the box, and the API is clean. Install it:
npm install playwrightThis downloads Chromium, Firefox, and WebKit binaries. About 400-500 MB total. If you only need Chromium, you can save time:
npx playwright install chromiumBasic screenshot
Create a file called screenshot.js:
const { chromium } = require('playwright');

(async () => {
  const browser = await chromium.launch();
  const page = await browser.newPage();
  await page.goto('https://github.com');
  await page.screenshot({ path: 'github.png' });
  await browser.close();
  console.log('Ready. github.png');
})();
Run it:
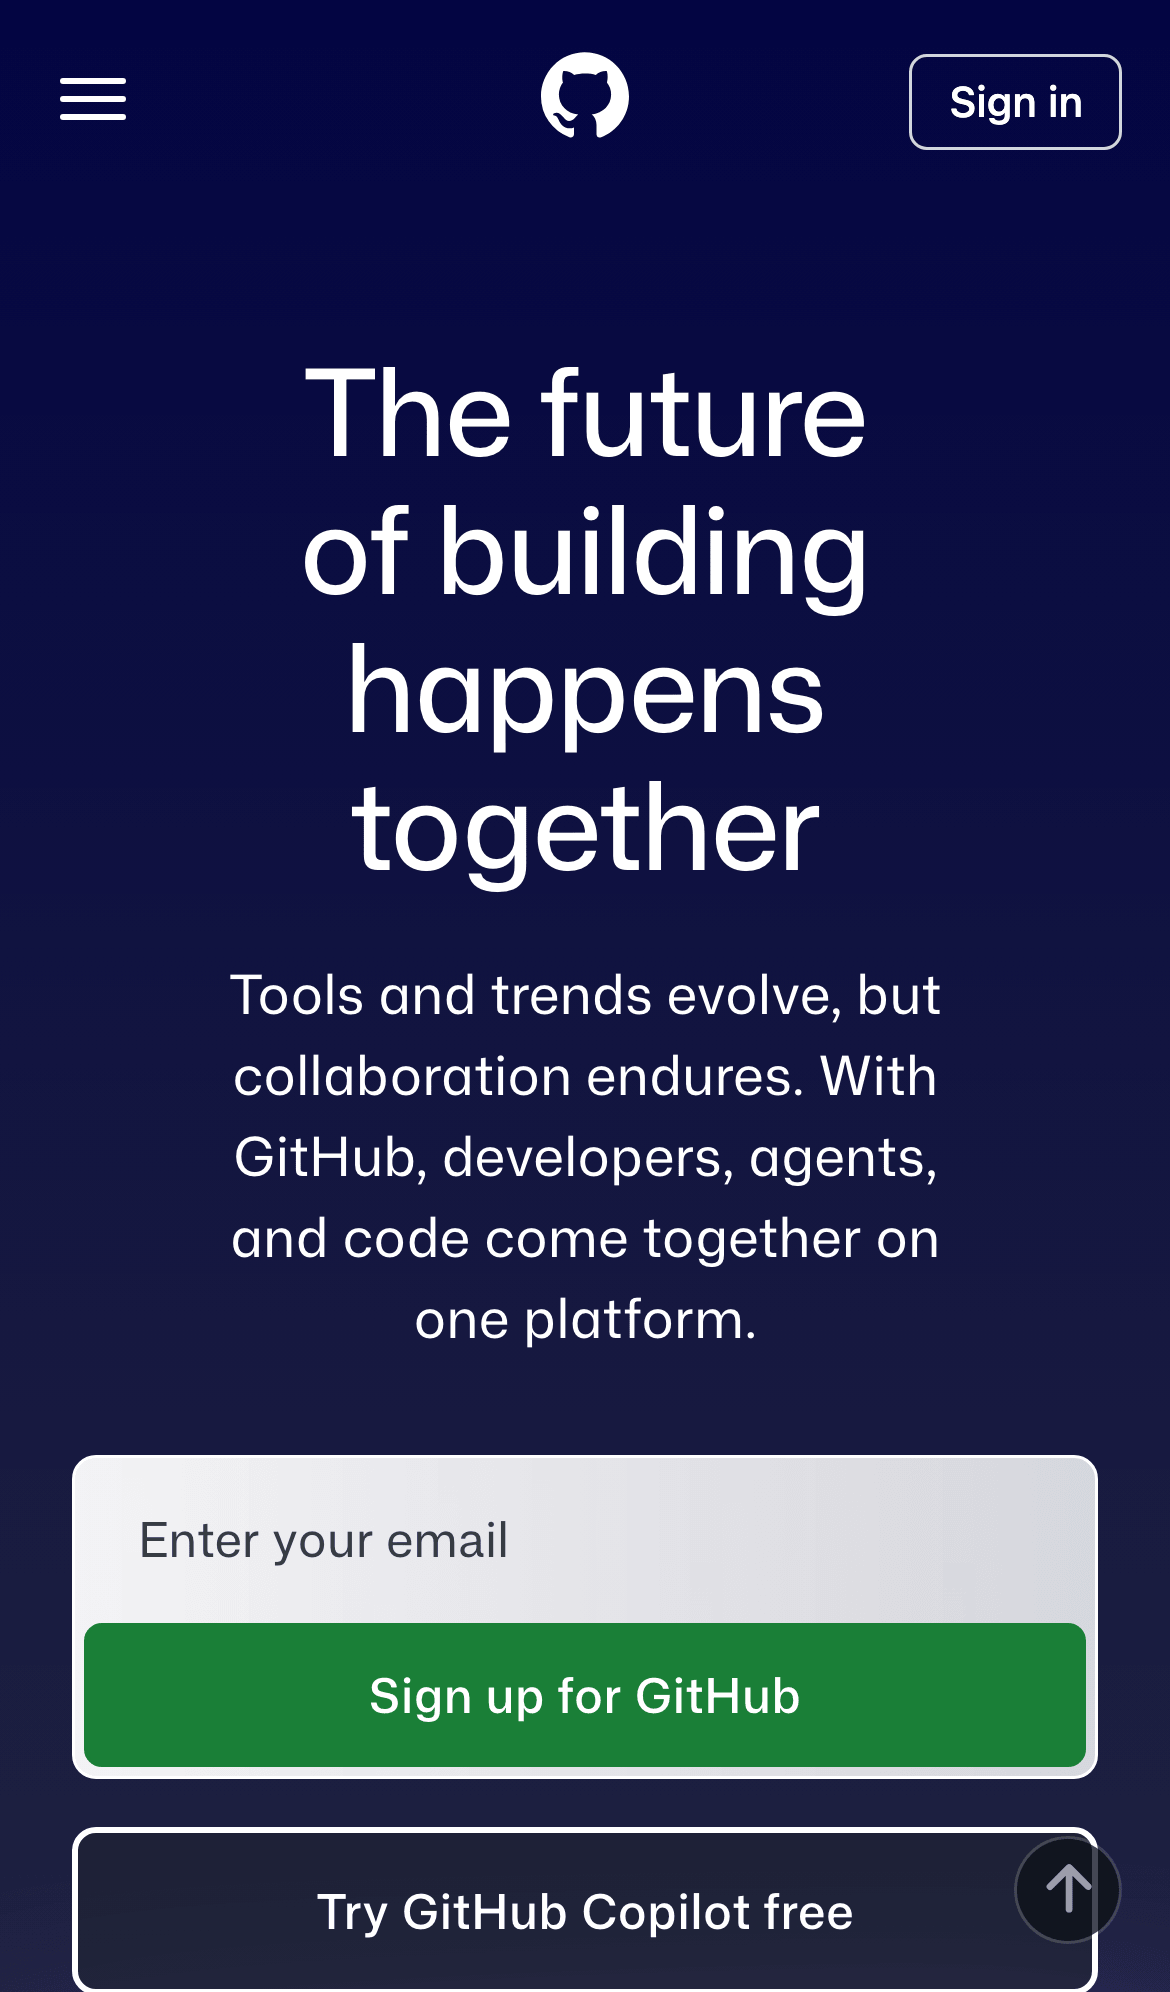
node screenshot.jsA couple of seconds and it's done. An image file appears in the project directory. Let's open it:
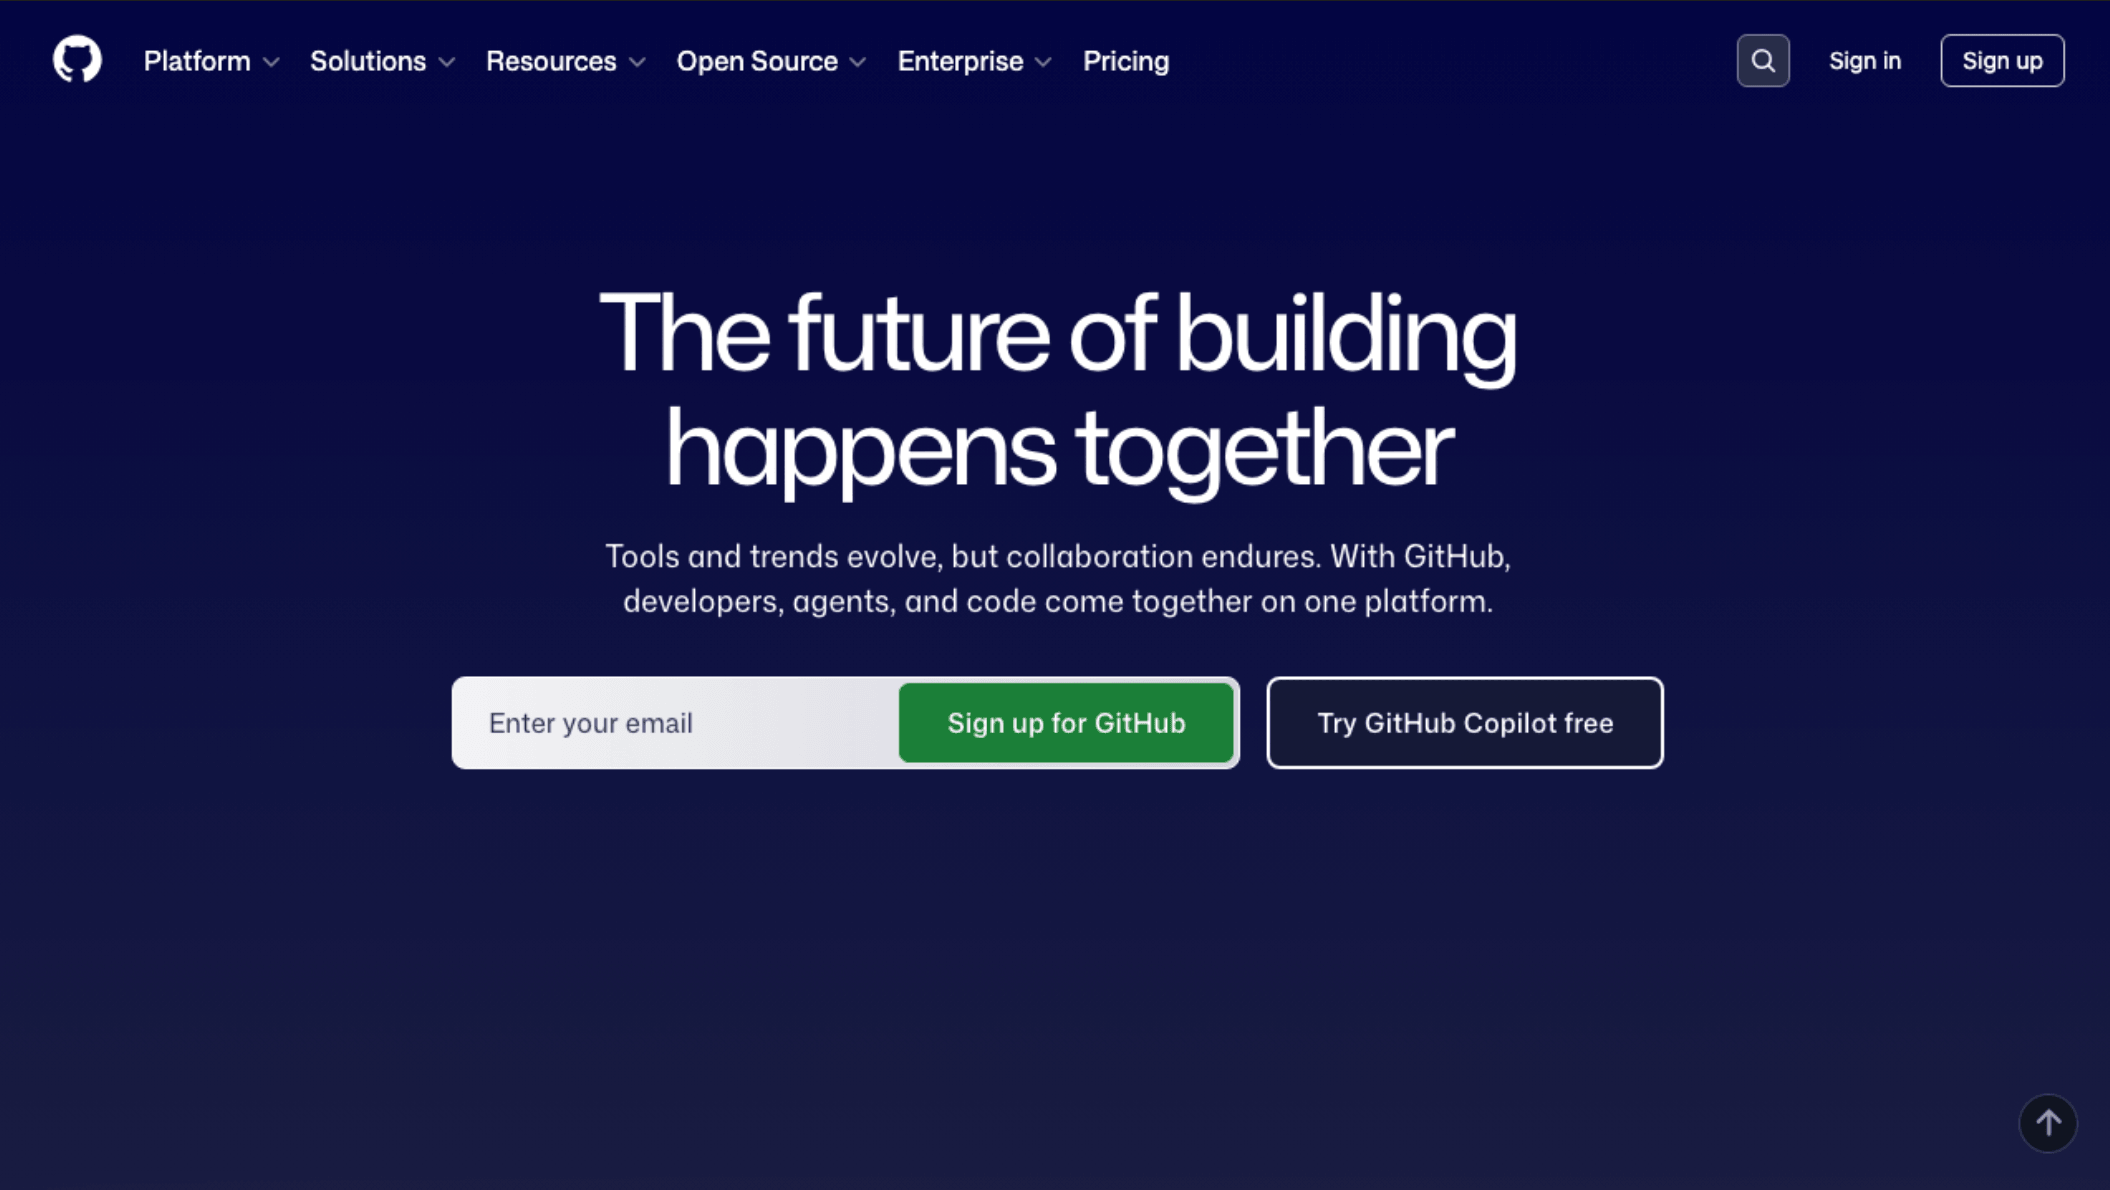
We've got our first result: an image at 1280x720 pixels. That's Playwright's default viewport. The screenshot captured only what fits in this viewport, roughly the top part of the page. Where 720 pixels ended, the image got cut off.
Obviously that's not quite what we want, so let's keep going.
Full-page screenshot
Usually you need the entire page, not just what fits in the window. Let's fix that. We only need to change one line:
const { chromium } = require('playwright');
(async () => {
const browser = await chromium.launch();
const page = await browser.newPage();
await page.goto('https://github.com');
await page.screenshot({
path: 'github-full.png',
fullPage: true
});
await browser.close();
console.log('Ready. github-full.png');
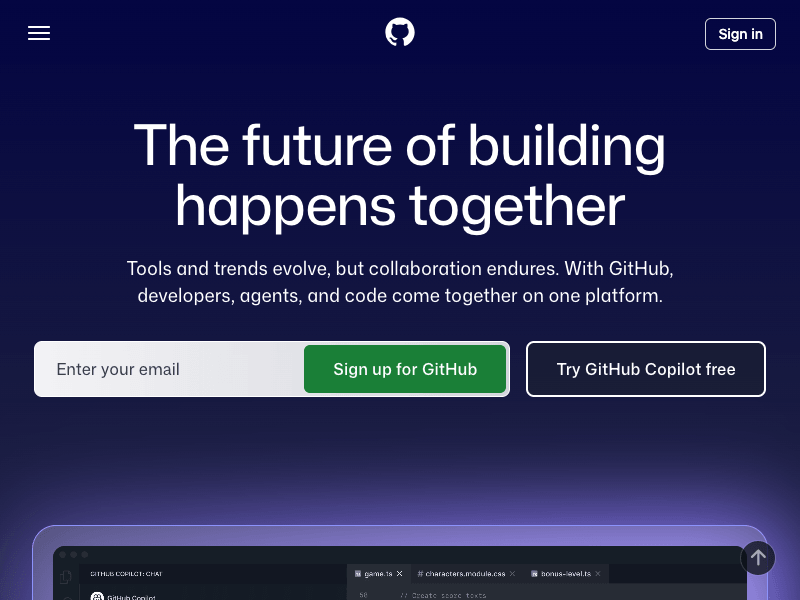
})();Run it again with node screenshot.js and open the result:
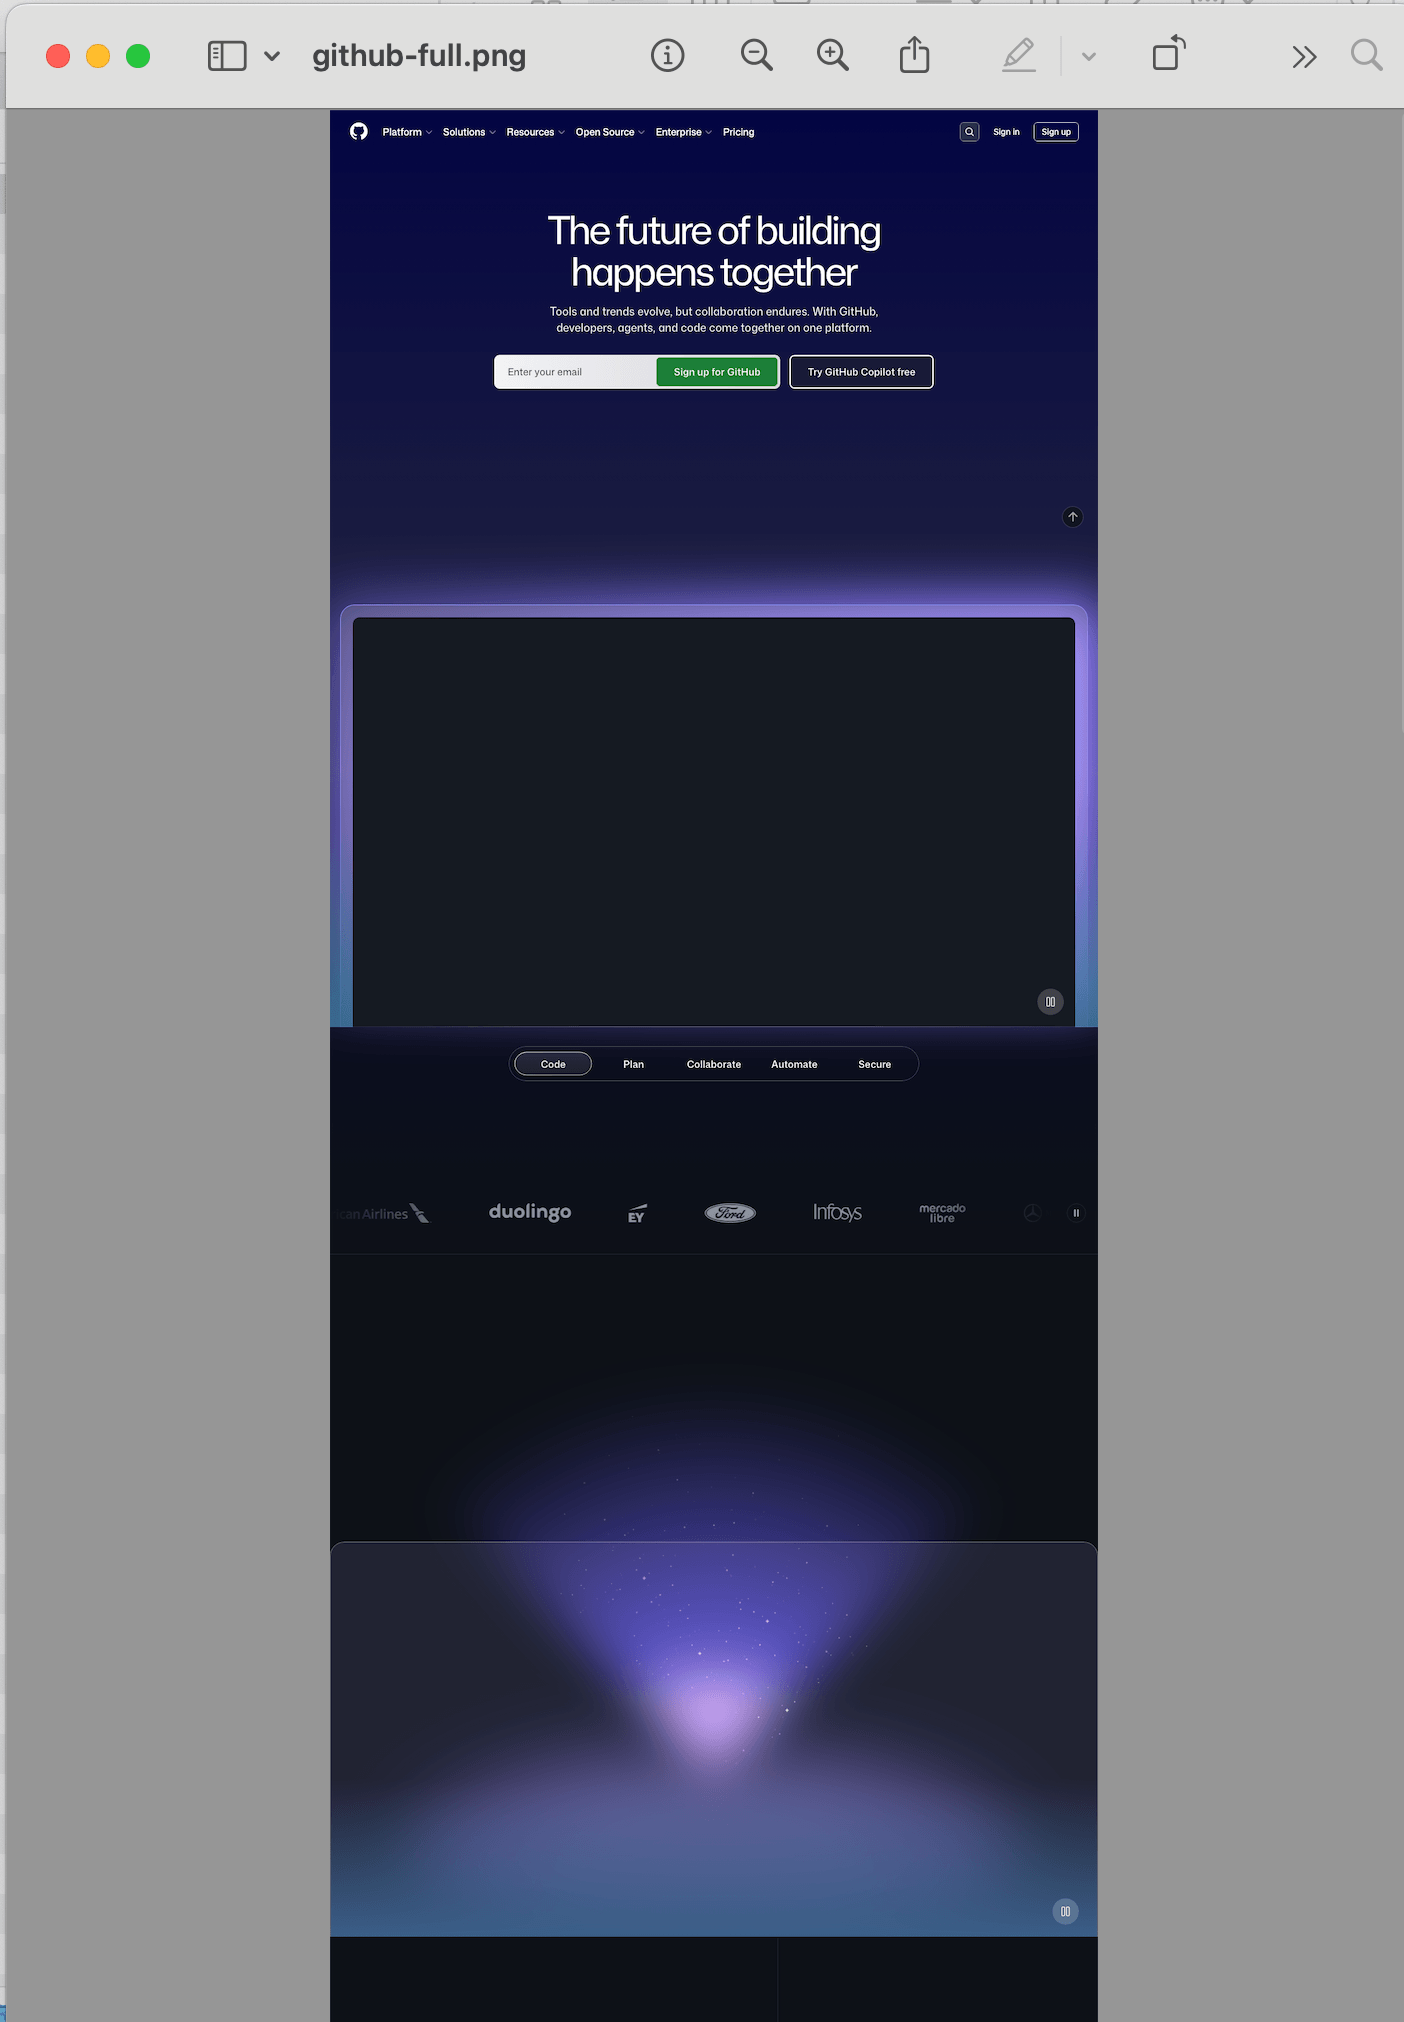
The image is now much taller, from the header all the way down to the footer. Width stays the same (1280px), height is whatever the page needed.
One thing to keep in mind: Chromium has a hard limit on screenshot height of 16,384 pixels. If the page is longer than that, the content will start repeating. This is a browser limitation, not a Playwright bug. For very long pages you'll need to capture them in chunks. But we're getting decent results already. Let's keep going.
Custom viewport size
1280x720 might not work for you. Say you need a screenshot that looks like a 1920x1080 desktop monitor:
const { chromium } = require('playwright');
(async () => {
const browser = await chromium.launch();
const page = await browser.newPage({
viewport: { width: 1920, height: 1080 }
});
await page.goto('https://github.com');
await page.screenshot({ path: 'github-1080p.png' });
await browser.close();
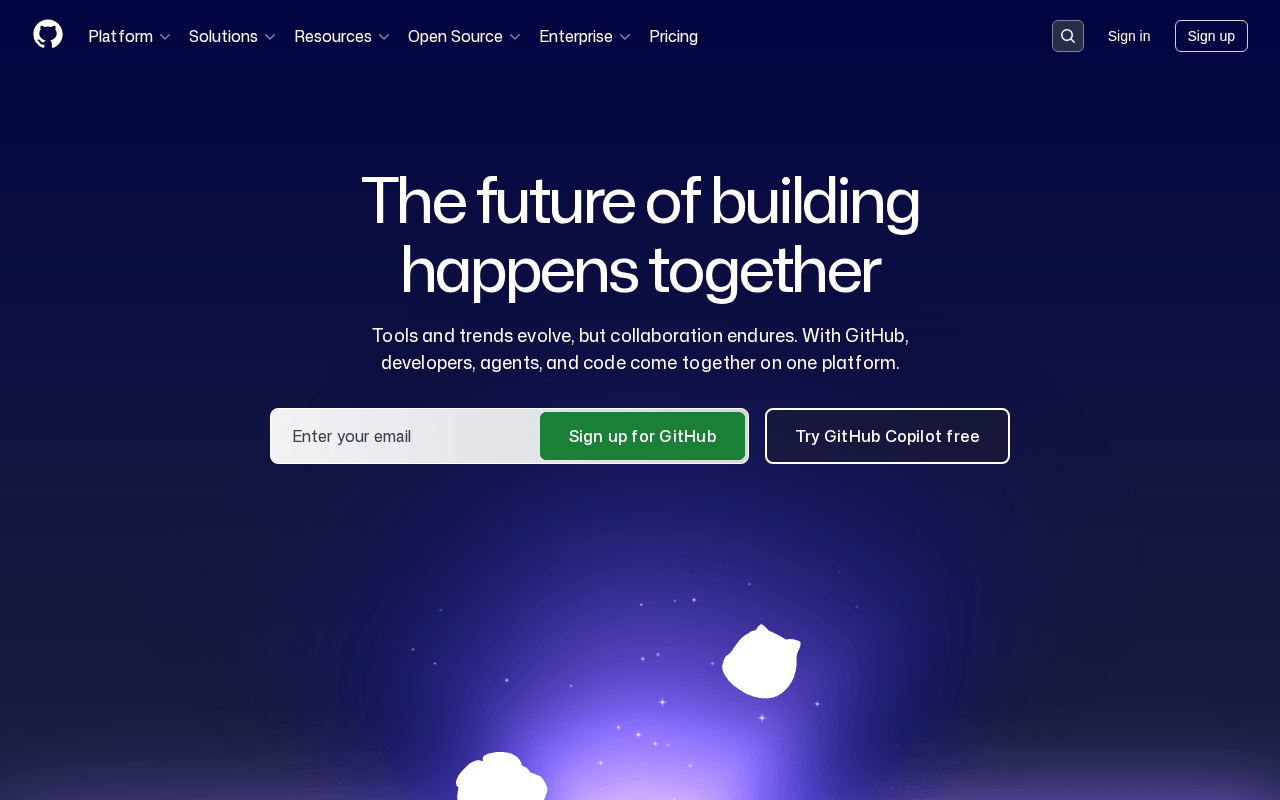
})();Run the script and open the result:
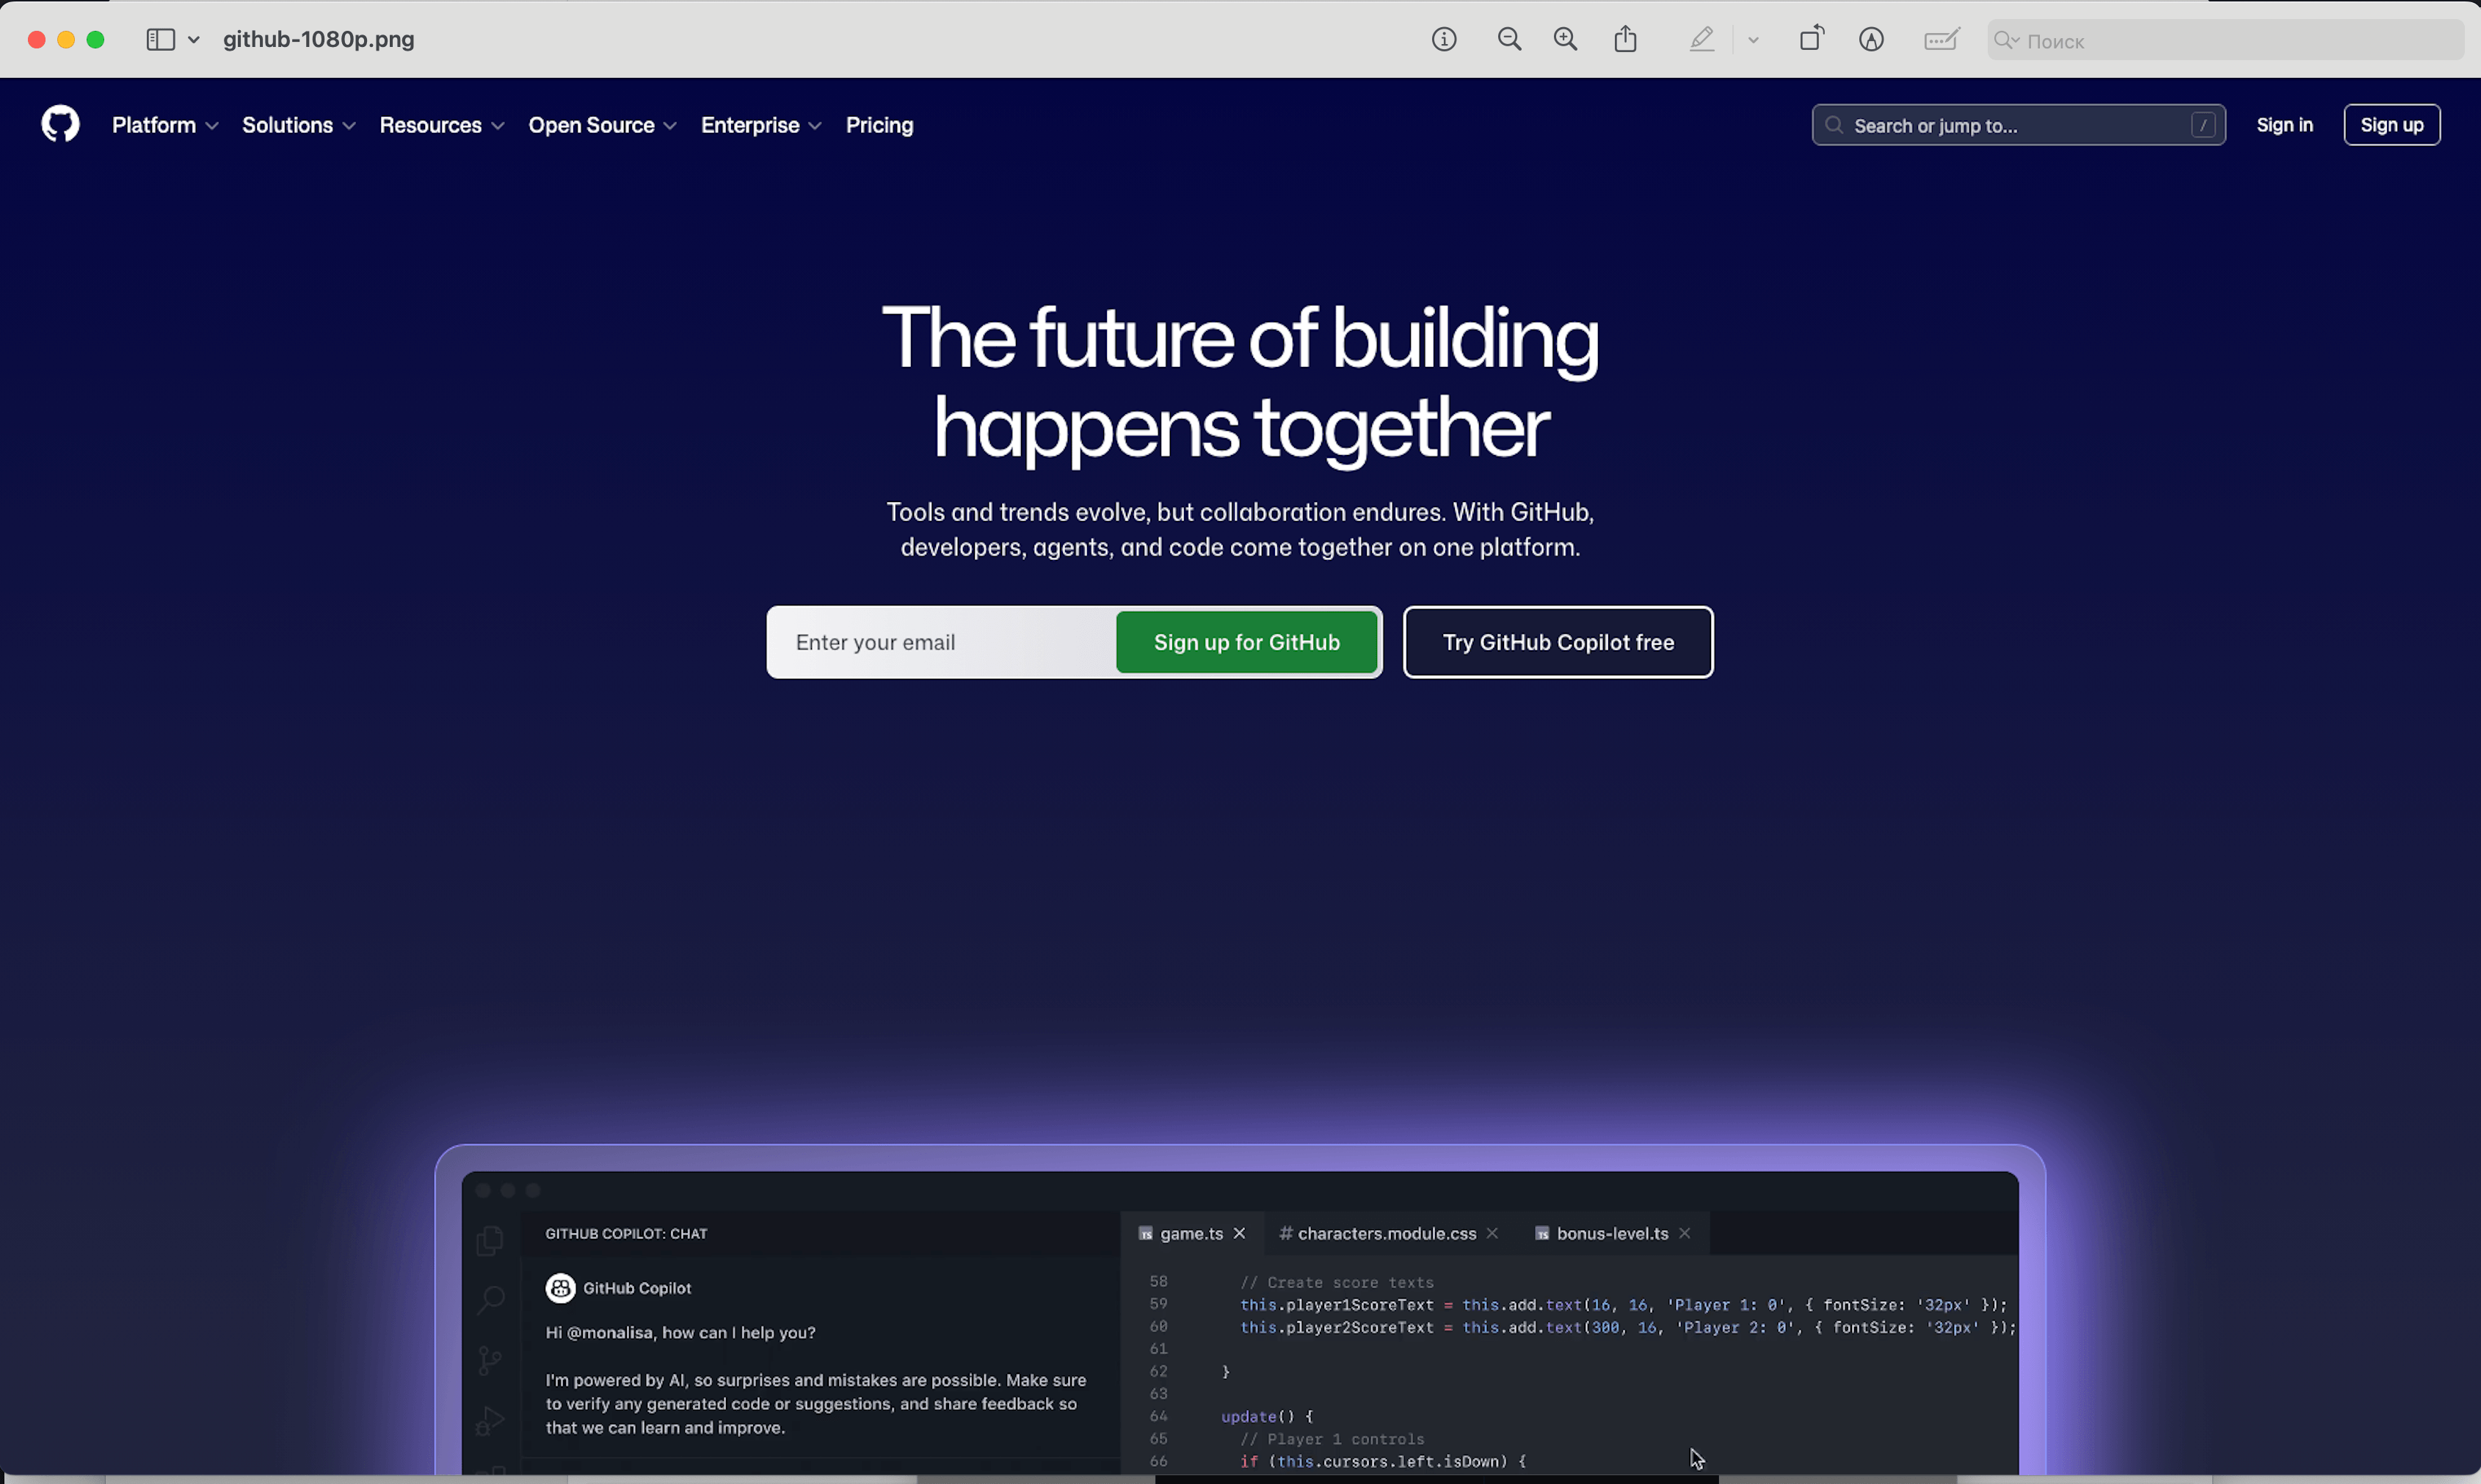
The page now renders at 1920px width. If the site has a max-width container of 1200px, you'll see whitespace on the sides, exactly like on a real monitor.
Mobile screenshot
Playwright has built-in device profiles. Each one sets the viewport, user agent, pixel density, and touch support:
const { chromium, devices } = require('playwright');
const iPhone = devices['iPhone 14'];

(async () => {
  const browser = await chromium.launch();
  const context = await browser.newContext({
    ...iPhone
  });
  const page = await context.newPage();
  await page.goto('https://github.com');
  await page.screenshot({ path: 'github-mobile.png' });
  await browser.close();
})();
The page looks like you'd see it on an actual phone: hamburger menu instead of the navigation bar, mobile layout, touch-friendly spacing. The dimensions match the iPhone viewport (390x844 at 3x device pixel ratio).
Waiting for content to load
This is where a lot of people get tripped up. You run the script, get a screenshot, and half the page is blank. Images didn't load, dynamic content didn't render, there's a spinner in the middle of the screen.
The problem is that page.goto() by default waits for the load event. It fires when the HTML and its resources are loaded. But it says nothing about JavaScript that runs after load, lazy images, or data fetched from APIs.
The most reliable option for screenshots is networkidle:
await page.goto('https://example.com', {
  waitUntil: 'networkidle'
});
With this setting, it waits until there are no network requests for 500ms. Yes, it slows things down, but you get practically all the dynamic content in the output.
It gets even better though. If you know exactly what you're waiting for, you can specify it in the code:
// Wait for a specific element to appear
await page.goto('https://example.com');
await page.waitForSelector('.main-content');
await page.screenshot({ path: 'screenshot.png' });
Or just add a delay (not ideal, but sometimes necessary):
await page.goto('https://example.com');
await page.waitForTimeout(3000); // wait 3 seconds
await page.screenshot({ path: 'screenshot.png' });
Working with different formats: JPEG and PDF
By default screenshots are saved as PNG. But sometimes you need a different format. If file size matters, JPEG can be 3-5x smaller:
await page.screenshot({
  path: 'screenshot.jpg',
  type: 'jpeg',
  quality: 80
});
Or even PDF:
await page.pdf({
  path: 'page.pdf',
  format: 'A4'
});
Worth mentioning: PDF only works with Chromium. Firefox and WebKit in Playwright don't support it.
Method 2: Puppeteer
Puppeteer is the other popular option. It's maintained by Google, works with Chrome and Chromium. The API is very similar to Playwright, because Playwright was originally built by the same people who created Puppeteer.
npm install puppeteerDownloads Chromium (about 170 MB). If you already have Chrome installed:
npm install puppeteer-coreThen you point it to the binary manually.
Basic screenshot
Same pattern, let's try making a basic screenshot:
const puppeteer = require('puppeteer');

(async () => {
  const browser = await puppeteer.launch();
  const page = await browser.newPage();
  await page.goto('https://github.com');
  await page.screenshot({ path: 'github-puppeteer.png' });
  await browser.close();
})();
Puppeteer's default viewport is 800x600. That's narrower than Playwright's 1280x720. This catches some people off guard: the screenshot comes out narrow and the layout might switch to a tablet or even mobile breakpoint.
Just like in Playwright, you can set the size manually:
const browser = await puppeteer.launch();
const page = await browser.newPage();
await page.setViewport({ width: 1280, height: 720 });
await page.goto('https://github.com');
await page.screenshot({ path: 'github-puppeteer.png' });
await browser.close();
Full-page screenshot
await page.screenshot({
  path: 'github-full-puppeteer.png',
  fullPage: true
});
Same fullPage: true flag. Same 16,384 pixel height limit.
Dealing with cookie banners
These days pretty much every European website shows a GDPR banner, because the law requires it. Neither Playwright nor Puppeteer can block them out of the box, but there are two workarounds:
Option 1: Click the banner before taking the screenshot.
await page.goto('https://example.com', { waitUntil: 'networkidle0' });

// Try clicking "Accept" if the banner exists
try {
  await page.click('[class*="cookie"] button', { timeout: 3000 });
  await page.waitForTimeout(1000);
} catch (e) {
  // No banner found, that's fine
}

await page.screenshot({ path: 'clean.png' });
This is pretty unreliable. Every site has its own banner, its own selectors, its own button text.
Option 2: Hide the banner with CSS.
await page.goto('https://example.com', { waitUntil: 'networkidle0' });

await page.addStyleTag({
  content: `
    [class*="cookie-banner"],
    [class*="consent"],
    [id*="cookie"],
    .cc-window,
    #onetrust-banner-sdk {
      display: none !important;
    }
  `
});

await page.screenshot({ path: 'no-banner.png' });
The trouble with this approach is that you'll keep adding new selectors as you hit new sites. And the banners themselves change over time, so the selectors you're clicking also change. It's a task that sounds simple but turns into endless maintenance at scale. Honestly, there's no clean solution yet beyond specifying which button selector to click to close the banner window.
Playwright or Puppeteer: which one to pick?
If you're starting from scratch, I'd go with Playwright.
Playwright supports three browser engines (Chromium, Firefox, WebKit). Puppeteer only does Chromium. Playwright has smarter auto-waiting, so you spend less time looking for the right screenshot delay to let all dynamic or animated elements load. Device emulation is built into both, and both keep it up to date.
Puppeteer works fine too. If you've already got a working Puppeteer setup, there's no reason to rewrite it. The screenshot API between the two is nearly identical. But for a new project, Playwright gives you more out of the box.
Real problems in production
So we know how to take screenshots. At first glance it doesn't seem that hard. But here's what happens when you move from "ran a script on my laptop" to "500 screenshots a day on a server".
Memory. Each Chromium instance eats 200-400 MB of RAM. 10 screenshots in parallel means 2-4 GB just for the browsers. Like any Node.js process, it will eventually crash with OOM, especially if you don't manage instances manually, don't reuse pages, and don't set up a queue.
Timeouts. Some pages take 15 seconds to load. Some will never finish loading because of an infinite spinner or a broken third-party script. You need timeout handling, retry logic, and realistically you'll never get it fully debugged.
Fonts. Headless Chromium on a Linux server doesn't have the same fonts as your Mac. Screenshots in production will look different. You need to install font packages (at minimum fonts-liberation, fonts-noto-cjk for CJK support) or use a Docker image that has them preinstalled.
Cookie banners, popups, chat widgets. We covered this above. Solvable for a single site, but across hundreds of different sites it becomes a job in itself.
These aren't theoretical problems. I ran into every one of them while building Screenshotrun. The screenshot rendering itself is the easy part. Everything around it is where the complexity lives.
Method 3: Screenshot API
If you don't want to deal with Chromium instances, fonts, queues, and cookie banner hacks, a screenshot API handles all of that for you. You send an HTTP request with a URL, you get an image back.
Here's how it looks with Screenshotrun. One HTTP call:
const https = require('https');
const fs = require('fs');

const apiKey = 'YOUR_API_KEY';
const url = encodeURIComponent('https://github.com');

const requestUrl =
  `https://api.screenshotrun.com/v1/screenshots/capture?url=${url}&response_type=image`;

const options = {
  headers: { Authorization: `Bearer ${apiKey}` },
};

https.get(requestUrl, options, (res) => {
  const chunks = [];
  res.on('data', (chunk) => chunks.push(chunk));
  res.on('end', () => {
    fs.writeFileSync('github-api.png', Buffer.concat(chunks));
    console.log('Ready. github-api.png');
  });
});
Just don't forget to put in your own API key, which you can get for free, along with 200 screenshots per month.
Run it and open the file:
Clean screenshot. No Chromium download, no font issues, no memory management. The API handles cookie banners on its own, waits for dynamic content to load, and returns a ready-to-use image.
Using fetch (Node.js 18+)
If you prefer the fetch API that ships with Node.js 18:
const fs = require('fs');

const apiKey = 'YOUR_API_KEY';
const targetUrl = encodeURIComponent('https://github.com');

async function takeScreenshot() {
  const response = await fetch(
    `https://api.screenshotrun.com/v1/screenshots/capture?url=${targetUrl}&response_type=image`,
    {
      headers: { Authorization: `Bearer ${apiKey}` },
    }
  );
  const buffer = Buffer.from(await response.arrayBuffer());
  fs.writeFileSync('github-fetch.png', buffer);
  console.log('Ready. github-fetch.png');
}

takeScreenshot();
Custom size and format
Pass parameters in the query string:
const fs = require('fs');

const params = new URLSearchParams({
  url: 'https://github.com',
  width: '1920',
  height: '1080',
  format: 'webp',
  full_page: 'true',
  response_type: 'image'
});

async function takeScreenshot() {
  const response = await fetch(
    `https://api.screenshotrun.com/v1/screenshots/capture?${params}`,
    {
      headers: { Authorization: 'Bearer YOUR_API_KEY' },
    }
  );
  const buffer = Buffer.from(await response.arrayBuffer());
  fs.writeFileSync('github-full.webp', buffer);
}

takeScreenshot();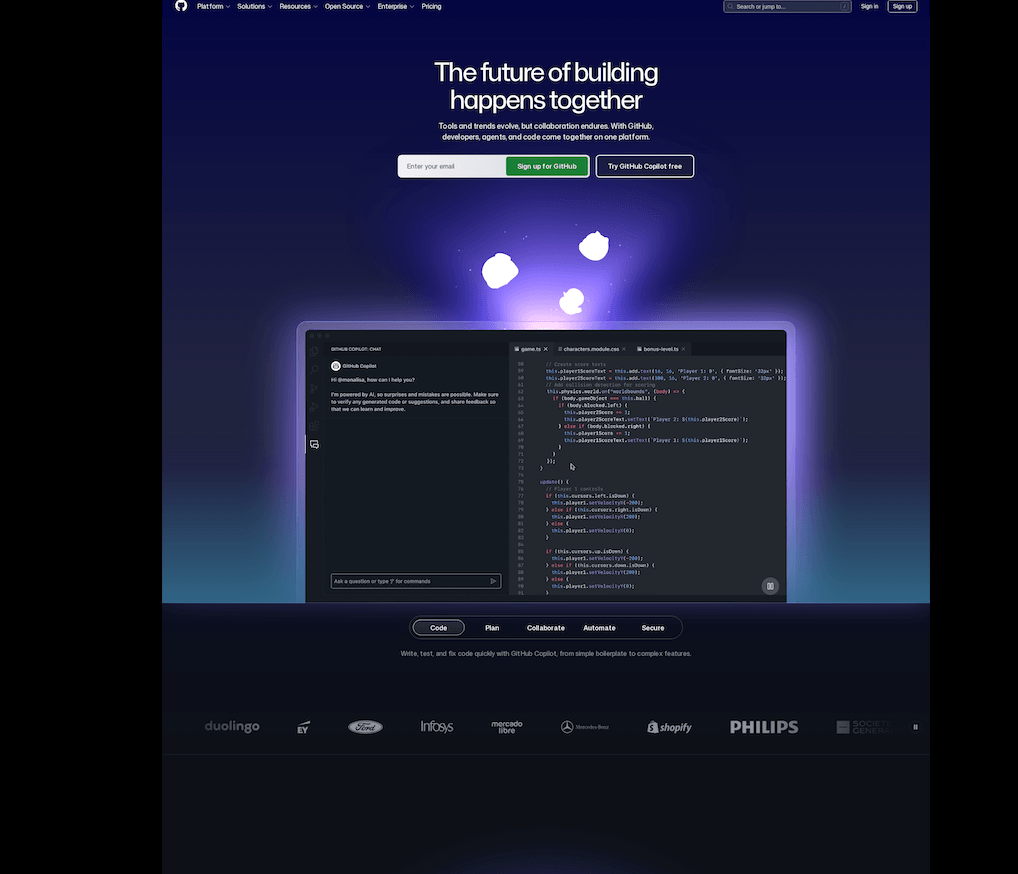
You get a full-page WebP screenshot at 1920px wide. The API does all the work: launches a browser, waits for the page to load, scrolls through to trigger lazy images, captures the result, and sends it back.
Mobile screenshots via API
const fs = require('fs');

const params = new URLSearchParams({
  url: 'https://github.com',
  width: '390',
  height: '844',
  device: 'mobile',
  response_type: 'image'
});

async function takeScreenshot() {
  const response = await fetch(
    `https://api.screenshotrun.com/v1/screenshots/capture?${params}`,
    {
      headers: { Authorization: 'Bearer YOUR_API_KEY' },
    }
  );
  const buffer = Buffer.from(await response.arrayBuffer());
  fs.writeFileSync('github-mobile-api.png', buffer);
}

takeScreenshot();
No need to maintain a device list or configure user agents. Just pass the dimensions.
When to use what
Playwright or Puppeteer if you need screenshots occasionally, everything runs locally, and you're willing to maintain the infrastructure. Good for testing, one-off tasks, or when you need full browser control (clicking through forms, filling fields, interacting with the page before capturing).
Screenshot API if screenshots are part of your product, you need them at scale, or you just don't want to deal with headless browser infrastructure. You trade some flexibility for zero maintenance.
There's no universal answer. In my own projects I use Playwright in development and testing, and the API in production where reliability and speed matter more than saving a few cents per request.
Comparison
| Playwright | Puppeteer | Screenshot API | |
|---|---|---|---|
| Install size | ~400 MB | ~170 MB | 0 (HTTP request) |
| Browsers | Chromium, Firefox, WebKit | Chromium only | Managed for you |
| Default viewport | 1280x720 | 800x600 | 1280x720 (configurable) |
| Full-page capture | Yes | Yes | Yes |
| Cookie banners | Manual | Manual | Automatic |
| Fonts on Linux | Install yourself | Install yourself | Handled |
| Scaling to 1000+/day | Your infrastructure | Your infrastructure | Handled |
| Cost | Free (+ server costs) | Free (+ server costs) | Free tier, then paid |
Try Screenshotrun
If you want to try the API approach, Screenshotrun gives you 200 free screenshots per month. No credit card, no setup. Sign up, grab your API key from the dashboard, and paste it into any of the code examples above.
The API also supports WebP output, dark mode, ad blocking, custom CSS injection, and webhooks for async rendering. Full documentation here.
How to handle screenshot API responses in production
A 200 OK from a screenshot API doesn't mean you got a screenshot — the transport and render layers fail independently. Which status codes to retry and which not, backoff with jitter, respecting Retry-After, catching blank images that pass as a 200, and a circuit breaker. Node.js code throughout.
Read more →
Screenshot API rate limiting strategies in production
Most rate limiting guides only cover retry strategies. That's only half the problem. Five concrete strategies — proactive (token bucket, queue) and reactive (Retry-After, exponential backoff, circuit breaker) — with Node.js code.
Read more →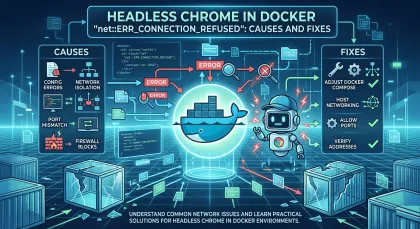
Headless Chrome "net::ERR_CONNECTION_REFUSED" in Docker: causes and fixes
ERR_CONNECTION_REFUSED in headless Chrome inside Docker isn't one error — it's five different network problems sharing the same message. Diagnose with one curl from inside the container, then fix per cause.
Read more →