 Vitalii Holben
How to take a website screenshot with PHP
How to capture website screenshots from PHP using headless Chrome via Puppeteer and Node.js. Step-by-step setup from installing dependencies to a reusable PHP function with viewport and full-page options.

I want to walk you through the full process of taking website screenshots from PHP today. Open a terminal, install dependencies, write code, run it, get a PNG file with a screenshot — the whole path from an empty folder to a working result.
Why would you even need this? Link previews for a directory site, automated OG images, screenshots for client reports, visual monitoring. Sooner or later a PHP project needs to turn a URL into an image.
The problem is that PHP can't render web pages on its own — there's no browser engine built in. So we'll need a helper, and the most common one is headless Chrome through Puppeteer. Puppeteer is a Node.js package, which means we'll end up running Node alongside PHP. That sounds like extra moving parts, and it is, but the setup is smaller than you'd think.
Install Node.js for headless Chrome
First things first — we need Node.js. Puppeteer won't run without it.
If you're on macOS with Homebrew, one command:
brew install nodeOn Ubuntu it's a bit longer:
curl -fsSL https://deb.nodesource.com/setup_20.x | sudo -E bash -
sudo apt-get install -y nodejs
Quick check that everything installed:
node -v
npm -v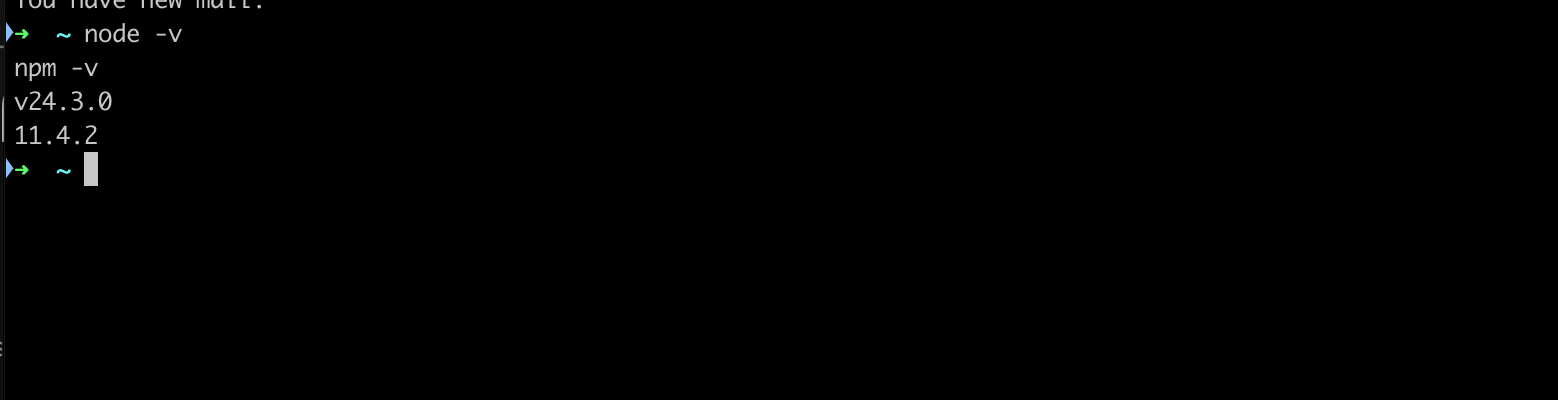
Version numbers visible? Then we're good to move on.
Set up Puppeteer and download Chromium
Now we need a separate folder for our screenshot tool. I usually put it next to the PHP project, but it doesn't really matter where.
mkdir screenshot-tool
cd screenshot-tool
npm init -y
npm install puppeteer
This will take a minute. Puppeteer downloads a full Chromium binary during installation, somewhere between 170 and 400 megabytes depending on your OS. It's a chunky package, but that's the price of getting a real browser you can control from code.
If you're on Ubuntu, Chrome might fail to launch the first time because it needs system libraries that aren't there on a fresh install:
sudo apt-get install -y libnss3 libatk1.0-0 libatk-bridge2.0-0 \
    libcups2 libdrm2 libxkbcommon0 libxcomposite1 libxdamage1 \
    libxrandr2 libgbm1 libpango-1.0-0 libcairo2 libasound2
On macOS you can skip this step — everything works out of the box.
Write the Node.js screenshot script
Create a file called screenshot.js inside the screenshot-tool folder:
const puppeteer = require('puppeteer');

const url = process.argv[2];
const output = process.argv[3] || 'screenshot.png';

if (!url) {
    console.error('Usage: node screenshot.js <url> [output-file]');
    process.exit(1);
}

(async () => {
    const browser = await puppeteer.launch({
        headless: 'new',
        args: ['--no-sandbox', '--disable-setuid-sandbox'],
    });

    const page = await browser.newPage();
    await page.setViewport({ width: 1280, height: 800 });

    await page.goto(url, {
        waitUntil: 'networkidle2',
        timeout: 30000,
    });

    await page.screenshot({ path: output, fullPage: false });
    await browser.close();

    console.log(output);
})();
What this does: takes a URL from the command line arguments, launches headless Chrome, opens the page, waits for it to load, takes a screenshot, saves it to a file, then closes the browser.
Let's test it right away:
node screenshot.js https://github.com test.pngIf everything worked, a new test.png file will appear in the folder:
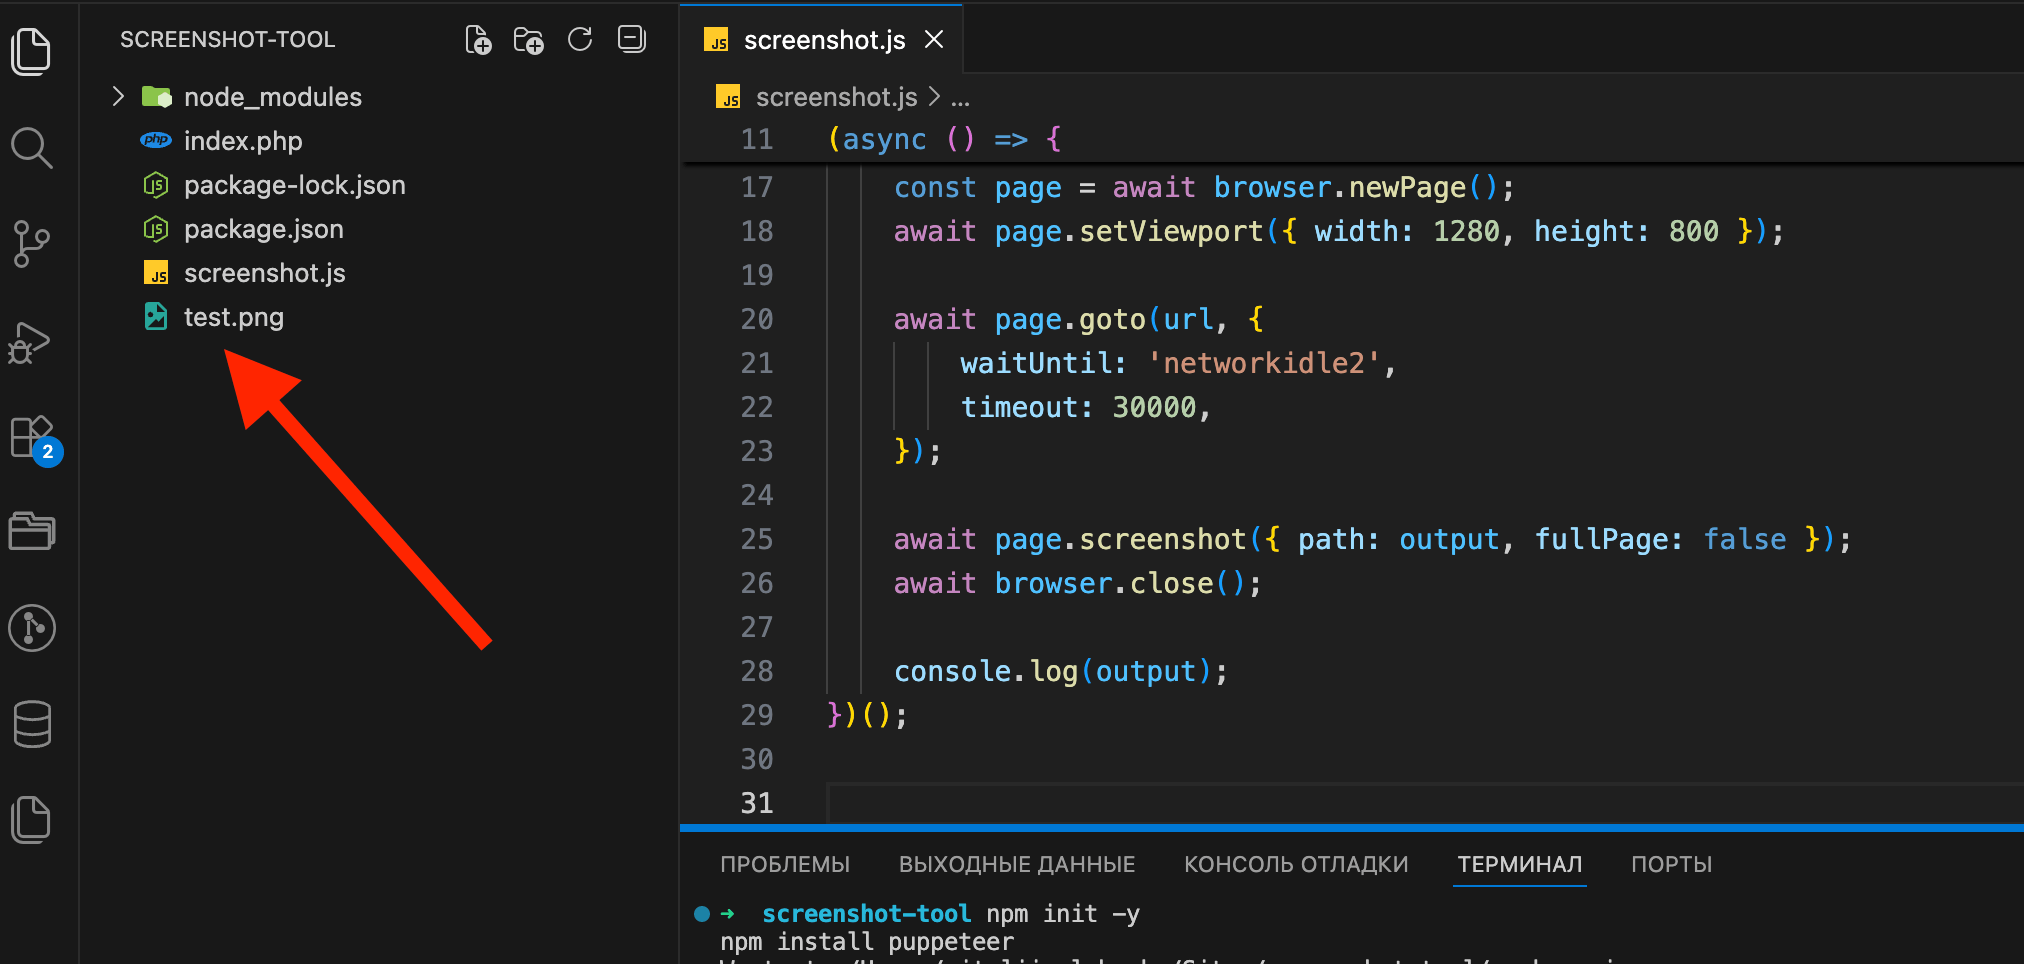
Open test.png. If you see a screenshot of the target site, the script works.
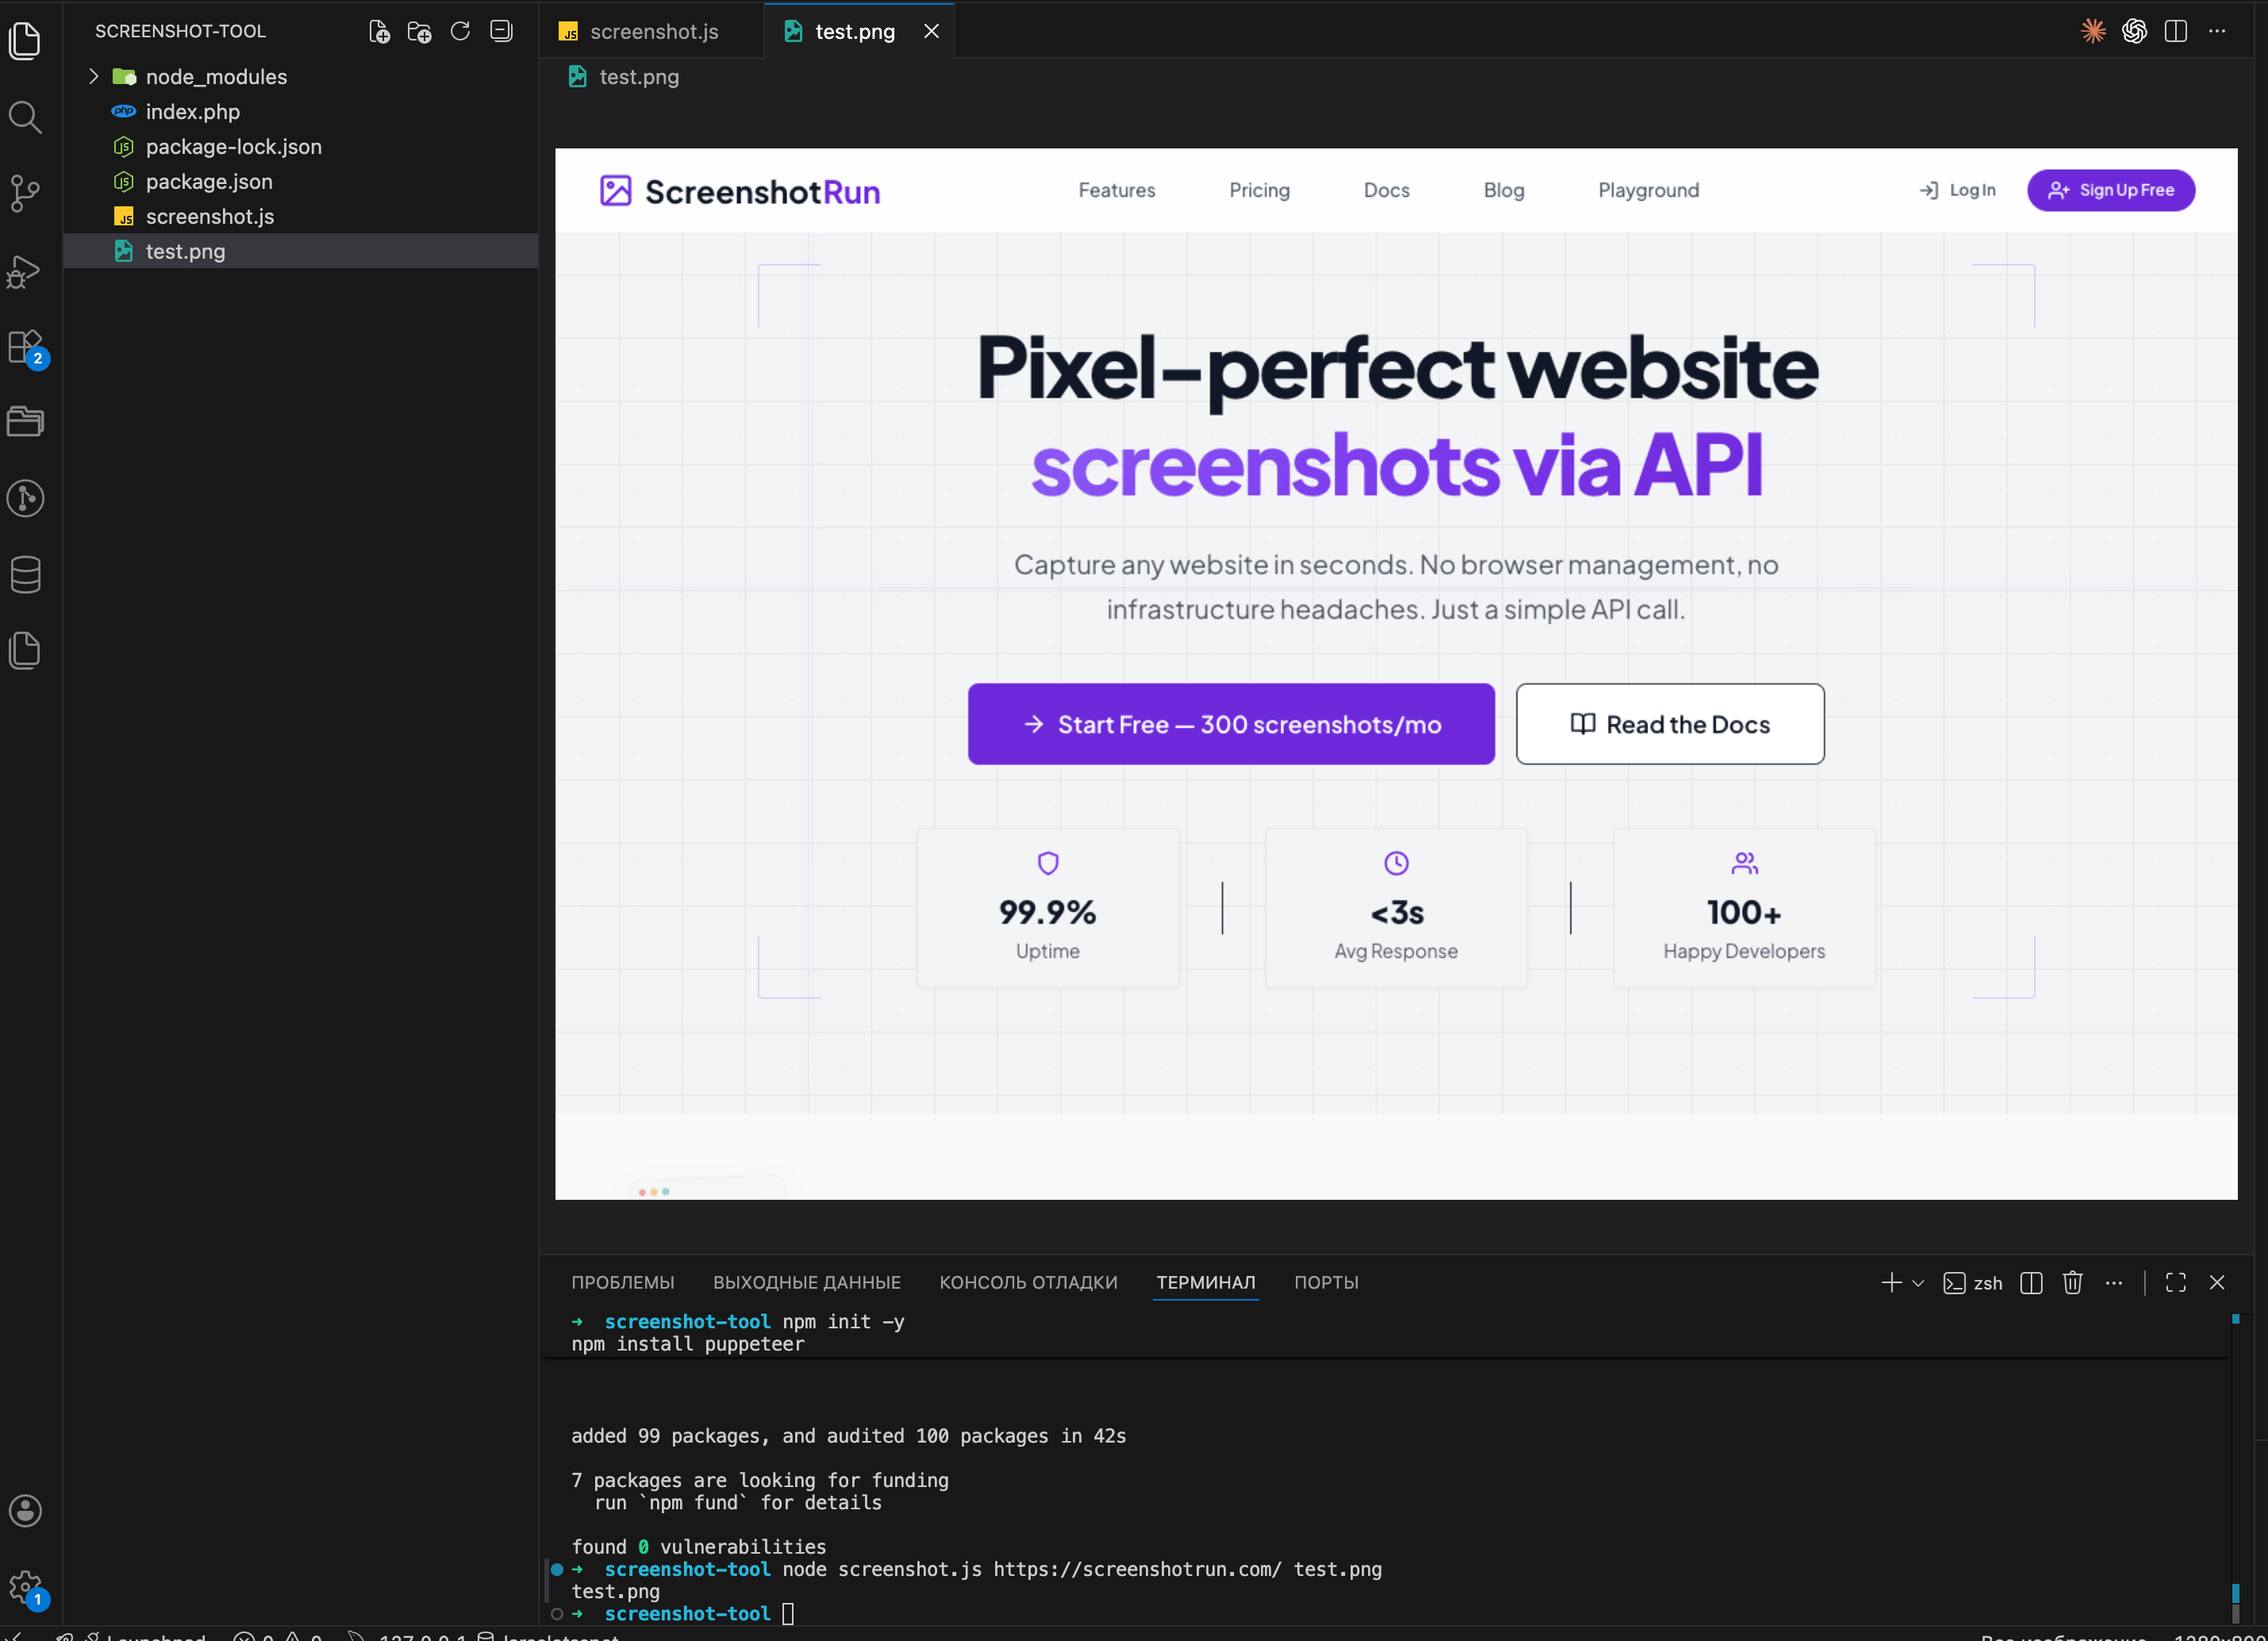
Try it with other sites too — wikipedia.org, your own project, whatever you like. Some sites take longer to load than others, so if a capture hangs, bump the timeout value in the code.
Call the screenshot script from PHP
The script works from the terminal. Now we need PHP to call it. The idea is simple: PHP runs our Node script through shell_exec() like any other console command, then picks up the resulting PNG from disk.
First, create a folder where screenshots will go. You can put it right inside your PHP project:
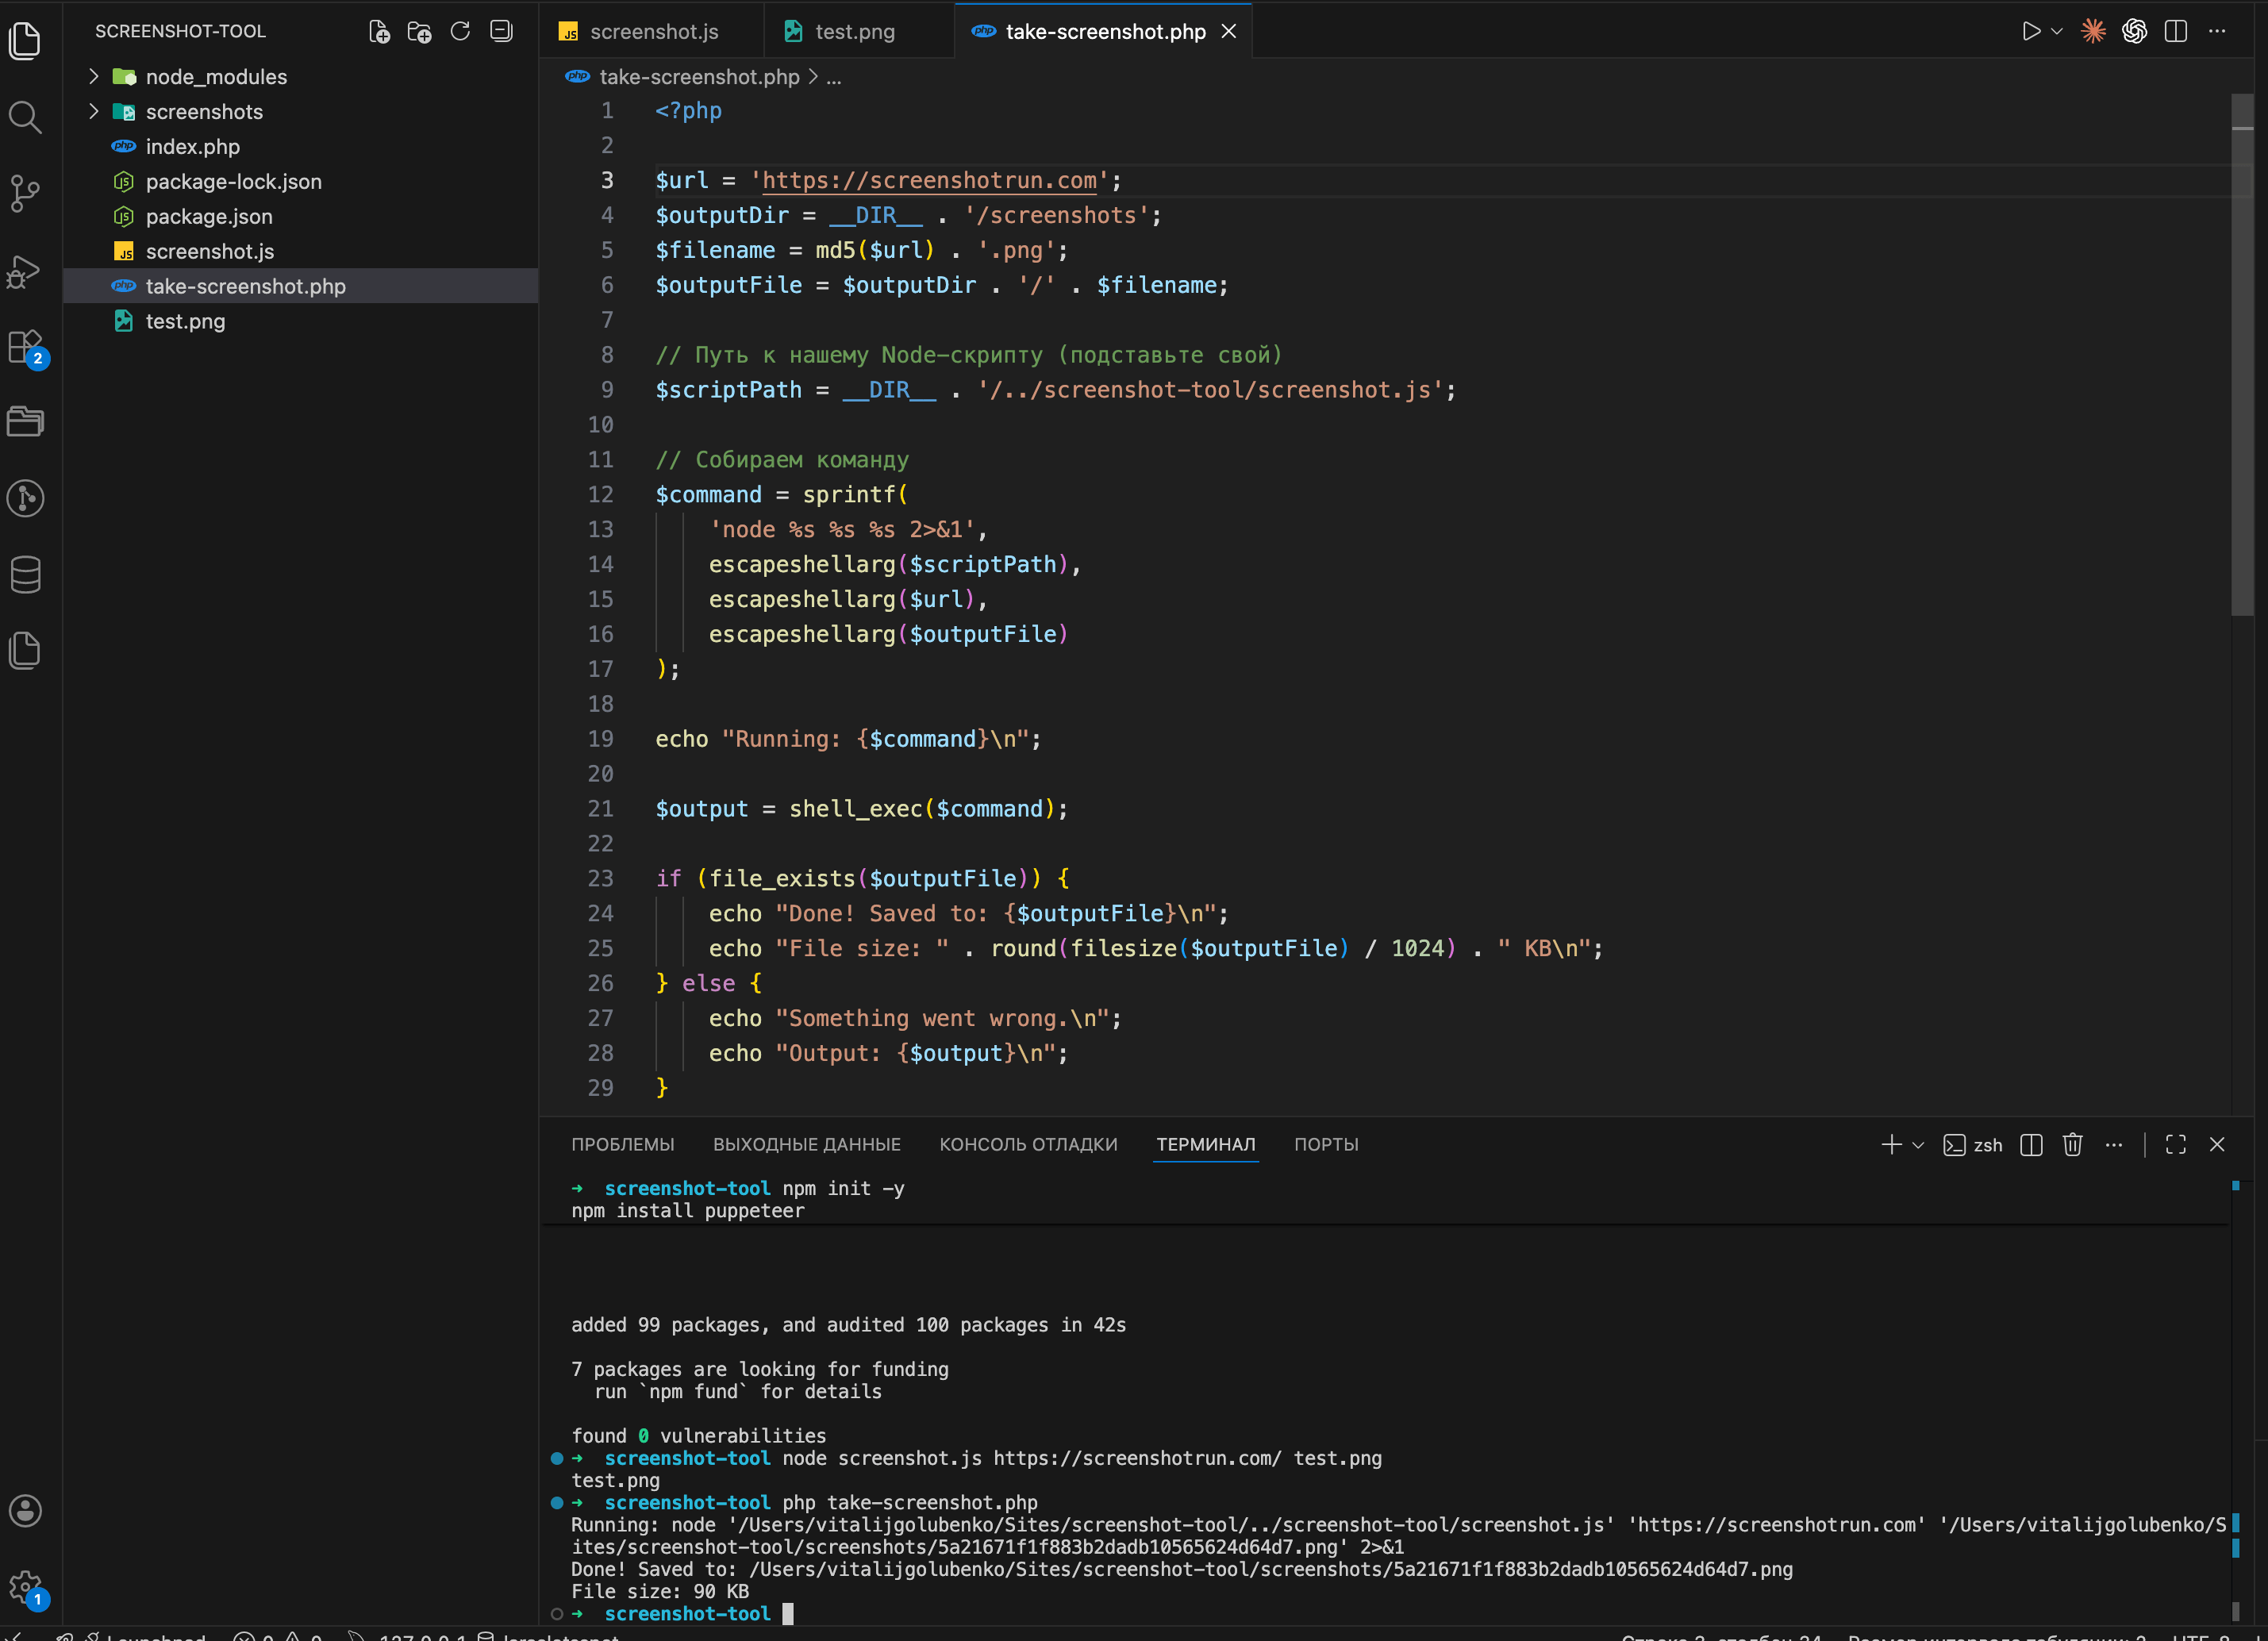
mkdir -p /path/to/your/php-project/screenshotsNow create a PHP file. I'll call it take-screenshot.php:
<?php

$url = 'https://github.com';
$outputDir = __DIR__ . '/screenshots';
$filename = md5($url) . '.png';
$outputFile = $outputDir . '/' . $filename;

// Path to our Node script (use your own path)
$scriptPath = __DIR__ . '/../screenshot-tool/screenshot.js';

// Build the command
$command = sprintf(
    'node %s %s %s 2>&1',
    escapeshellarg($scriptPath),
    escapeshellarg($url),
    escapeshellarg($outputFile)
);

echo "Running: {$command}\n";

$output = shell_exec($command);

if (file_exists($outputFile)) {
    echo "Done! Saved to: {$outputFile}\n";
    echo "File size: " . round(filesize($outputFile) / 1024) . " KB\n";
} else {
    echo "Something went wrong.\n";
    echo "Output: {$output}\n";
}
Note the 2>&1 at the end of the command — it redirects stderr to stdout. Without it, if Node throws an error, PHP simply won't see it and you'll be left guessing why nothing works.
Run it:
php take-screenshot.phpIf everything went well, you should see something like this:
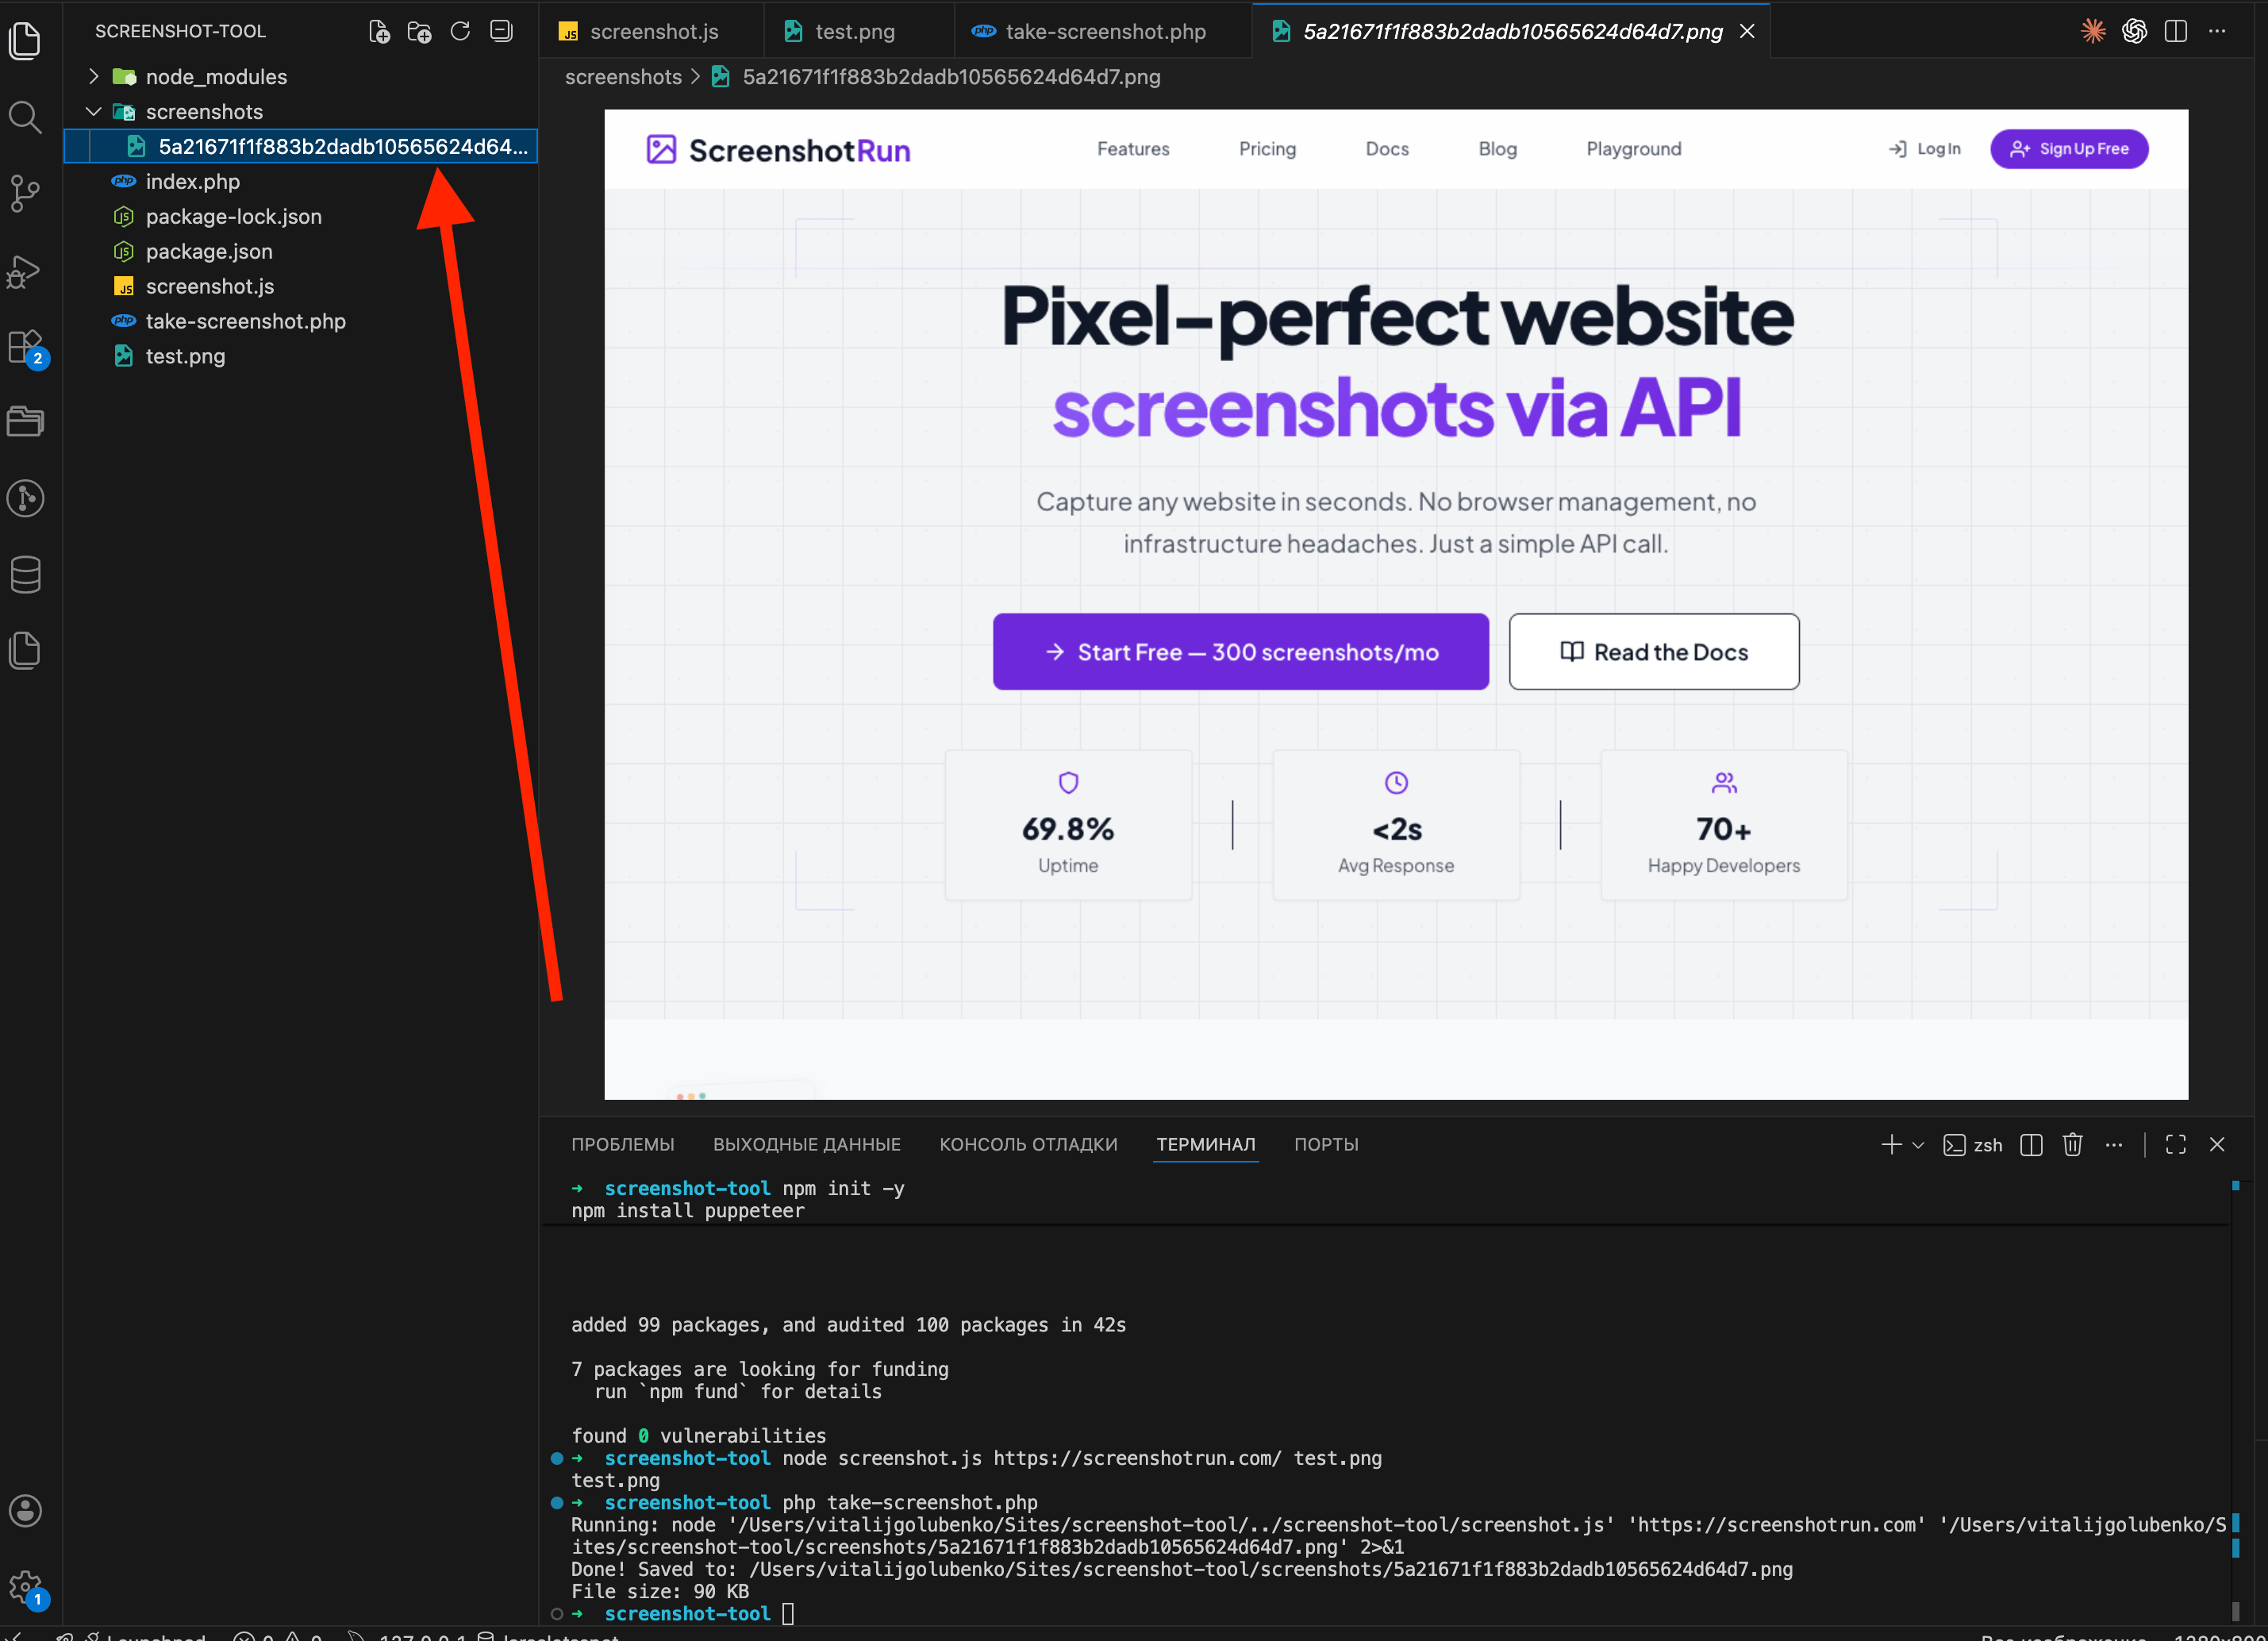
Go to the screenshots folder and open the file. If the target page's homepage is there, rendered correctly, you've got a working screenshot tool in PHP.
Add viewport size and full-page capture options
The basic version works, but let's make it a bit more useful. We'll add viewport size and full-page capture support.
Updated screenshot.js:
const puppeteer = require('puppeteer');

const args = process.argv.slice(2);
const url = args[0];
const output = args[1] || 'screenshot.png';
const width = parseInt(args[2]) || 1280;
const height = parseInt(args[3]) || 800;
const fullPage = args[4] === 'true';

if (!url) {
    console.error('Usage: node screenshot.js <url> [output] [width] [height] [fullPage]');
    process.exit(1);
}

(async () => {
    const browser = await puppeteer.launch({
        headless: 'new',
        args: ['--no-sandbox', '--disable-setuid-sandbox'],
    });

    const page = await browser.newPage();
    await page.setViewport({ width, height });
    await page.goto(url, { waitUntil: 'networkidle2', timeout: 30000 });
    await page.screenshot({ path: output, fullPage });
    await browser.close();

    console.log(JSON.stringify({ file: output, width, height, fullPage }));
})();
And a PHP wrapper function so you don't copy-paste the same code every time:
<?php

function takeScreenshot(
    string $url,
    string $outputDir,
    int $width = 1280,
    int $height = 800,
    bool $fullPage = false
): ?string {
    $filename = md5($url . $width . $height . ($fullPage ? '1' : '0')) . '.png';
    $outputFile = rtrim($outputDir, '/') . '/' . $filename;

    $scriptPath = __DIR__ . '/../screenshot-tool/screenshot.js';

    $command = sprintf(
        'node %s %s %s %d %d %s 2>&1',
        escapeshellarg($scriptPath),
        escapeshellarg($url),
        escapeshellarg($outputFile),
        $width,
        $height,
        $fullPage ? 'true' : 'false'
    );

    shell_exec($command);

    return file_exists($outputFile) ? $outputFile : null;
}

// Desktop screenshot
$file = takeScreenshot('https://github.com', __DIR__ . '/screenshots');
echo $file ? "Desktop: {$file}\n" : "Failed\n";

// Mobile (iPhone-sized)
$file = takeScreenshot('https://github.com', __DIR__ . '/screenshots', 375, 812);
echo $file ? "Mobile: {$file}\n" : "Failed\n";

// Full page with scrolling
$file = takeScreenshot('https://github.com', __DIR__ . '/screenshots', 1280, 800, true);
echo $file ? "Full page: {$file}\n" : "Failed\n";
Run it:
php take-screenshot.php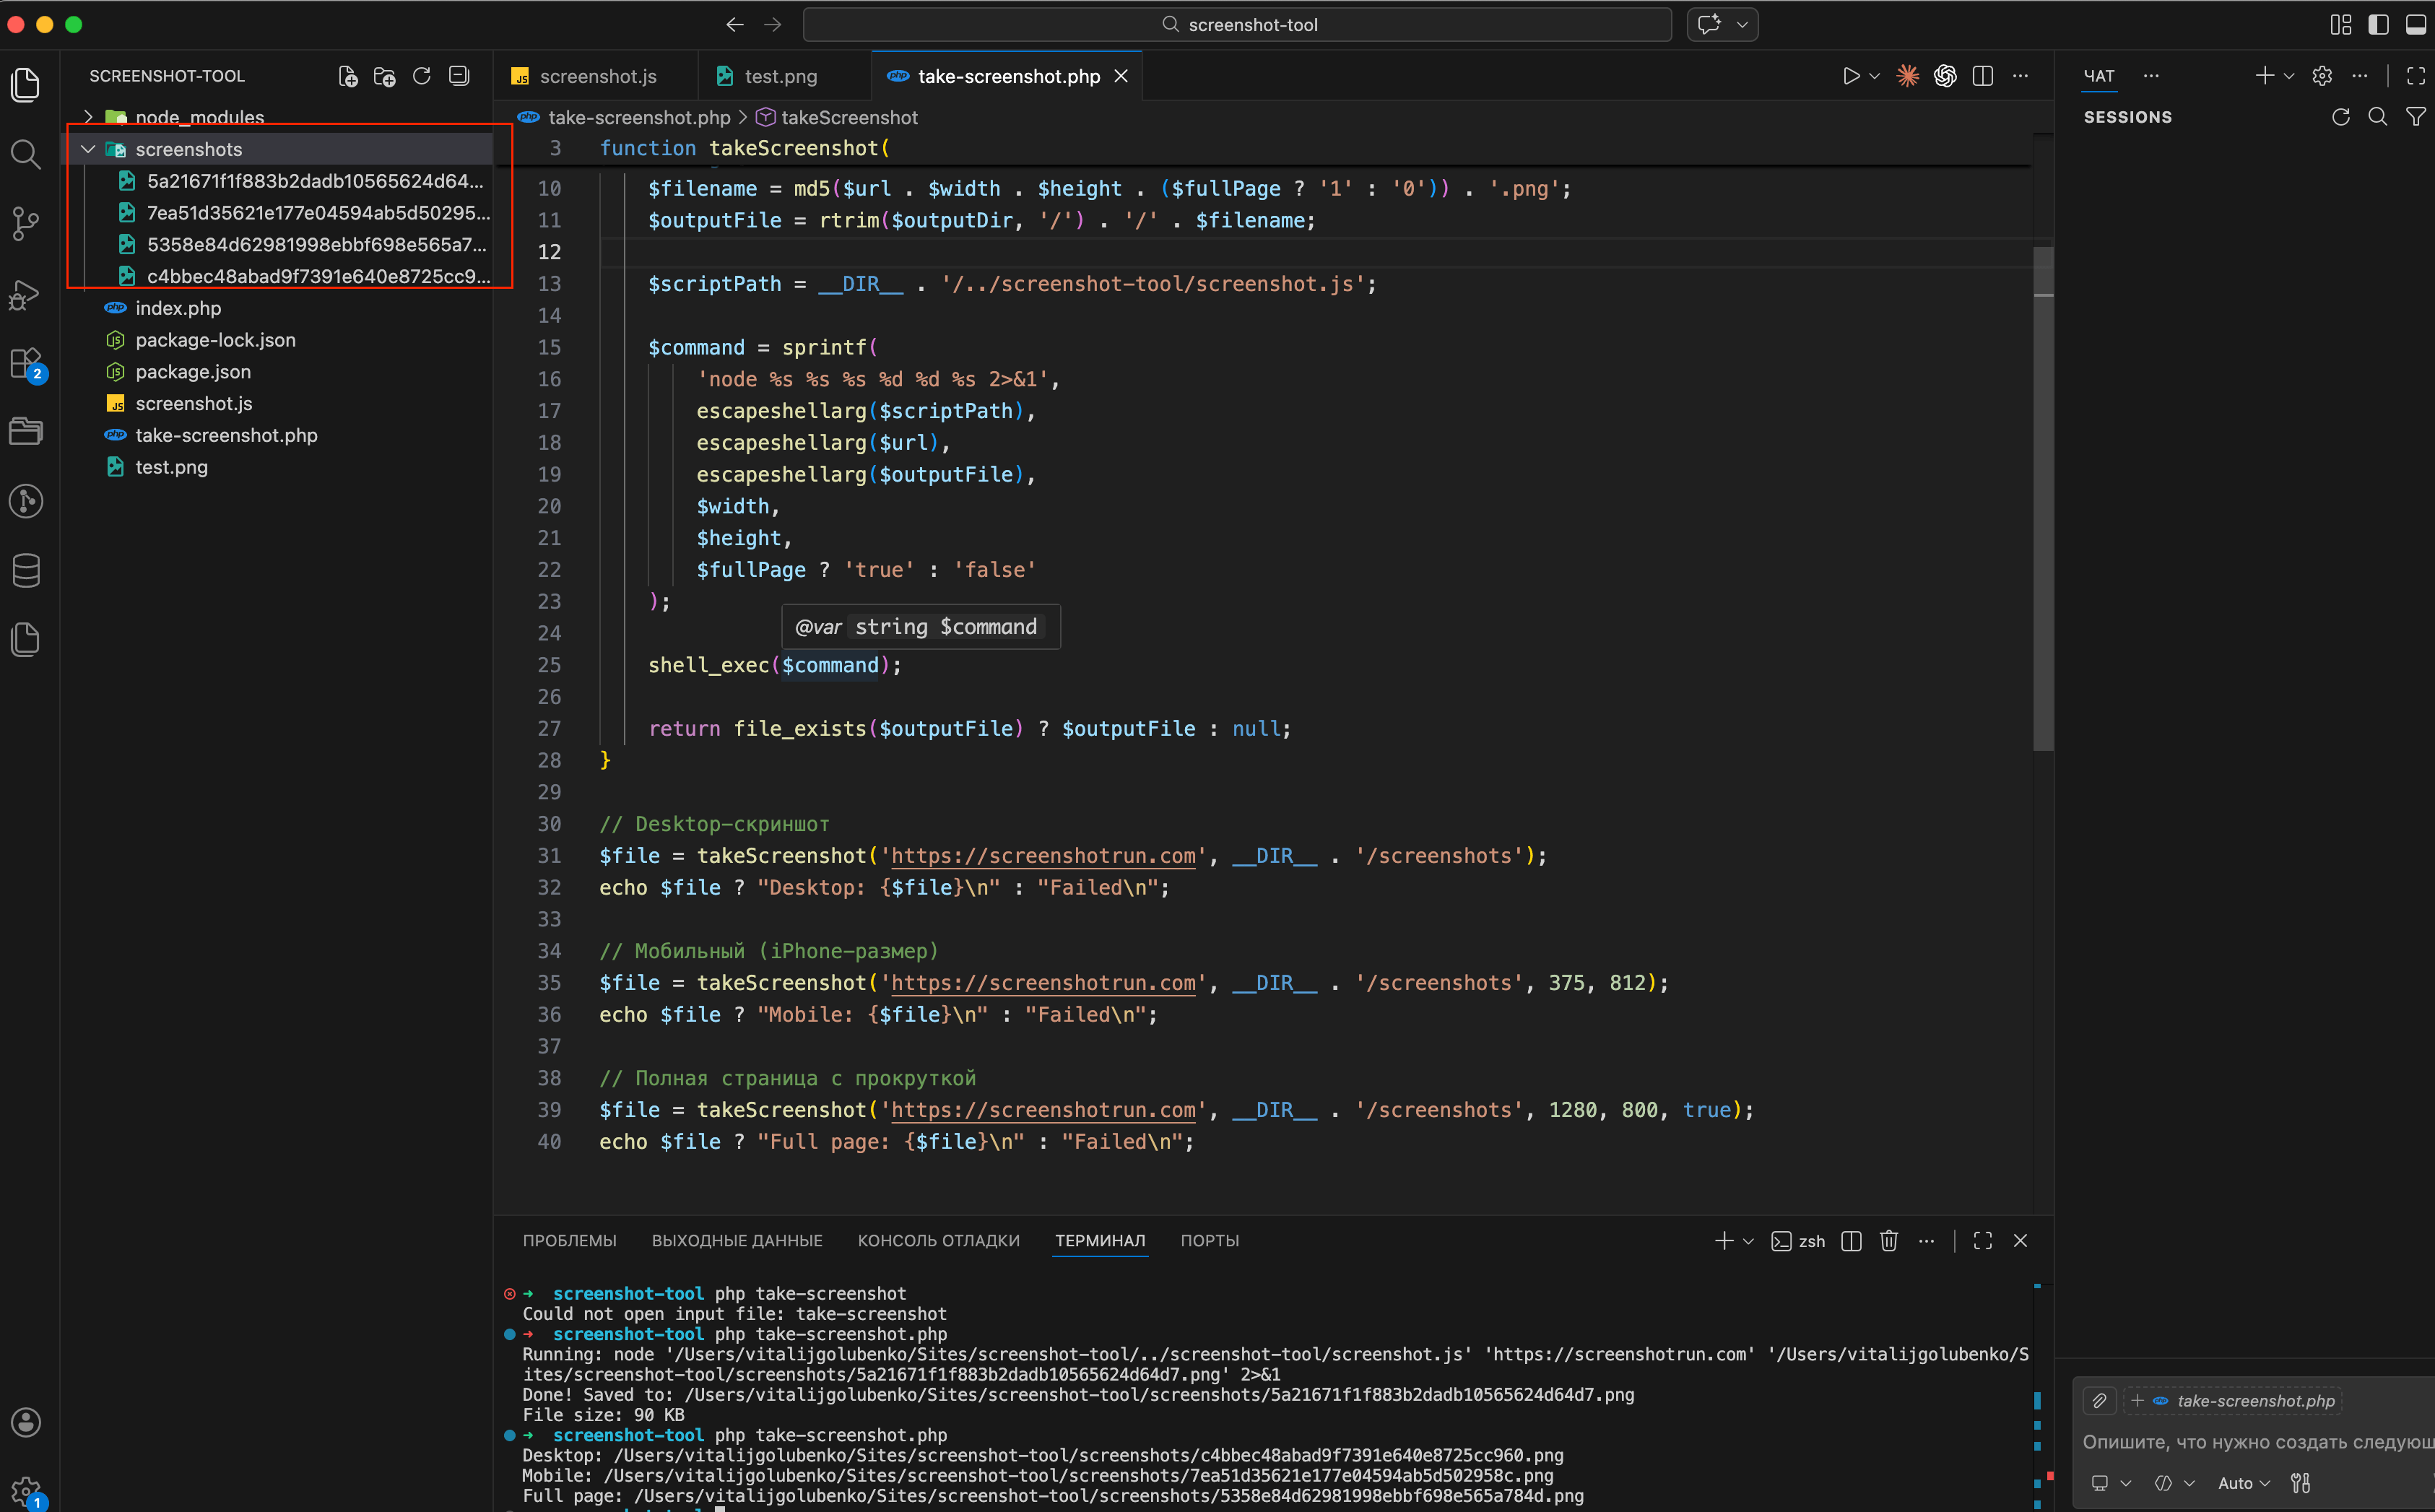
Now you can take desktop, mobile, and full-page screenshots with one function call. Run it and compare the files — the difference between desktop and mobile versions is pretty obvious.

Why Puppeteer screenshots break in production
What we built works fine for a handful of screenshots per day. The moment you try to run it under real load, a few things become painful.
Memory. Each Puppeteer instance eats 200-400 MB of RAM while it's active. Fire three concurrent captures on a 1 GB VPS and your server starts swapping. Chrome also doesn't always release memory cleanly between runs — you'll see gradual RAM creep over days of uptime, and occasional silent crashes when the OOM killer decides Chrome has to go.
Cookie banners and modals. Any EU-facing site will show a GDPR popup that covers 30-50% of the screenshot. Sites with newsletter modals, chat widgets, or "accept cookies" dialogs all break the final image. You'll end up maintaining a list of CSS selectors to hide per-site, and that list only grows. I wrote a separate piece on how I deal with cookie banners, ads, and chat widgets in screenshots if you want the layered approach I ended up with.
Anti-bot protection. Cloudflare, PerimeterX, and similar services detect headless Chrome pretty reliably. Many sites will return a challenge page or a 403 instead of their actual content. There are ways around this — I collected ten stealth patches for headless Chromium that cover the most common fingerprint leaks — but each patch adds complexity, and none of them defeat serious commercial bot protection.
Maintenance. Chromium updates break things. Debian libraries change names between Ubuntu releases. Your cron jobs suddenly fail because the --no-sandbox flag behavior shifted. None of this is hard individually, but it's a constant background tax on your time.
If you only need screenshots occasionally, or you're running on a machine with plenty of RAM and a small list of cooperative target sites, none of this matters — the Puppeteer setup above will keep working for years.
If you need reliable captures at scale, the honest choice is between investing real time into a proper rendering service (worker queues, browser pools, anti-detection, monitoring) or offloading it to a hosted screenshot API. Either path works, but they're genuinely different commitments: one is a project you'll keep maintaining, the other is an HTTP call from PHP that someone else maintains for you.
Take screenshots from PHP with an API instead
If managing Chromium feels like overkill for your use case, a screenshot API reduces the entire flow to one HTTP call:
$response = file_get_contents('https://api.screenshotrun.com/v1/screenshots?' . http_build_query([
    'url' => 'https://example.com',
    'format' => 'png',
    'full_page' => true,
]), false, stream_context_create([
    'http' => [
        'header' => "Authorization: Bearer YOUR_API_KEY\r\n",
    ],
]));

file_put_contents('screenshot.png', $response);
No Chrome binary, no RAM spikes, no zombie processes. The API documentation covers all parameters including wait_for_selector, full-page capture, and viewport control. Plans start at 200 free screenshots per month.
Skip the Puppeteer setup
Get your PHP screenshot API keyFrequently Asked Questions
Not directly with Puppeteer — it requires Node.js to control headless Chrome. PHP alternatives include the chrome-php library or Spatie Browsershot (Laravel), but they still need Chrome installed. The simplest approach is using a screenshot API like ScreenshotRun, which only requires an HTTP request from PHP.
Each headless Chrome instance typically uses 200-400 MB of RAM. For concurrent screenshots, plan for 2 GB or more. This is one of the main reasons developers switch to screenshot APIs — they handle the browser infrastructure for you.
shell_exec works but requires caution. Always sanitize inputs with escapeshellarg() to prevent command injection. In production, consider using Symfony Process component instead, which provides better error handling, timeouts, and security.
The most popular option is the Spatie Browsershot package, which wraps Puppeteer with a fluent PHP API. For a simpler setup without local Chrome, use the ScreenshotRun API with Laravel's Http facade: Http::withToken('YOUR_KEY')->get('https://screenshotrun.com/api/v1/screenshots', ['url' => 'https://example.com']).
A screenshot API is the fastest approach — a single HTTP call with no local dependencies. If you need local control, Puppeteer with Node.js called via shell_exec is the most reliable option, though it requires Chrome installed on your server.
How to handle screenshot API responses in production
A 200 OK from a screenshot API doesn't mean you got a screenshot — the transport and render layers fail independently. Which status codes to retry and which not, backoff with jitter, respecting Retry-After, catching blank images that pass as a 200, and a circuit breaker. Node.js code throughout.
Read more →
Screenshot API rate limiting strategies in production
Most rate limiting guides only cover retry strategies. That's only half the problem. Five concrete strategies — proactive (token bucket, queue) and reactive (Retry-After, exponential backoff, circuit breaker) — with Node.js code.
Read more →
Headless Chrome "net::ERR_CONNECTION_REFUSED" in Docker: causes and fixes
ERR_CONNECTION_REFUSED in headless Chrome inside Docker isn't one error — it's five different network problems sharing the same message. Diagnose with one curl from inside the container, then fix per cause.
Read more →