 Vitalii Holben
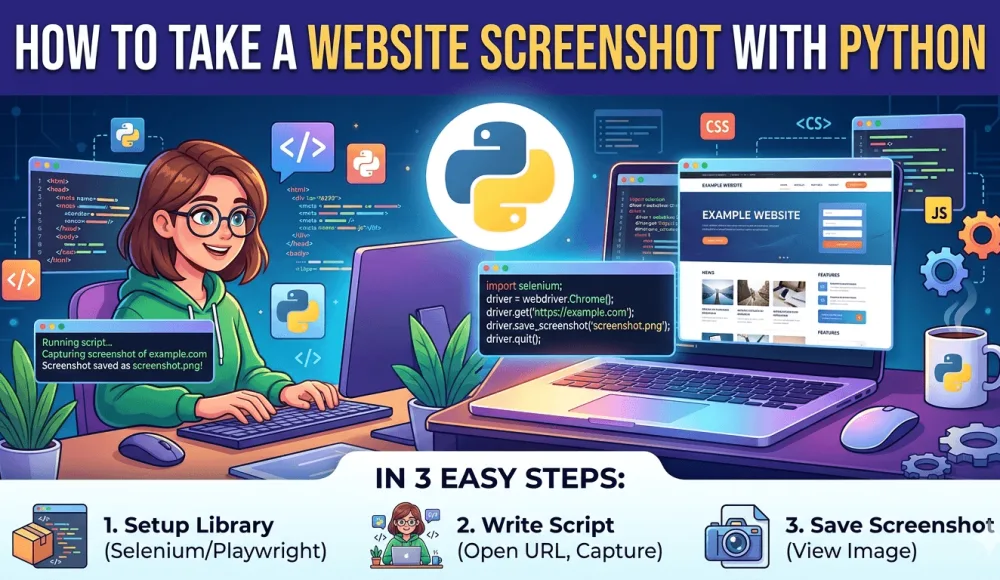
How to take a website screenshot with Python
Learn how to capture website screenshots with Python using three approaches: Selenium, Playwright, and a screenshot API. Step-by-step code, real output screenshots, full-page captures, mobile viewports, and honest comparison of pros and cons for each method.
Today I want to walk you through a step-by-step guide on how to capture website screenshots using Python. The task turned out to be simpler than I expected — especially with a third-party API in the mix — but the local-library approaches are still worth knowing for different situations.
Python gives you three working options: Selenium, Playwright, and a screenshot API. Each one covers a different use case and has its own limits. In this guide I'll go through all three, show you working code you can run right now, and explain when each approach makes sense.
What you'll need
Before we start, make sure you have Python 3.8 or higher installed. Check your version:
python --versionIf Python is in place, let's create a working directory and a virtual environment:
mkdir python-screenshots
cd python-screenshots
python -m venv venv
source venv/bin/activate  # Linux/macOS
# or venv\Scripts\activate on Windows
The virtual environment keeps your global packages clean. Now we can install libraries and write code.
Method 1: Selenium
Selenium is an old, battle-tested tool for browser automation. If you already use it for testing or scraping, adding screenshots to your existing code is the easiest path — no new dependency, just one method call.
Installation
pip install selenium webdriver-managerThe webdriver-manager package automatically downloads the right Chrome driver. Without it, you'd have to manually download chromedriver and keep its version in sync with your browser version. If you've ever tried doing that by hand, you know it's an adventure on its own.
Basic screenshot
Create a file called selenium_screenshot.py:
from selenium import webdriver
from selenium.webdriver.chrome.options import Options
from selenium.webdriver.chrome.service import Service
from webdriver_manager.chrome import ChromeDriverManager

# Set up headless mode so the browser doesn't open on screen
options = Options()
options.add_argument('--headless=new')
options.add_argument('--window-size=1280,800')

# Create a driver with automatic chromedriver installation
driver = webdriver.Chrome(
    service=Service(ChromeDriverManager().install()),
    options=options
)

# Open the page and take a screenshot
driver.get('https://dev.to')
driver.save_screenshot('dev_to.png')

print(f'Saved: dev_to.png')
driver.quit()
Run it:
python selenium_screenshot.py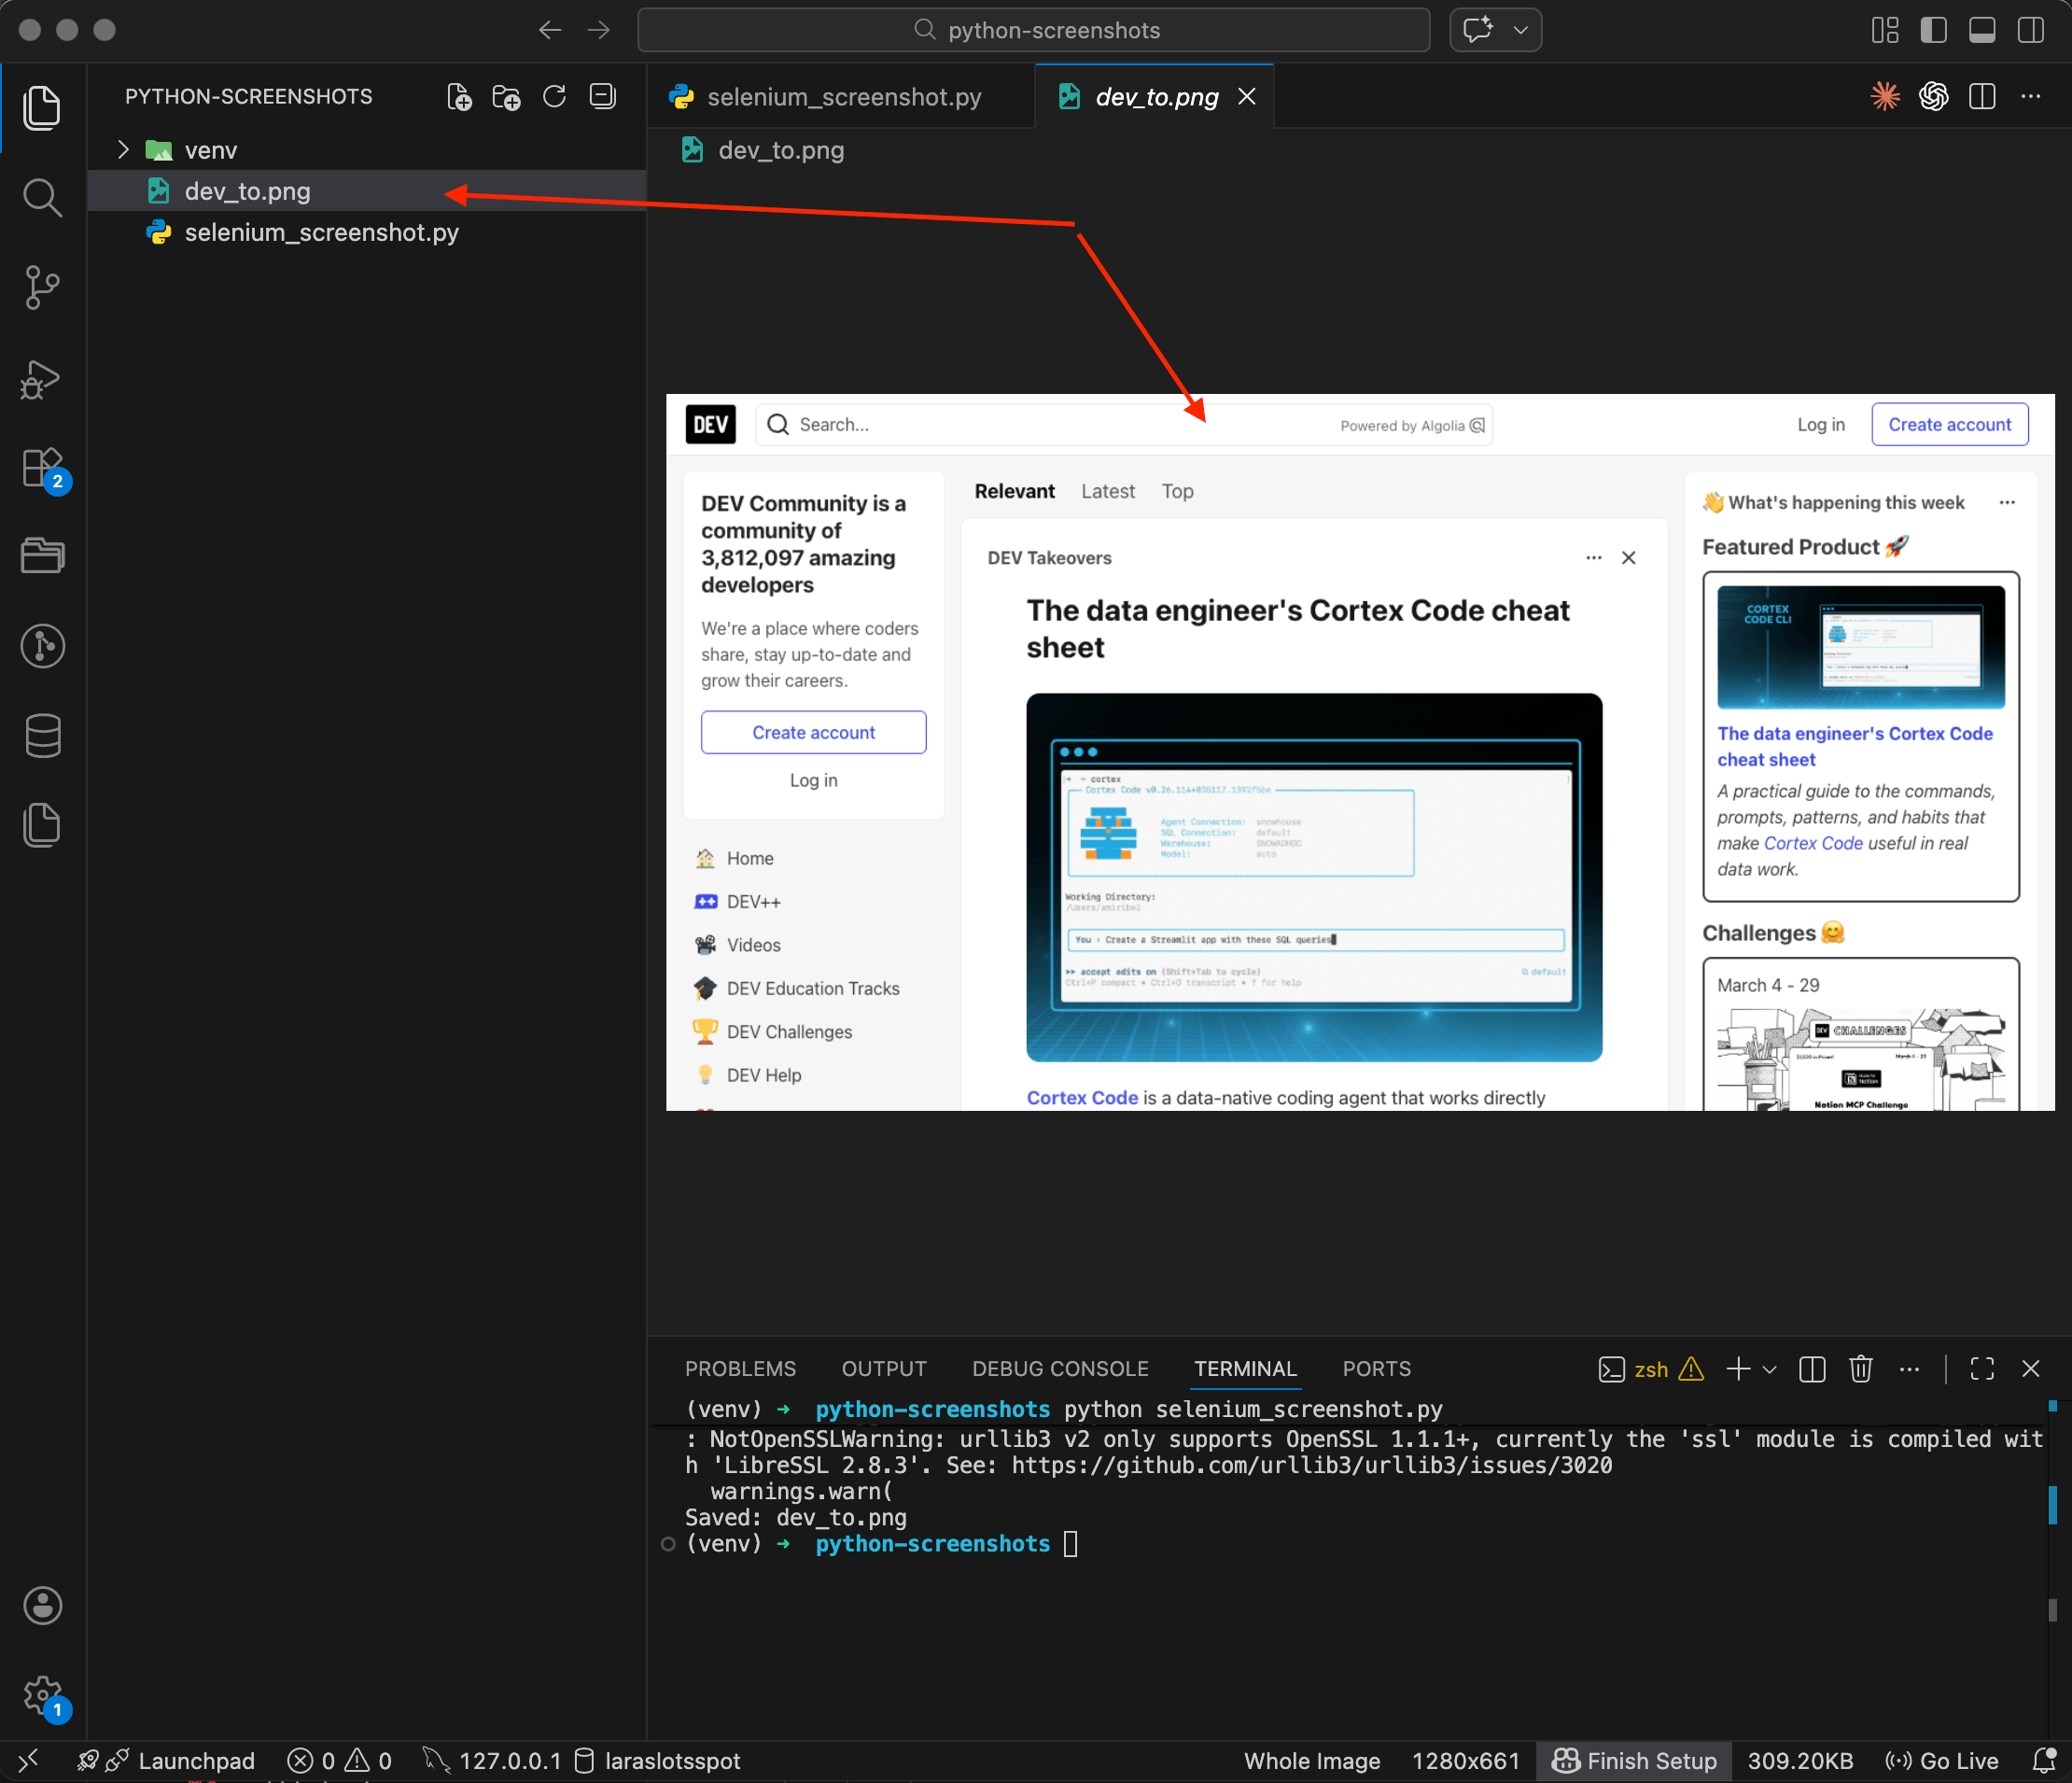
The terminal shows Saved: dev_to.png, and the file appears in the sidebar on the left. Open it up — there's the DEV Community homepage, captured by the headless browser. The image is 1280x661 pixels, about 309 KB. Notice that Selenium only captured the visible part of the page, whatever fits in the browser window. Content below the fold didn't make it into the screenshot.
Screenshotting a specific element
Sometimes you don't need the whole page — just one particular block. Selenium can capture individual elements too:
from selenium import webdriver
from selenium.webdriver.chrome.options import Options
from selenium.webdriver.chrome.service import Service
from selenium.webdriver.common.by import By
from webdriver_manager.chrome import ChromeDriverManager

options = Options()
options.add_argument('--headless=new')
options.add_argument('--window-size=1280,800')

driver = webdriver.Chrome(
    service=Service(ChromeDriverManager().install()),
    options=options
)

driver.get('https://dev.to')

# Find the element by CSS selector and screenshot just that
header = driver.find_element(By.TAG_NAME, 'header')
header.screenshot('dev_to_header.png')

print('Saved: header.png')
driver.quit()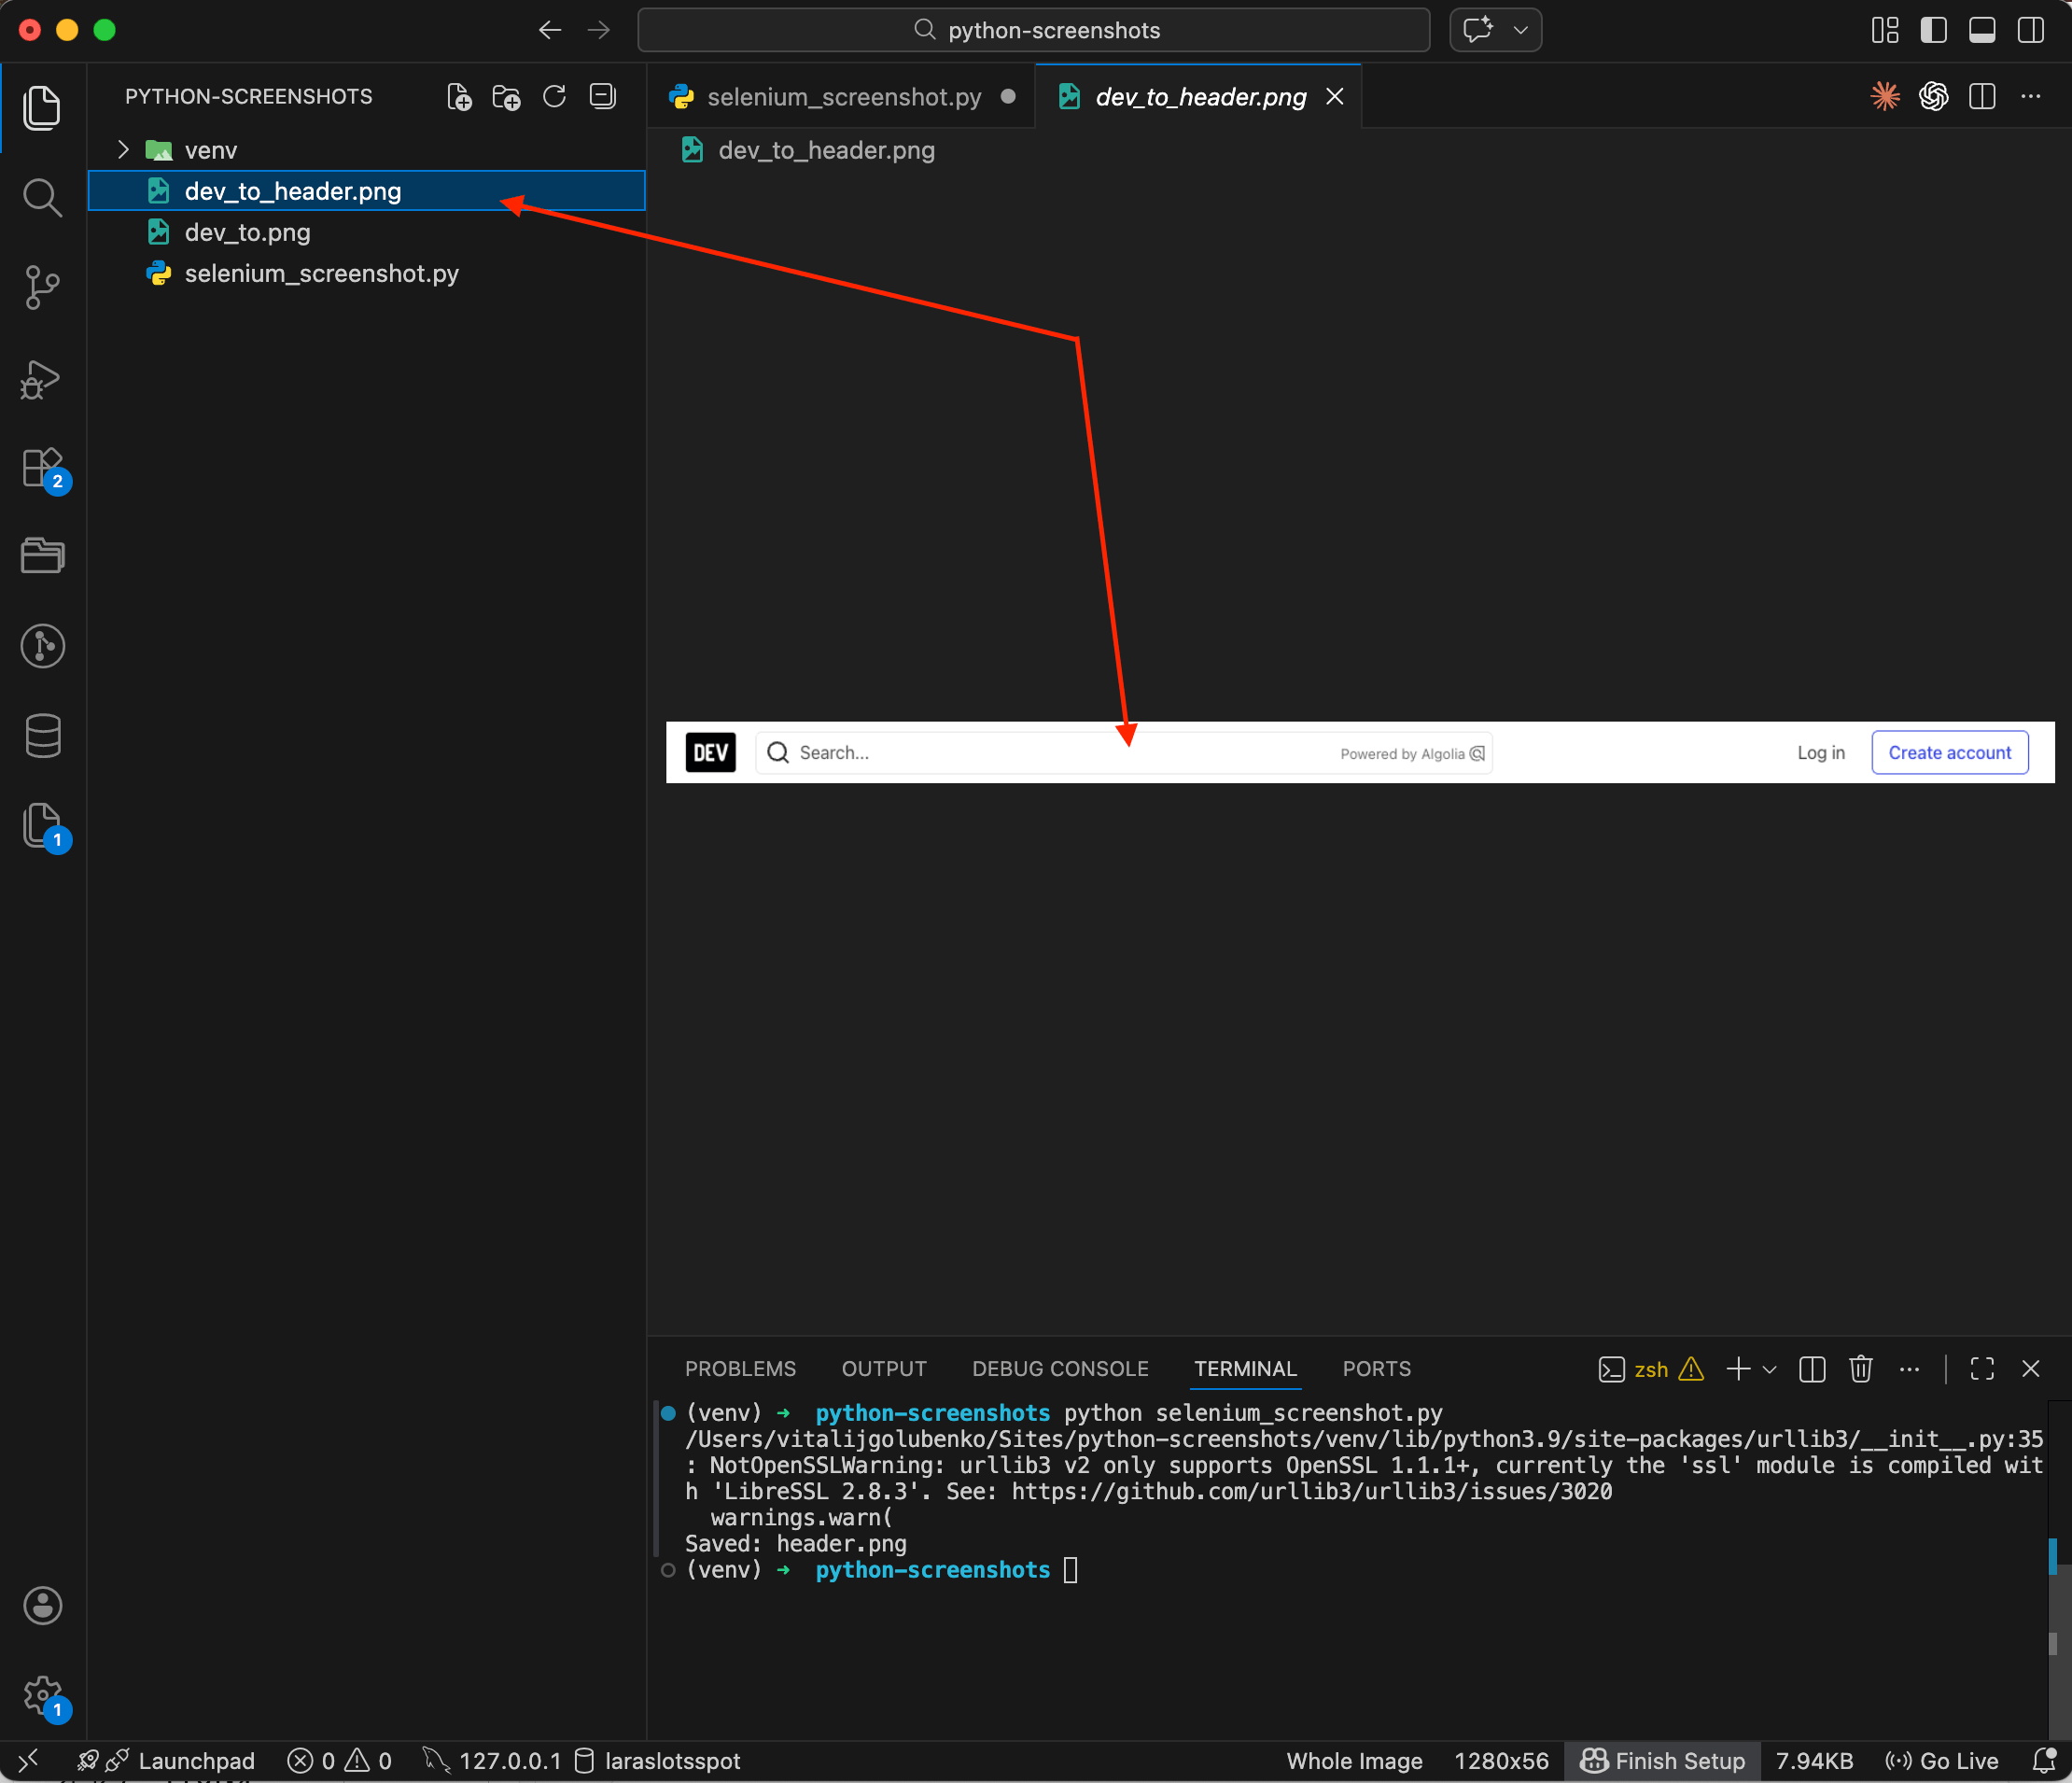
The result is a narrow strip spanning the full page width — just the DEV Community navigation bar, nothing else. This comes in handy when you need to capture a signup form, a product card, or any other specific block on the page. I wrote a separate post on element screenshots with CSS selectors that covers Playwright and the API approach for the same task.
Where Selenium falls short
Selenium has one notable limitation — it can't do full-page screenshots out of the box. The save_screenshot() method only captures the viewport. There are workarounds involving JavaScript scrolling and image stitching, but they're tedious and unreliable. If you need a full-page screenshot, that's where Playwright comes in.
Method 2: Playwright
Playwright is a more modern alternative from Microsoft. It supports Chrome, Firefox, and Safari through a single API. For screenshots, it beats Selenium for one simple reason — it can do full-page captures by adding literally one line of code.
Installation
pip install playwright
playwright install chromium
The second command downloads Chromium. If you need Firefox or WebKit, you can specify playwright install firefox webkit. For screenshots, Chromium is more than enough.
Basic screenshot
File playwright_screenshot.py:
from playwright.sync_api import sync_playwright

with sync_playwright() as p:
    browser = p.chromium.launch()
    page = browser.new_page(viewport={'width': 1280, 'height': 800})

    page.goto('https://news.ycombinator.com')
    page.screenshot(path='hackernews.png')

    print('Saved: hackernews.png')
    browser.close()
python playwright_screenshot.py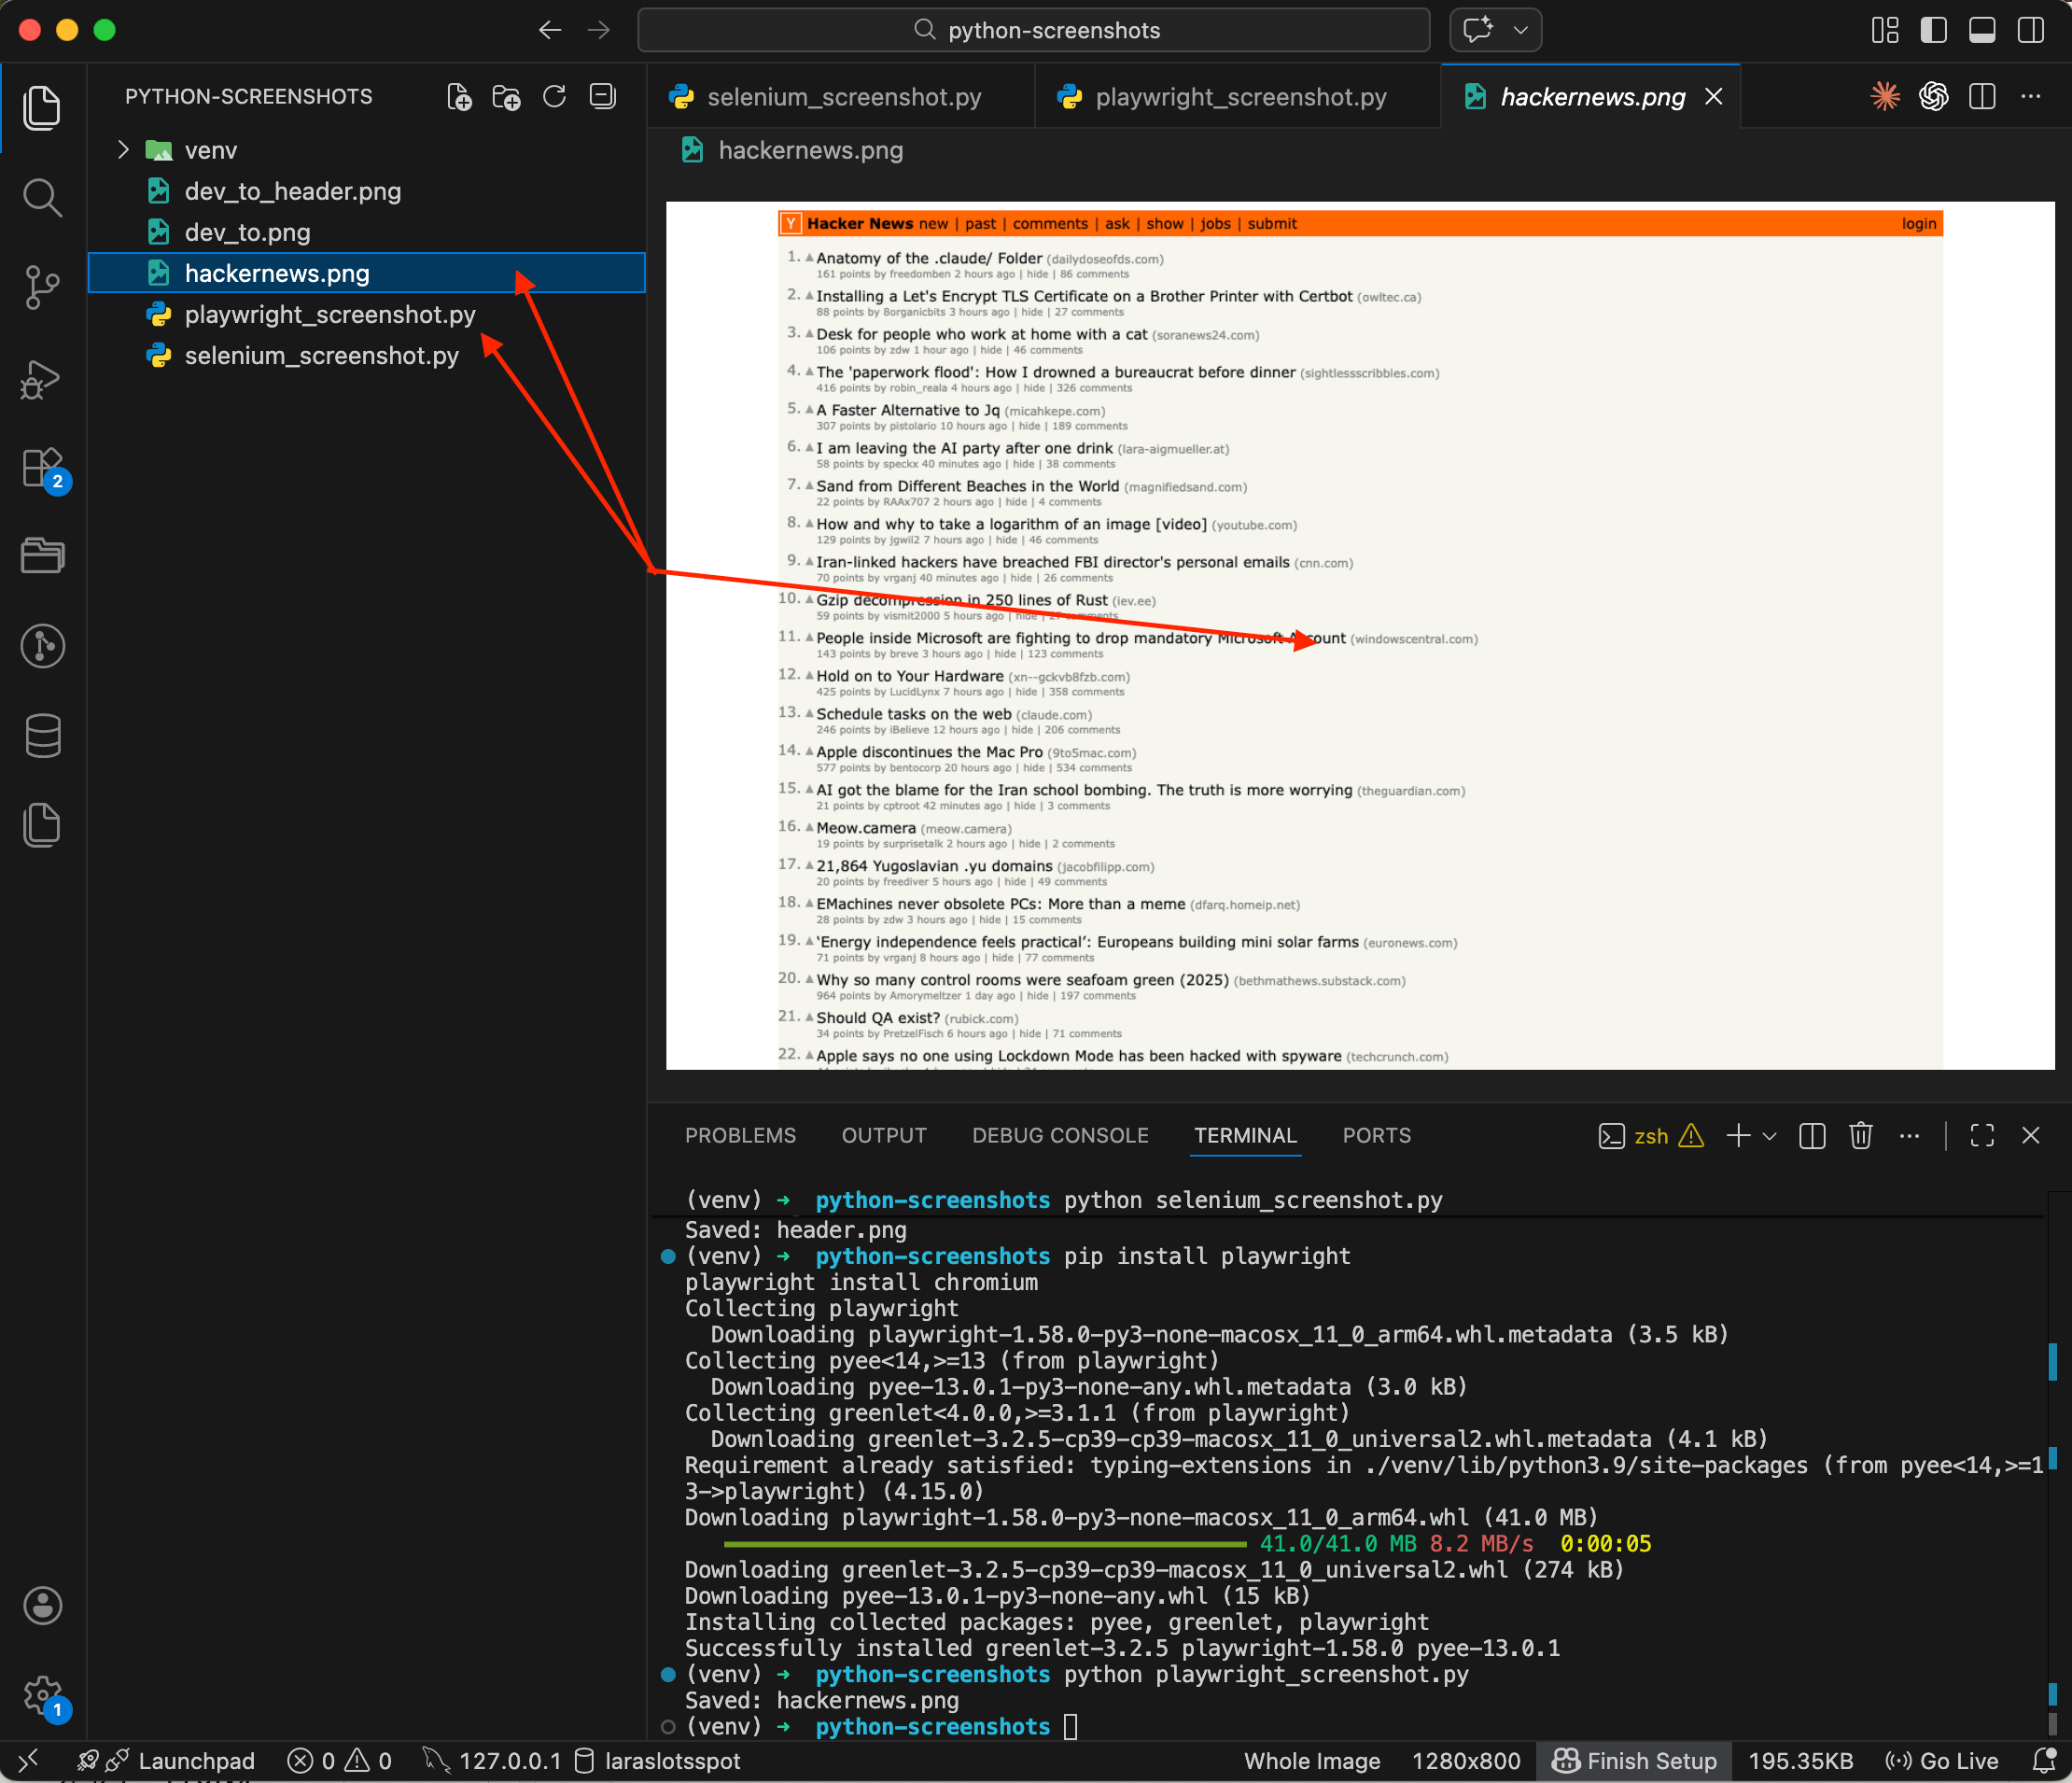
You can see the whole process in the terminal: Playwright installed first, then the script ran and printed Saved: hackernews.png. The preview shows a screenshot of Hacker News — orange header, list of posts, everything just like in a browser. The code is noticeably more compact than Selenium, with no fiddling with drivers and options. But the real advantage of Playwright is coming up next.
Full-page screenshot
This is what makes Playwright worth picking. One option, full_page=True, and you get a screenshot of the entire page from top to bottom:
from playwright.sync_api import sync_playwright

with sync_playwright() as p:
    browser = p.chromium.launch()
    page = browser.new_page(viewport={'width': 1280, 'height': 800})

    page.goto('https://news.ycombinator.com')
    page.screenshot(path='hackernews_full.png', full_page=True)

    print('Full-page screenshot saved: hackernews_full.png')
    browser.close()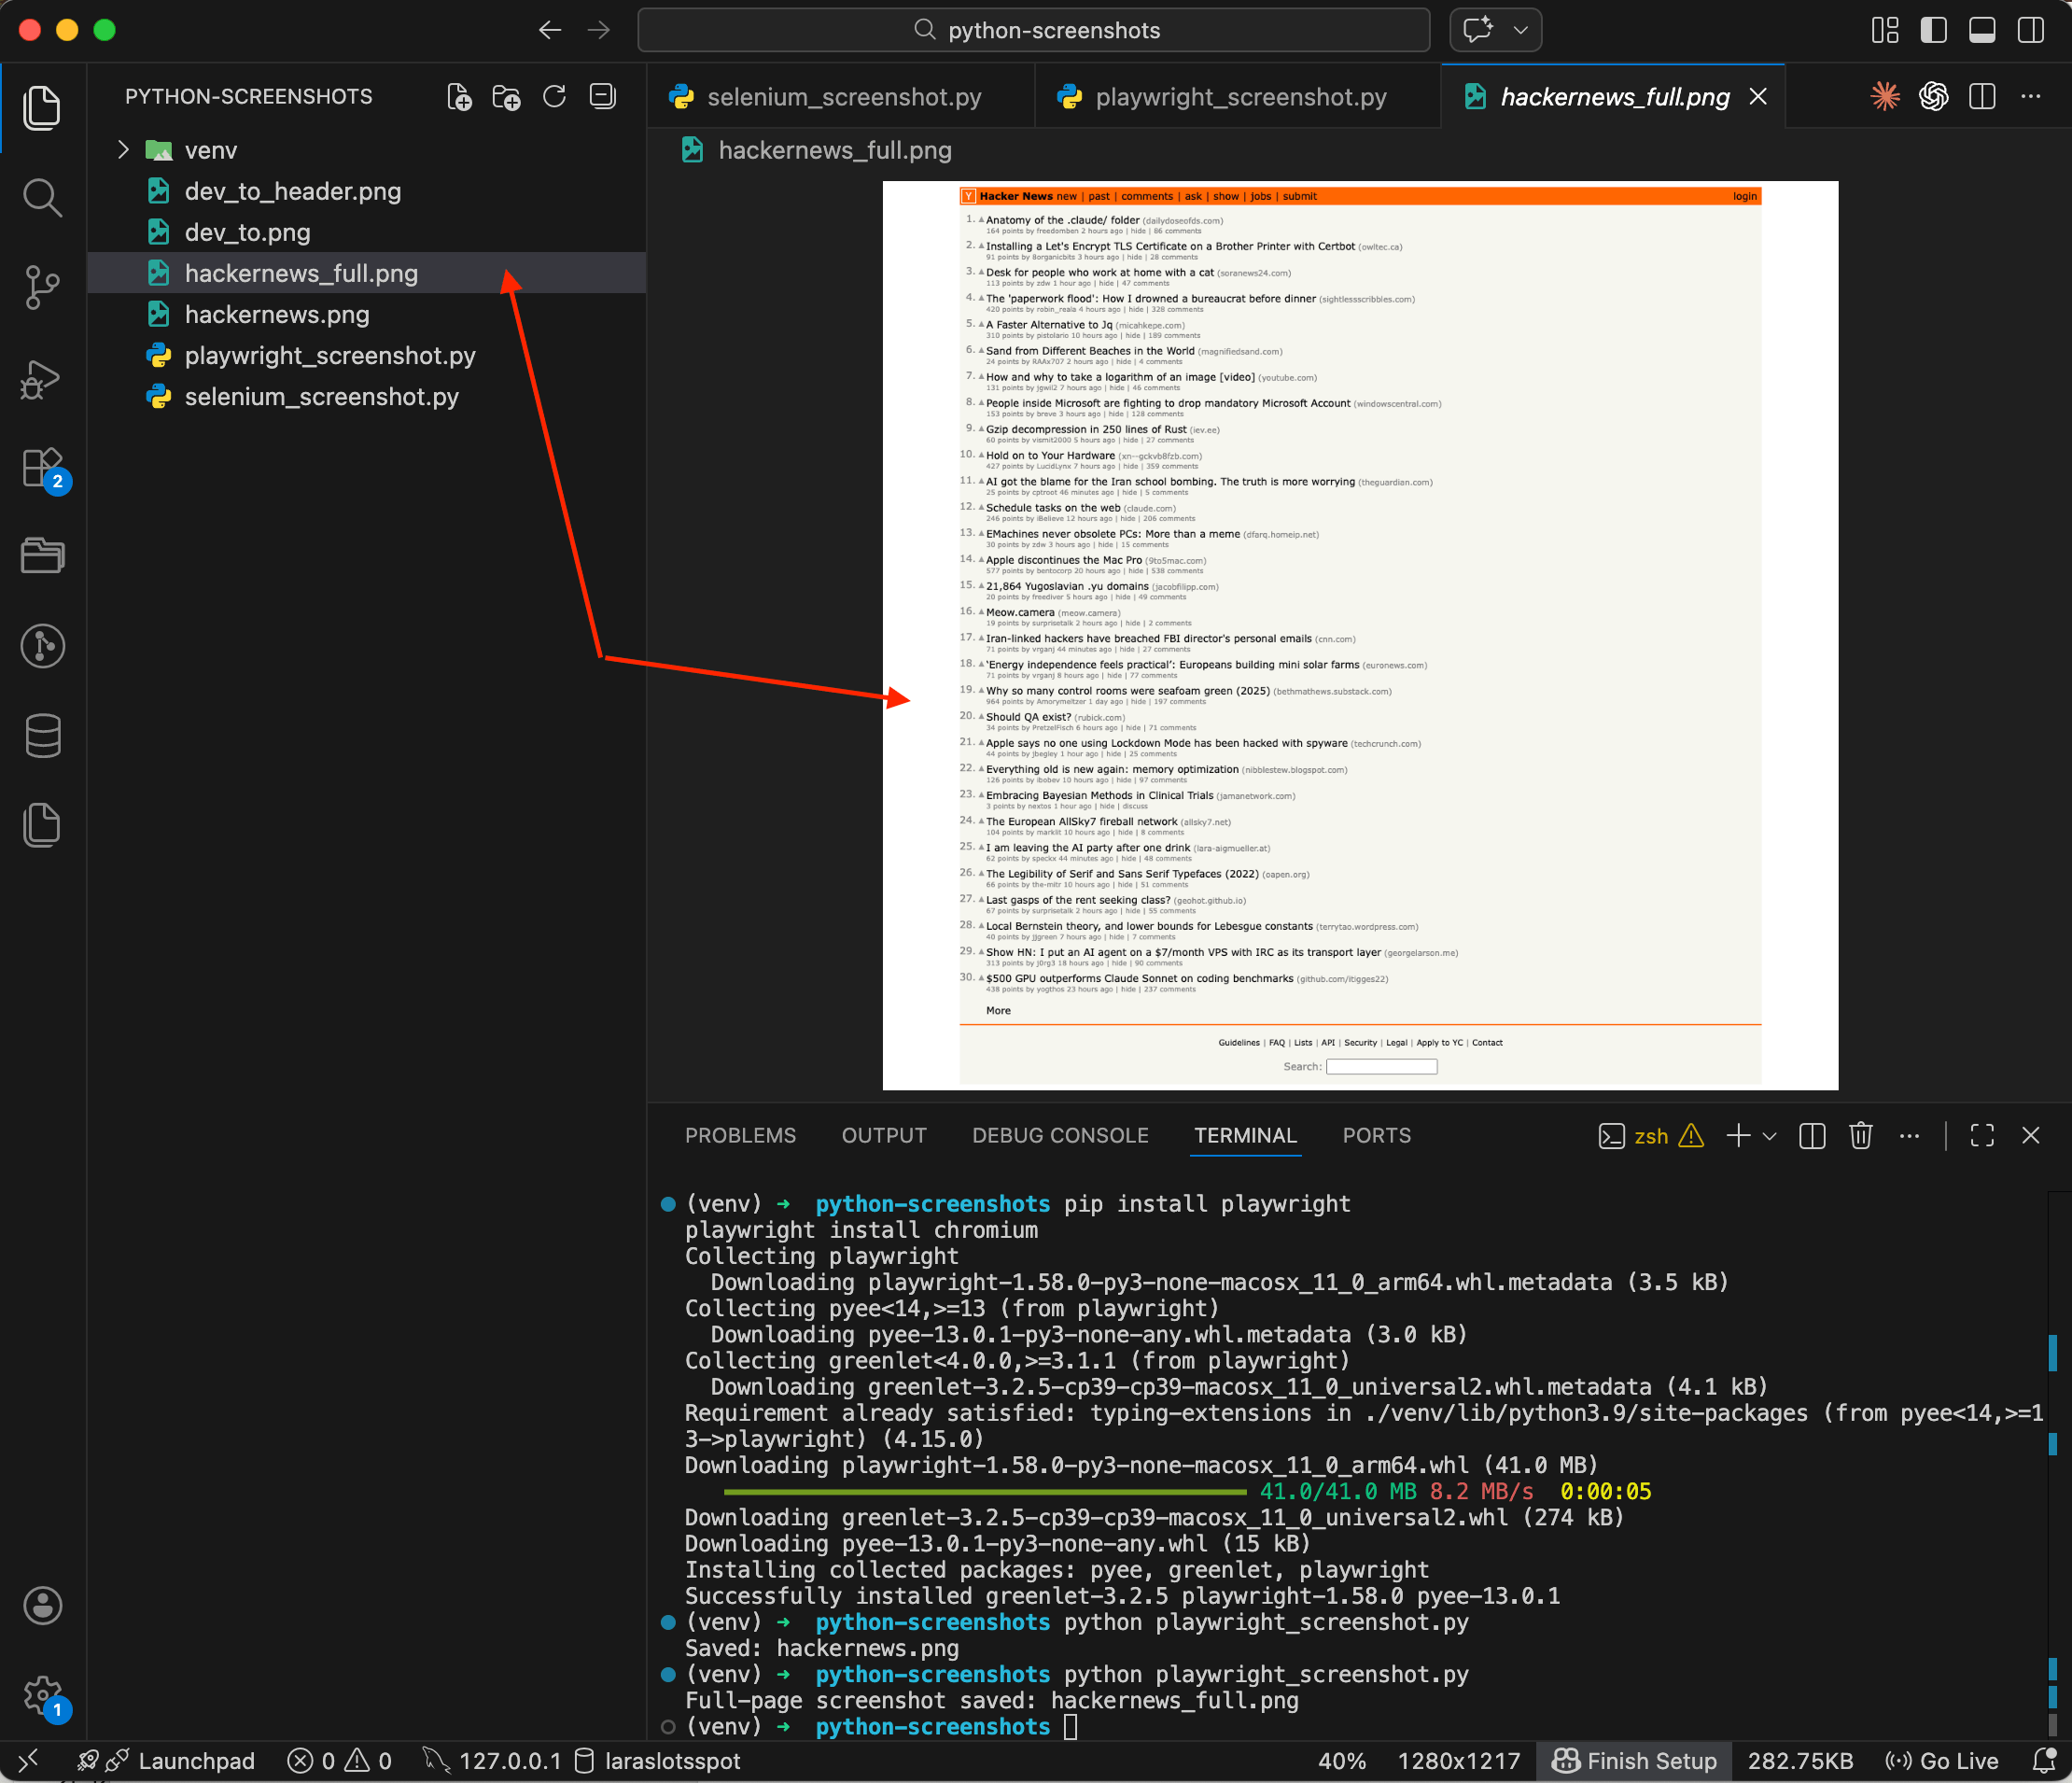
The difference is obvious. A regular screenshot gets cut off at the viewport height, while the full-page version captures everything — all 30 posts plus the footer with the search bar. Try doing that in Selenium with a single line, you can't.
Mobile viewport
Let's say you need to see how a site looks on a phone. Playwright lets you emulate specific devices:
from playwright.sync_api import sync_playwright

with sync_playwright() as p:
    browser = p.chromium.launch()

    # Emulate iPhone 14
    iphone = p.devices['iPhone 14']
    context = browser.new_context(**iphone)
    page = context.new_page()

    page.goto('https://news.ycombinator.com')
    page.screenshot(path='hackernews_mobile.png')

    print('Mobile screenshot saved: hackernews_mobile.png')
    browser.close()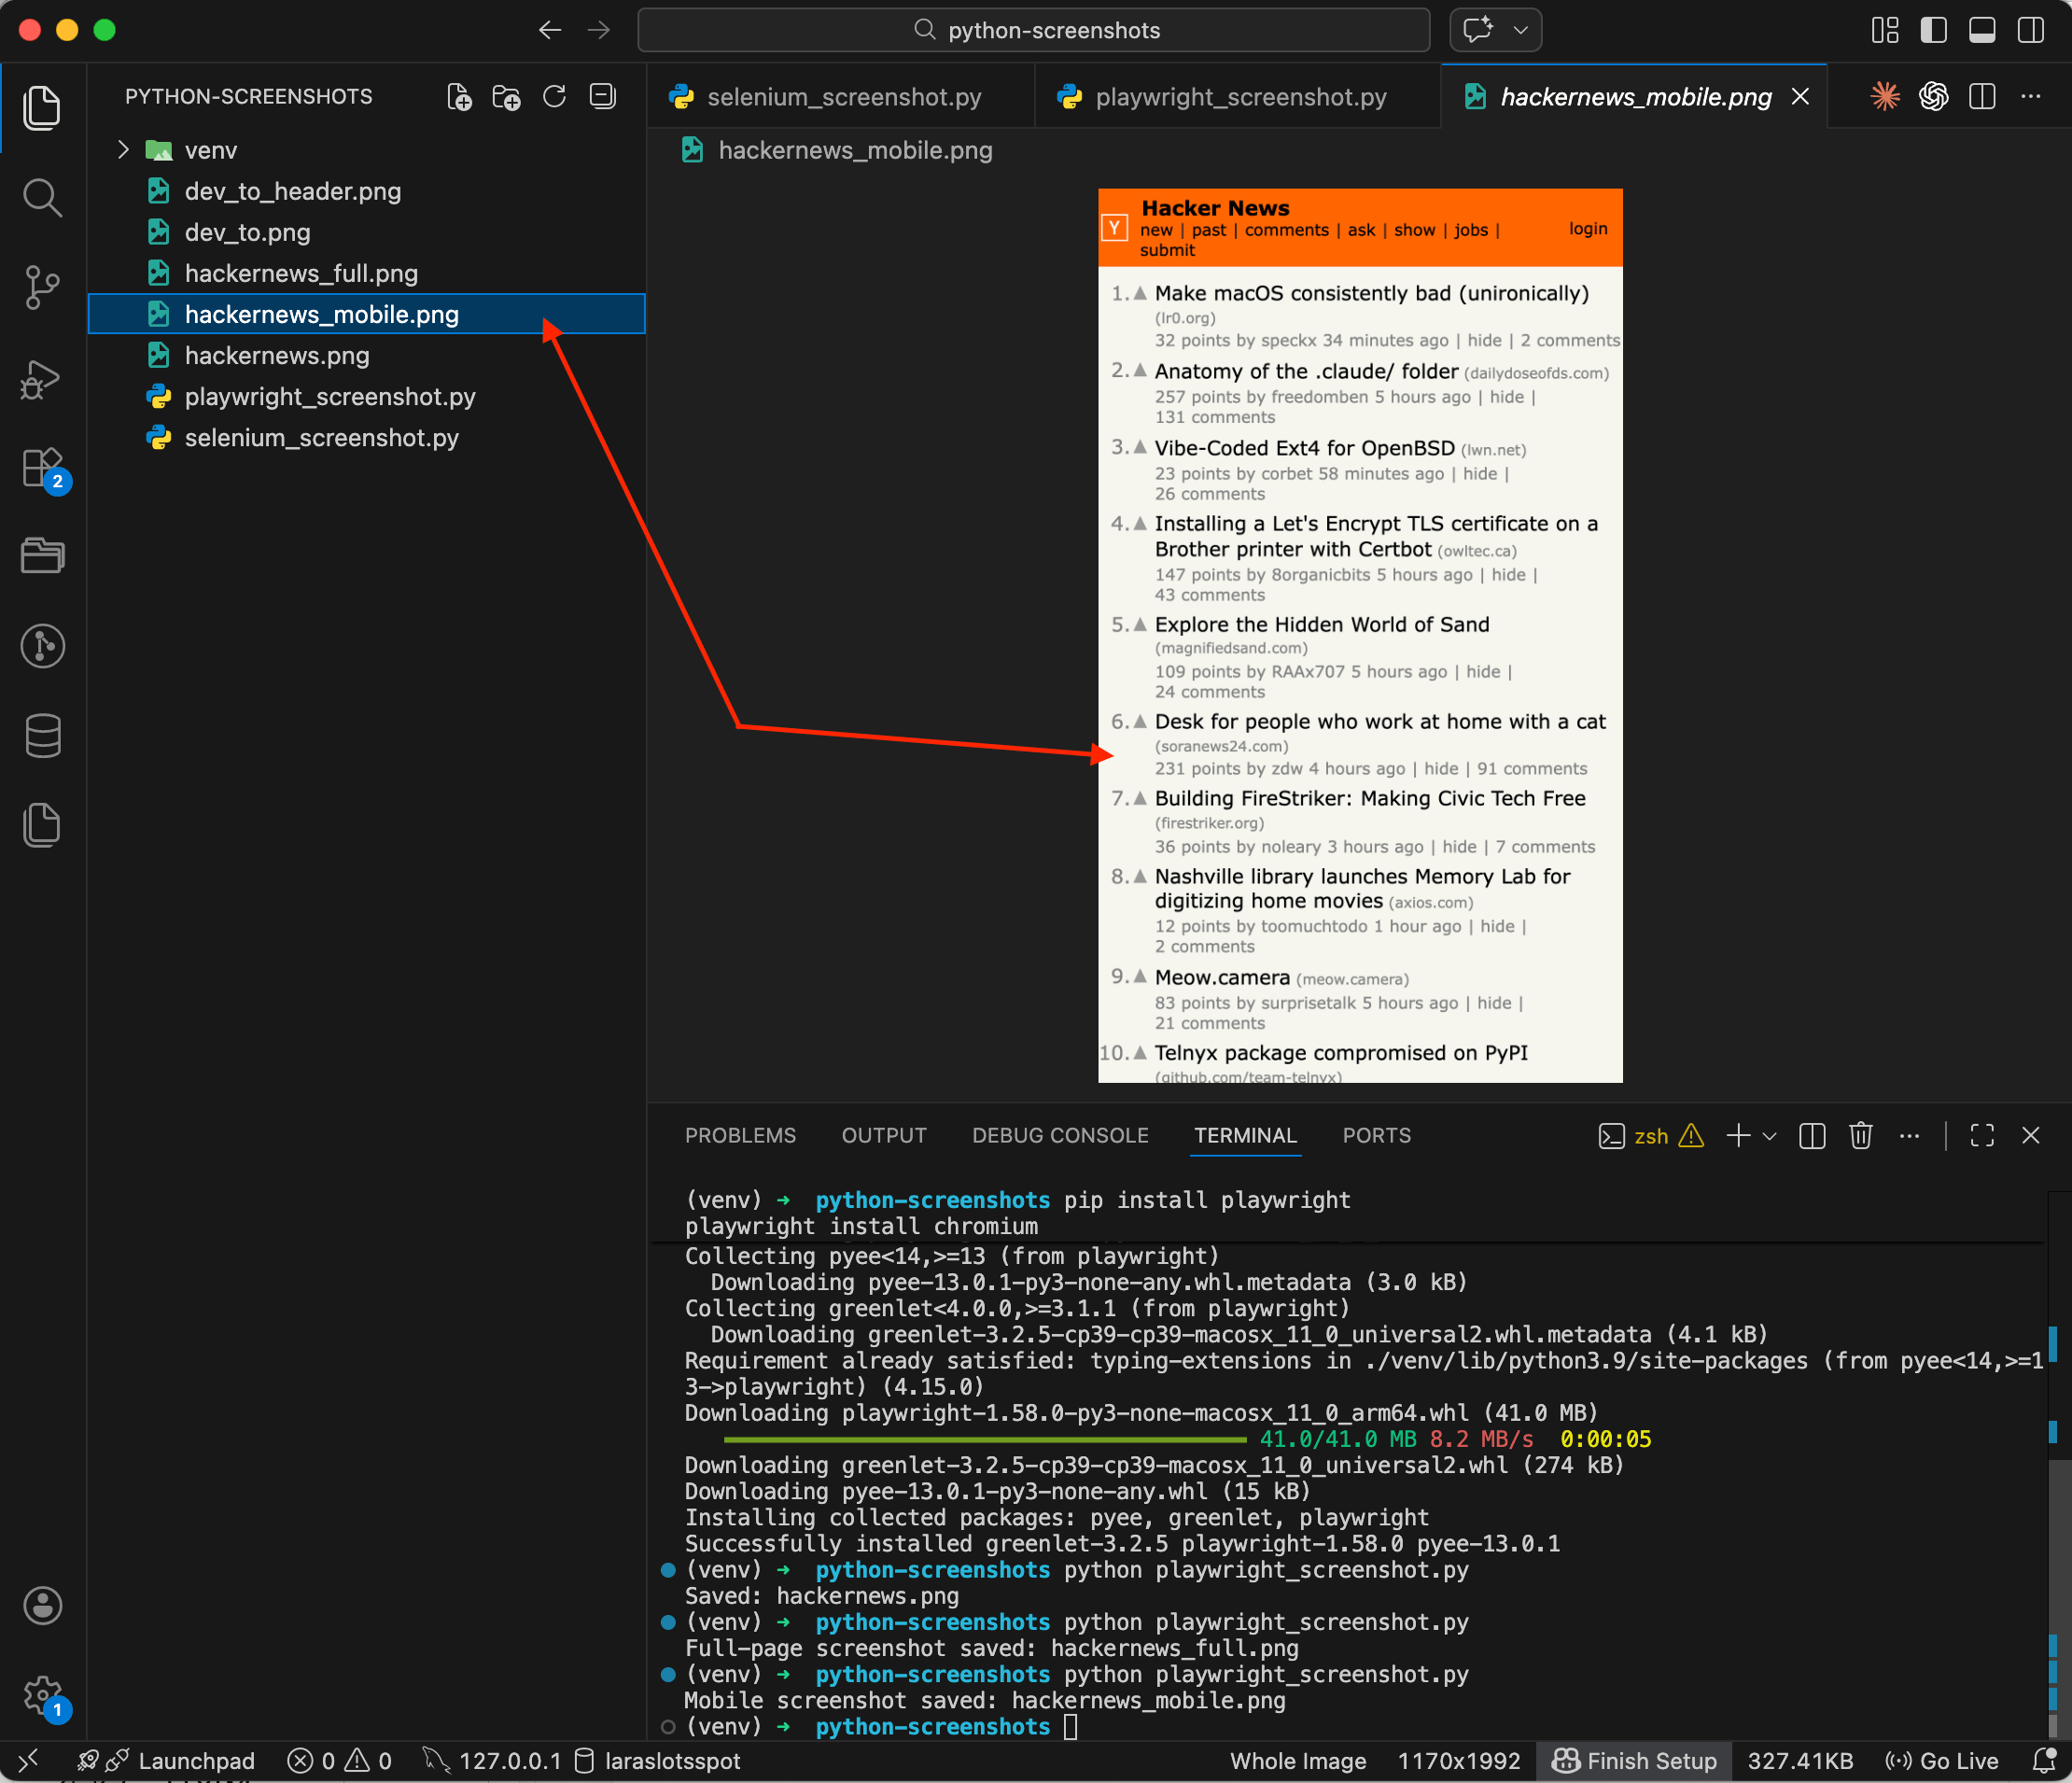
The screenshot shows Hacker News fully adapted to a mobile screen — posts stack in a single column, fonts are larger, navigation is rearranged. Playwright knows the specs of dozens of devices: iPhone, Pixel, iPad, and others, so there's no need to manually figure out viewport widths and user agents. I went deeper into the viewport-size and DPR details in a separate post on capturing websites as they appear on iPhone, iPad, or Android.
Waiting for content to load
Another common problem: the screenshot fires before the page has finished loading. This is especially painful with JavaScript-heavy pages. Playwright can wait for a specific element to appear:
from playwright.sync_api import sync_playwright

with sync_playwright() as p:
    browser = p.chromium.launch()
    page = browser.new_page(viewport={'width': 1280, 'height': 800})

    page.goto('https://github.com/trending')
    # Wait for the repository list to appear
    page.wait_for_selector('article.Box-row')
    page.screenshot(path='github_trending.png')

    print('Screenshot GitHub Trending saved: github_trending.png')
    browser.close()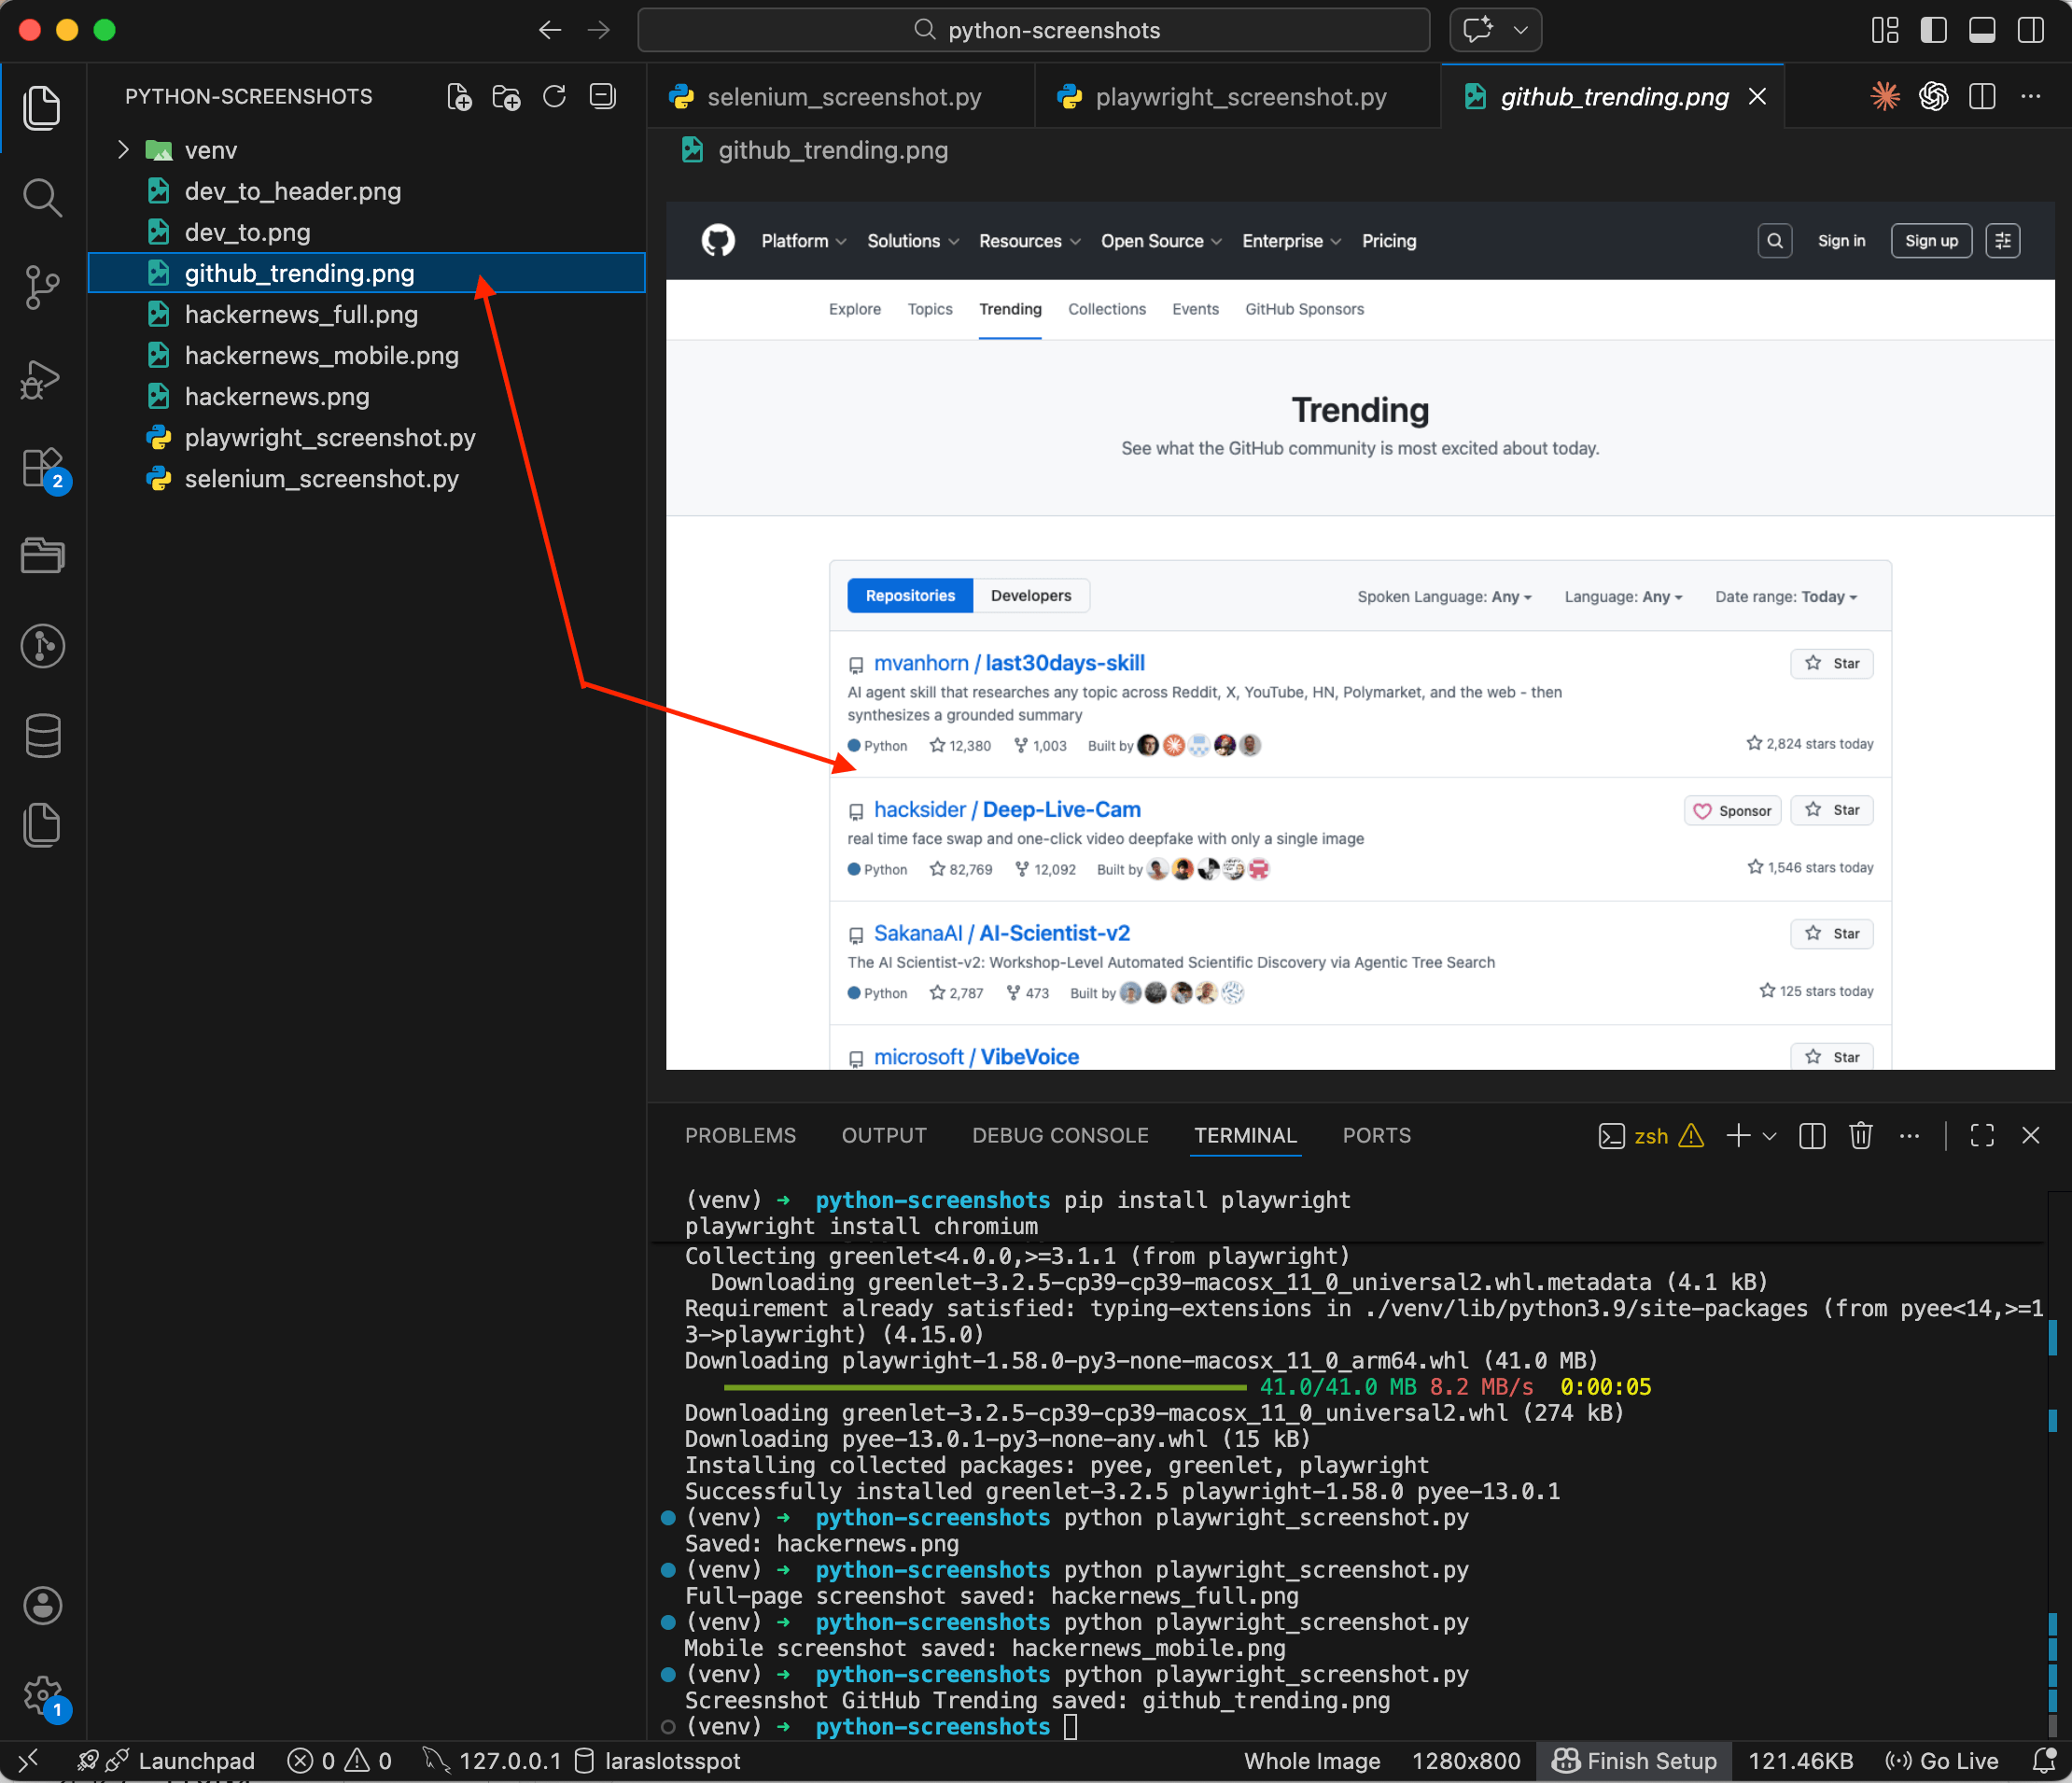
The screenshot shows the GitHub Trending page with the repository list fully loaded. You can see stars, forks, descriptions — all the content is there. Without wait_for_selector you might have gotten a half-empty page with just a spinner. With it, Playwright waits until the target content appears in the DOM, then takes the shot.
Method 3: Screenshot API
Selenium and Playwright work great on your local machine. But try running them on a server — Chrome needs to be installed, it pulls in dozens of dependencies, eats RAM, and crashes from time to time. On CI/CD it's a separate headache: Dockerfiles grow, builds slow down.
A screenshot API takes a different approach. You send an HTTP request with a URL and get a ready screenshot back. No browsers on your side, all the rendering happens remotely.
How it works
I'll show this using ScreenshotRun, an API I built for exactly this kind of task. The free plan gives you 200 requests per month, which is enough to try it out and see if this approach works for you.
First, sign up and copy your API key from the dashboard.
Basic request
File api_screenshot.py:
import requests

API_KEY = 'your-api-key-here'
URL = 'https://producthunt.com'

response = requests.get(
    'https://api.screenshotrun.com/v1/screenshots/capture',
    headers={
        'Authorization': f'Bearer {API_KEY}',
    },
    params={
        'url': URL,
        'format': 'png',
        'width': 1280,
        'height': 800,
        'response_type': 'image',
    },
    timeout=60,
)

if response.status_code == 200:
    with open('producthunt.png', 'wb') as f:
        f.write(response.content)
    print('Screenshot saved: producthunt.png')
else:
    print(f'Error: {response.status_code} — {response.text}')
pip install requests
python api_screenshot.pyNo Chromium, no driver. One HTTP request, one file. The requests library is already installed for most Python developers, so there's nothing extra to set up. Note the response_type: 'image' parameter — it tells the API to return the binary image directly, without a JSON wrapper. It's also worth setting timeout=60, since rendering heavy pages can take a few seconds.
Full-page screenshot via API
For a full-page screenshot, add one parameter:
import requests

API_KEY = 'your-api-key-here'

response = requests.get(
    'https://api.screenshotrun.com/v1/screenshots/capture',
    headers={
        'Authorization': f'Bearer {API_KEY}',
    },
    params={
        'url': 'https://github.com/topics',
        'format': 'png',
        'width': 1280,
        'full_page': True,
        'response_type': 'image',
    },
    timeout=60,
)

if response.status_code == 200:
    with open('github_topics_full.png', 'wb') as f:
        f.write(response.content)
    print('Full-page screenshot saved: github_topics_full.png')
else:
    print(f'Error: {response.status_code}')
The API scrolls the page itself, waits for lazy-loaded images to appear, and assembles the full snapshot. You don't need to think about scroll logic or timeouts — all of that is handled on the service side.
Mobile screenshot via API
import requests

API_KEY = 'your-api-key-here'

response = requests.get(
    'https://api.screenshotrun.com/v1/screenshots/capture',
    headers={
        'Authorization': f'Bearer {API_KEY}',
    },
    params={
        'url': 'https://stripe.com',
        'format': 'png',
        'width': 390,
        'height': 844,
        'response_type': 'image',
    },
    timeout=60,
)

if response.status_code == 200:
    with open('stripe_mobile.png', 'wb') as f:
        f.write(response.content)
    print('Mobile screenshot saved: stripe_mobile.png')
else:
    print(f'Error: {response.status_code}')
Width 390 and height 844 match the iPhone 14 screen size. You can emulate any mobile viewport the same way — just change the width and height values.
Batch processing multiple URLs
This is where the API approach pays off most. Say you need to screenshot several websites in one go:
import requests
import os

API_KEY = 'your-api-key-here'

urls = [
    'https://github.com',
    'https://stackoverflow.com',
    'https://dev.to',
    'https://news.ycombinator.com',
    'https://producthunt.com',
]

os.makedirs('screenshots', exist_ok=True)

for url in urls:
    domain = url.split('//')[1].split('/')[0].replace('.', '_')

    response = requests.get(
        'https://api.screenshotrun.com/v1/screenshots/capture',
        headers={
            'Authorization': f'Bearer {API_KEY}',
        },
        params={
            'url': url,
            'format': 'png',
            'width': 1280,
            'height': 800,
            'response_type': 'image',
        },
        timeout=60,
    )

    if response.status_code == 200:
        filepath = f'screenshots/{domain}.png'
        with open(filepath, 'wb') as f:
            f.write(response.content)
        print(f'✓ {domain}')
    else:
        print(f'✗ {domain}: {response.status_code}')

print(f'\nReady screenshots/')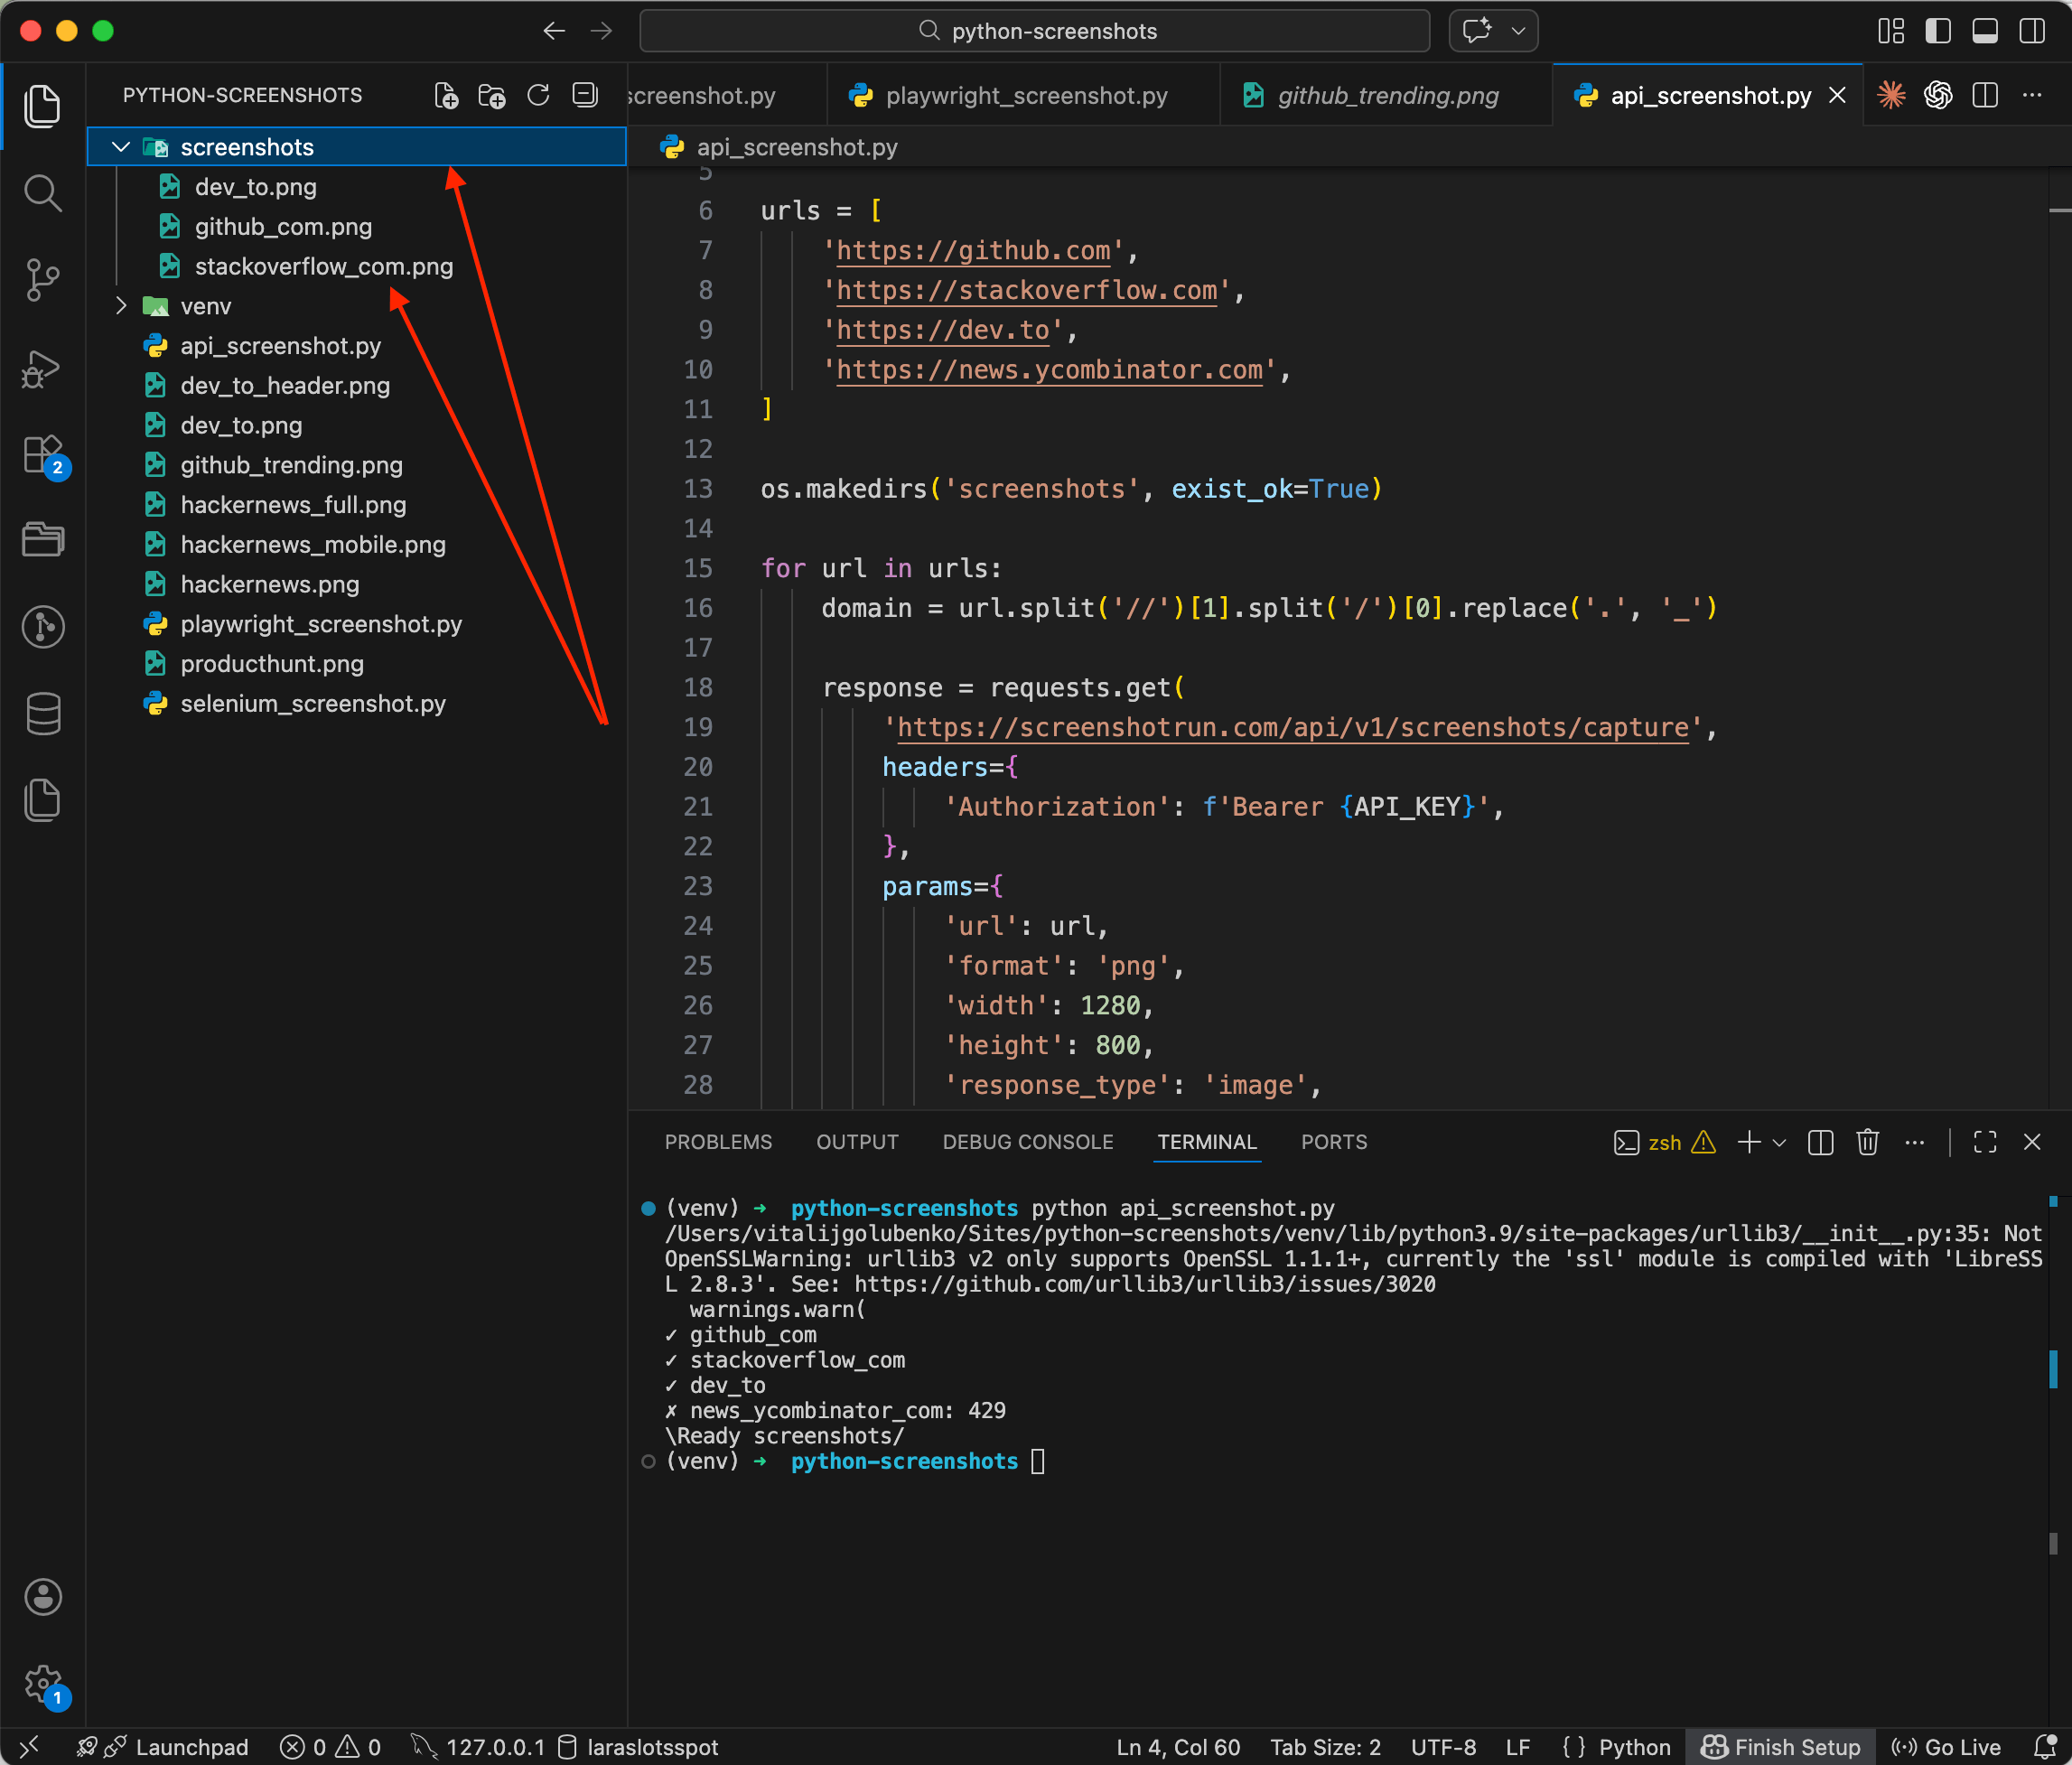
Checkmarks roll through the terminal: ✓ github_com, ✓ stackoverflow_com, ✓ dev_to... PNG files appear in the screenshots/ folder, one per site. You might notice one of the requests returned a 429 (rate limit) — the free plan has a cap on concurrent requests. For production use, you can either upgrade to a paid plan or add a pause between requests with time.sleep(1).
Five sites, five files, 35 lines of code — with Selenium you'd have to launch and shut down the browser for each URL, while with the API each request is just a regular HTTP call, no different from calling any other REST API. If you're running the same batch repeatedly (daily competitor monitoring, for example), it's worth caching the results so you're not paying for duplicate captures of pages that haven't changed.
Selenium vs Playwright vs API — an honest comparison
I've tried all three approaches. Here's what I think.
Selenium
When it fits: you already have Selenium in your project for testing or scraping. Adding save_screenshot() to existing code takes one line. Installing Selenium just for screenshots isn't worth it.
Pros: the most mature tool out there, with a huge amount of documentation and examples online. Supports all major browsers: Chrome, Firefox, Safari, Edge. You can interact with the page before taking a screenshot — click buttons, fill forms, scroll. Works well with pytest for testing.
Cons: no full-page screenshots out of the box, only viewport. You need to keep chromedriver version in sync with the browser (webdriver-manager helps, but doesn't always solve this). Verbose code even for simple tasks. On a server without a GUI, you need to configure headless mode and install rendering dependencies.
Playwright
When it fits: you're writing a script from scratch and need full-page screenshots, mobile emulation, or smart waiting. For local work and CI/CD with moderate volume, it's the best choice.
Pros: full-page screenshots with a single line — full_page=True. Built-in mobile device emulation with a ready-made device database. Smart waiting — you can wait for a specific element, network idle, or a particular page state. Clean, compact API with less boilerplate compared to Selenium. Same API for Chromium, Firefox, and WebKit.
Cons: Chromium weighs about 400 MB and downloads on first install. Each running browser instance consumes 200-400 MB of RAM. On servers you still need system dependencies for rendering (fonts, libraries). For 100+ screenshots you need to think about parallelism and browser pools.
Screenshot API
When it fits: production, automation, server-side scripts. When you don't want to deal with browser installation and resource management. When you need stability and predictability.
Pros: zero dependencies on your side, just requests. Works on any platform that has an HTTP client: a server, a Lambda function, a Jupyter Notebook. Doesn't consume your server's RAM or CPU. Easy to scale — no difference between 1 screenshot and 1000. The API handles cookie banners, lazy loading, and JavaScript rendering on its own.
Cons: you depend on an external service — if the API is down, no screenshots. The free plan has limits (200 requests/month on ScreenshotRun). A small network delay, each request takes 3-10 seconds instead of 1-3 seconds locally. Paid plans for higher volumes start at $9/month. You can't interact with the page (click, log in), it's screenshot by URL only.
Which one to pick
For one-off screenshots on your own machine — Playwright. For integrating into an existing test infrastructure — Selenium. For server automation and batch processing — Screenshot API.
Production gotchas I wish I'd known earlier
A few things I figured out in practice.
Waiting for page load. Pages with heavy JavaScript might not finish rendering by the time the screenshot fires. In Playwright, use wait_for_selector() to wait for a specific element, or wait_for_load_state('networkidle') to wait until all network requests have settled. With the API approach, this is handled on the service side — it waits for full load automatically.
Cookie banners and popups. They constantly cover content in screenshots. In Selenium and Playwright you can dismiss them via JavaScript injection: find the "Accept" button or the entire banner and remove it from the DOM. I wrote up the full layered approach I ended up using — network-level blocking, CSS injection, and auto-click fallback — in a separate post on hiding cookie banners, ads, and chat widgets in screenshots. The ScreenshotRun API handles this automatically.
Server resources. Each Chrome instance consumes 200-400 MB of RAM. Ten parallel browsers — that's already 2-4 GB just for screenshots. By comparison, the API approach uses approximately 0 MB of your RAM, because rendering happens on someone else's server.
File format. PNG is for pixel-perfect images with no quality loss. JPEG is for when file size matters and you can sacrifice some detail. WebP strikes a good balance between size and quality, though not all image viewers support it yet.
Rate limits. If you're making batch requests through an API, add time.sleep(1) between calls. Most API services limit the number of requests per second, and without a pause some requests will return a 429 error.
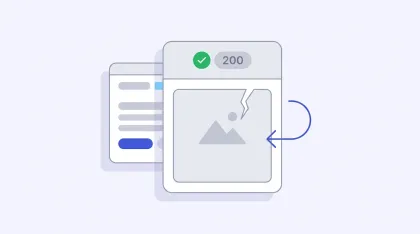
How to handle screenshot API responses in production
A 200 OK from a screenshot API doesn't mean you got a screenshot — the transport and render layers fail independently. Which status codes to retry and which not, backoff with jitter, respecting Retry-After, catching blank images that pass as a 200, and a circuit breaker. Node.js code throughout.
Read more →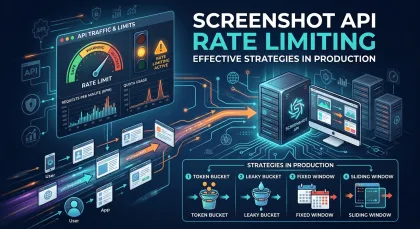
Screenshot API rate limiting strategies in production
Most rate limiting guides only cover retry strategies. That's only half the problem. Five concrete strategies — proactive (token bucket, queue) and reactive (Retry-After, exponential backoff, circuit breaker) — with Node.js code.
Read more →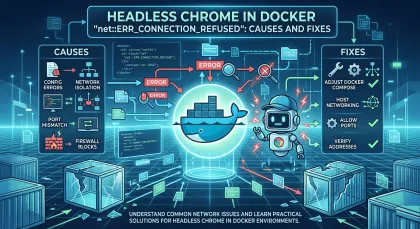
Headless Chrome "net::ERR_CONNECTION_REFUSED" in Docker: causes and fixes
ERR_CONNECTION_REFUSED in headless Chrome inside Docker isn't one error — it's five different network problems sharing the same message. Diagnose with one curl from inside the container, then fix per cause.
Read more →