 Vitalii Holben
How to take a screenshot of a specific element on a web page
Sometimes you don't need a screenshot of the entire page — just one element. A pricing table, a chart, a widget. Here's how to capture a specific HTML element using a CSS selector with Playwright, Puppeteer, and a screenshot API.
Every now and then a user writes to me asking: "can I screenshot just one element on the page, not the whole thing?" I always say yes, and every time I mean to write this up properly. So here it is.
The use case comes up a lot. You don't need the full page at 3000 pixels tall. You need the pricing table, or a chart, or a single product card. Everything else is noise you'd have to crop out by hand.
All three approaches work the same way: you pass a CSS selector, the tool finds that element, and clips the screenshot to its boundaries. Playwright and Puppeteer both handle this out of the box. The screenshotrun API has a selector parameter that does the same thing in a single HTTP request. I'll go through each one below, so pick whichever fits your setup.
How to find the CSS selector for any element
If it's your own page, you already know the id or class. But if you need to screenshot an element on someone else's site, the quickest way is this: open DevTools (F12), find the element in the Elements panel, right-click it, and choose "Copy → Copy selector."
Chrome will give you something like #main > div.content > section:nth-child(3). Looks ugly, but it works. Good enough for most tasks.
If the selector is too long and fragile, try to find the nearest id or a unique class name. #pricing is always more reliable than a chain of five nested divs.
Method 1: Playwright (element handle)
I use Playwright inside screenshotrun itself. It powers the rendering engine.
Playwright has a .screenshot() method right on the element handle. Here's the minimal version:
const { chromium } = require('playwright');
(async () => {
const browser = await chromium.launch();
const page = await browser.newPage();
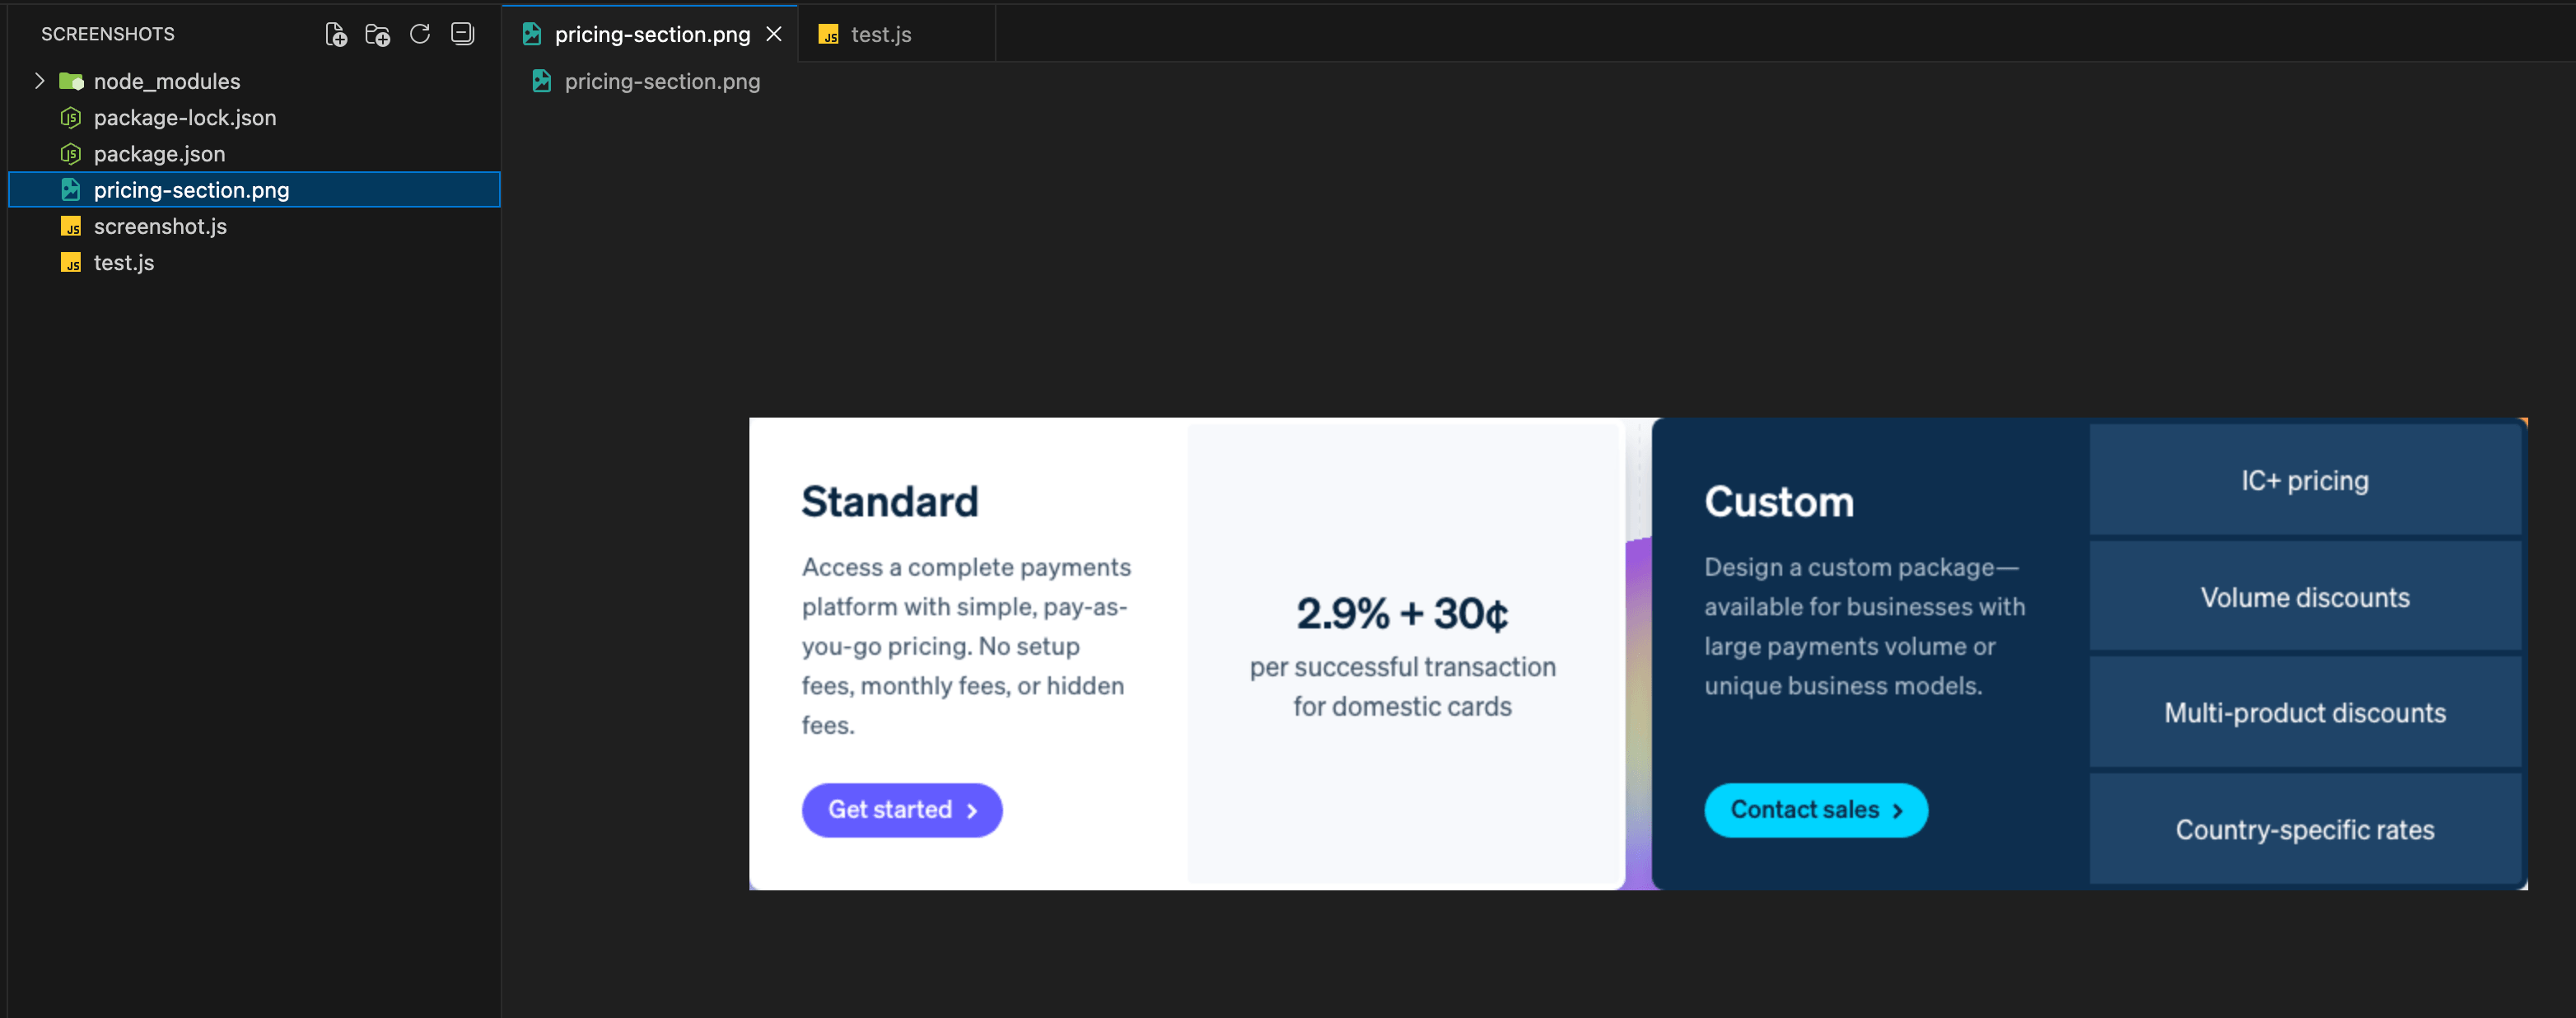
await page.goto('https://stripe.com/pricing');
const element = await page.locator('.PricingHeroSection__cardLayout');
await element.screenshot({ path: 'pricing-section.png' });
await browser.close();
})();Playwright locates the element, calculates its bounding box, and clips the screenshot to that exact area. The resulting image matches the element's dimensions, with no extra whitespace, no surrounding content.
If the element is below the fold, Playwright scrolls to it automatically. You don't have to handle that yourself.
One thing that tripped me up early on: if the element has overflow: hidden and some of its content is clipped by CSS, the screenshot only captures the visible part. Playwright captures what's rendered on screen, not everything that's in the DOM.
Method 2: Puppeteer (with optional padding)
Puppeteer works almost the same way. In recent versions, .screenshot() on an element handle is supported too:
const puppeteer = require('puppeteer');

(async () => {
  const browser = await puppeteer.launch();
  const page = await browser.newPage();
  await page.goto('https://stripe.com/pricing');

  const element = await page.$('.PricingHeroSection__cardLayout');
  await element.screenshot({ path: 'pricing-section.png' });

  await browser.close();
})();
But Puppeteer has one trick that Playwright doesn't offer out of the box: you can add padding around the element using boundingBox() + clip:
const box = await element.boundingBox();
await page.screenshot({
  path: 'pricing-with-padding.png',
  clip: {
    x: box.x - 10,
    y: box.y - 10,
    width: box.width + 20,
    height: box.height + 20,
  },
});
That gives you 10 pixels of breathing room on all sides, which is useful when cropping right to the pixel makes the result look awkward. I've used this trick myself a couple of times during testing.
If you're interested in a fuller comparison of Playwright and Puppeteer for screenshots, I covered both tools in detail in my Node.js screenshot guide.
Method 3: Screenshot API (no browser needed)
Playwright and Puppeteer work great when you're running a browser locally or on CI. But if you need element screenshots in a production backend (handling user requests, generating previews, archiving pages), a headless browser on your server starts causing problems: memory usage, timeouts, zombie processes. I went through all of that while building screenshotrun.
The API's selector parameter does exactly what Playwright does. It finds the element and crops to it, just without the need to run a browser yourself.
cURL:
curl -X POST https://api.screenshotrun.com/v1/screenshots \
  -H "Authorization: Bearer YOUR_API_KEY" \
  -H "Content-Type: application/json" \
  -d '{
    "url": "https://stripe.com/pricing",
    "selector": ".HeroCard__container--directionRow"
  }'
If you prefer doing this as a one-liner with cURL, the GET endpoint supports selector too.
Python version:
import requests

API_KEY = 'YOUR_API_KEY'

response = requests.post(
    "https://api.screenshotrun.com/v1/screenshots",
    headers={'Authorization': f'Bearer {API_KEY}'},
    json={
        "url": "https://stripe.com/pricing",
        "selector": ".HeroCard__container--directionRow"
    }
)

screenshot_id = response.json()["data"]["id"]
print(f"Screenshot ID: {screenshot_id}")
More Python screenshot examples in a separate guide.
The selector parameter is available on all plans, including free. Full parameter list is in the API documentation.
What I like about the API approach: selector combines with other parameters. selector + dark_mode captures an element in dark theme. selector + retina gives you 2x resolution. Add hide_selectors to remove a cookie banner before capturing, something you'd otherwise have to script yourself in Playwright.
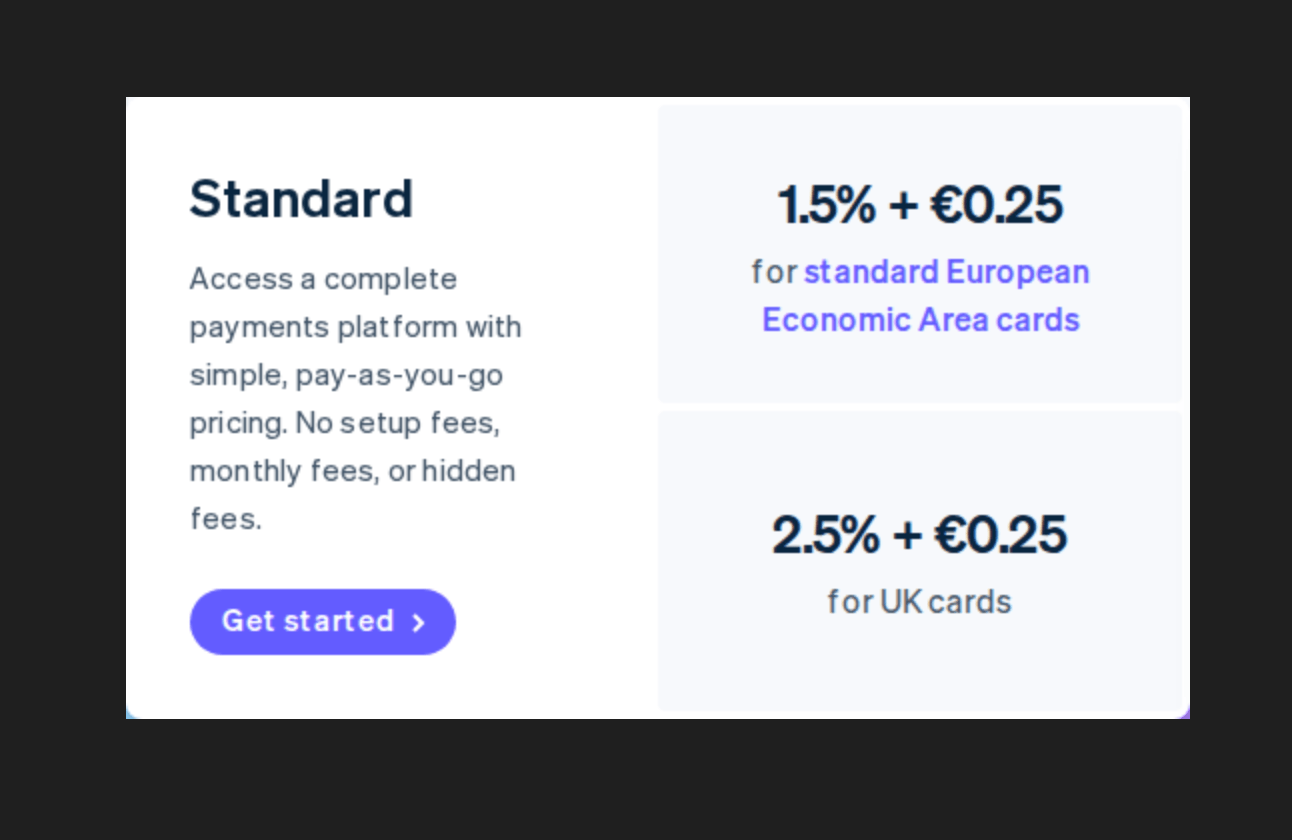
Here's an example: same element, but in dark mode with retina:
import requests
API_KEY = 'YOUR_API_KEY'
response = requests.post(
"https://api.screenshotrun.com/v1/screenshots",
headers={'Authorization': f'Bearer {API_KEY}'},
json={
"url": "https://stripe.com/pricing",
"selector": ".HeroCard__container--directionRow",
"dark_mode": True,
"retina": True
}
)
screenshot_id = response.json()["data"]["id"]
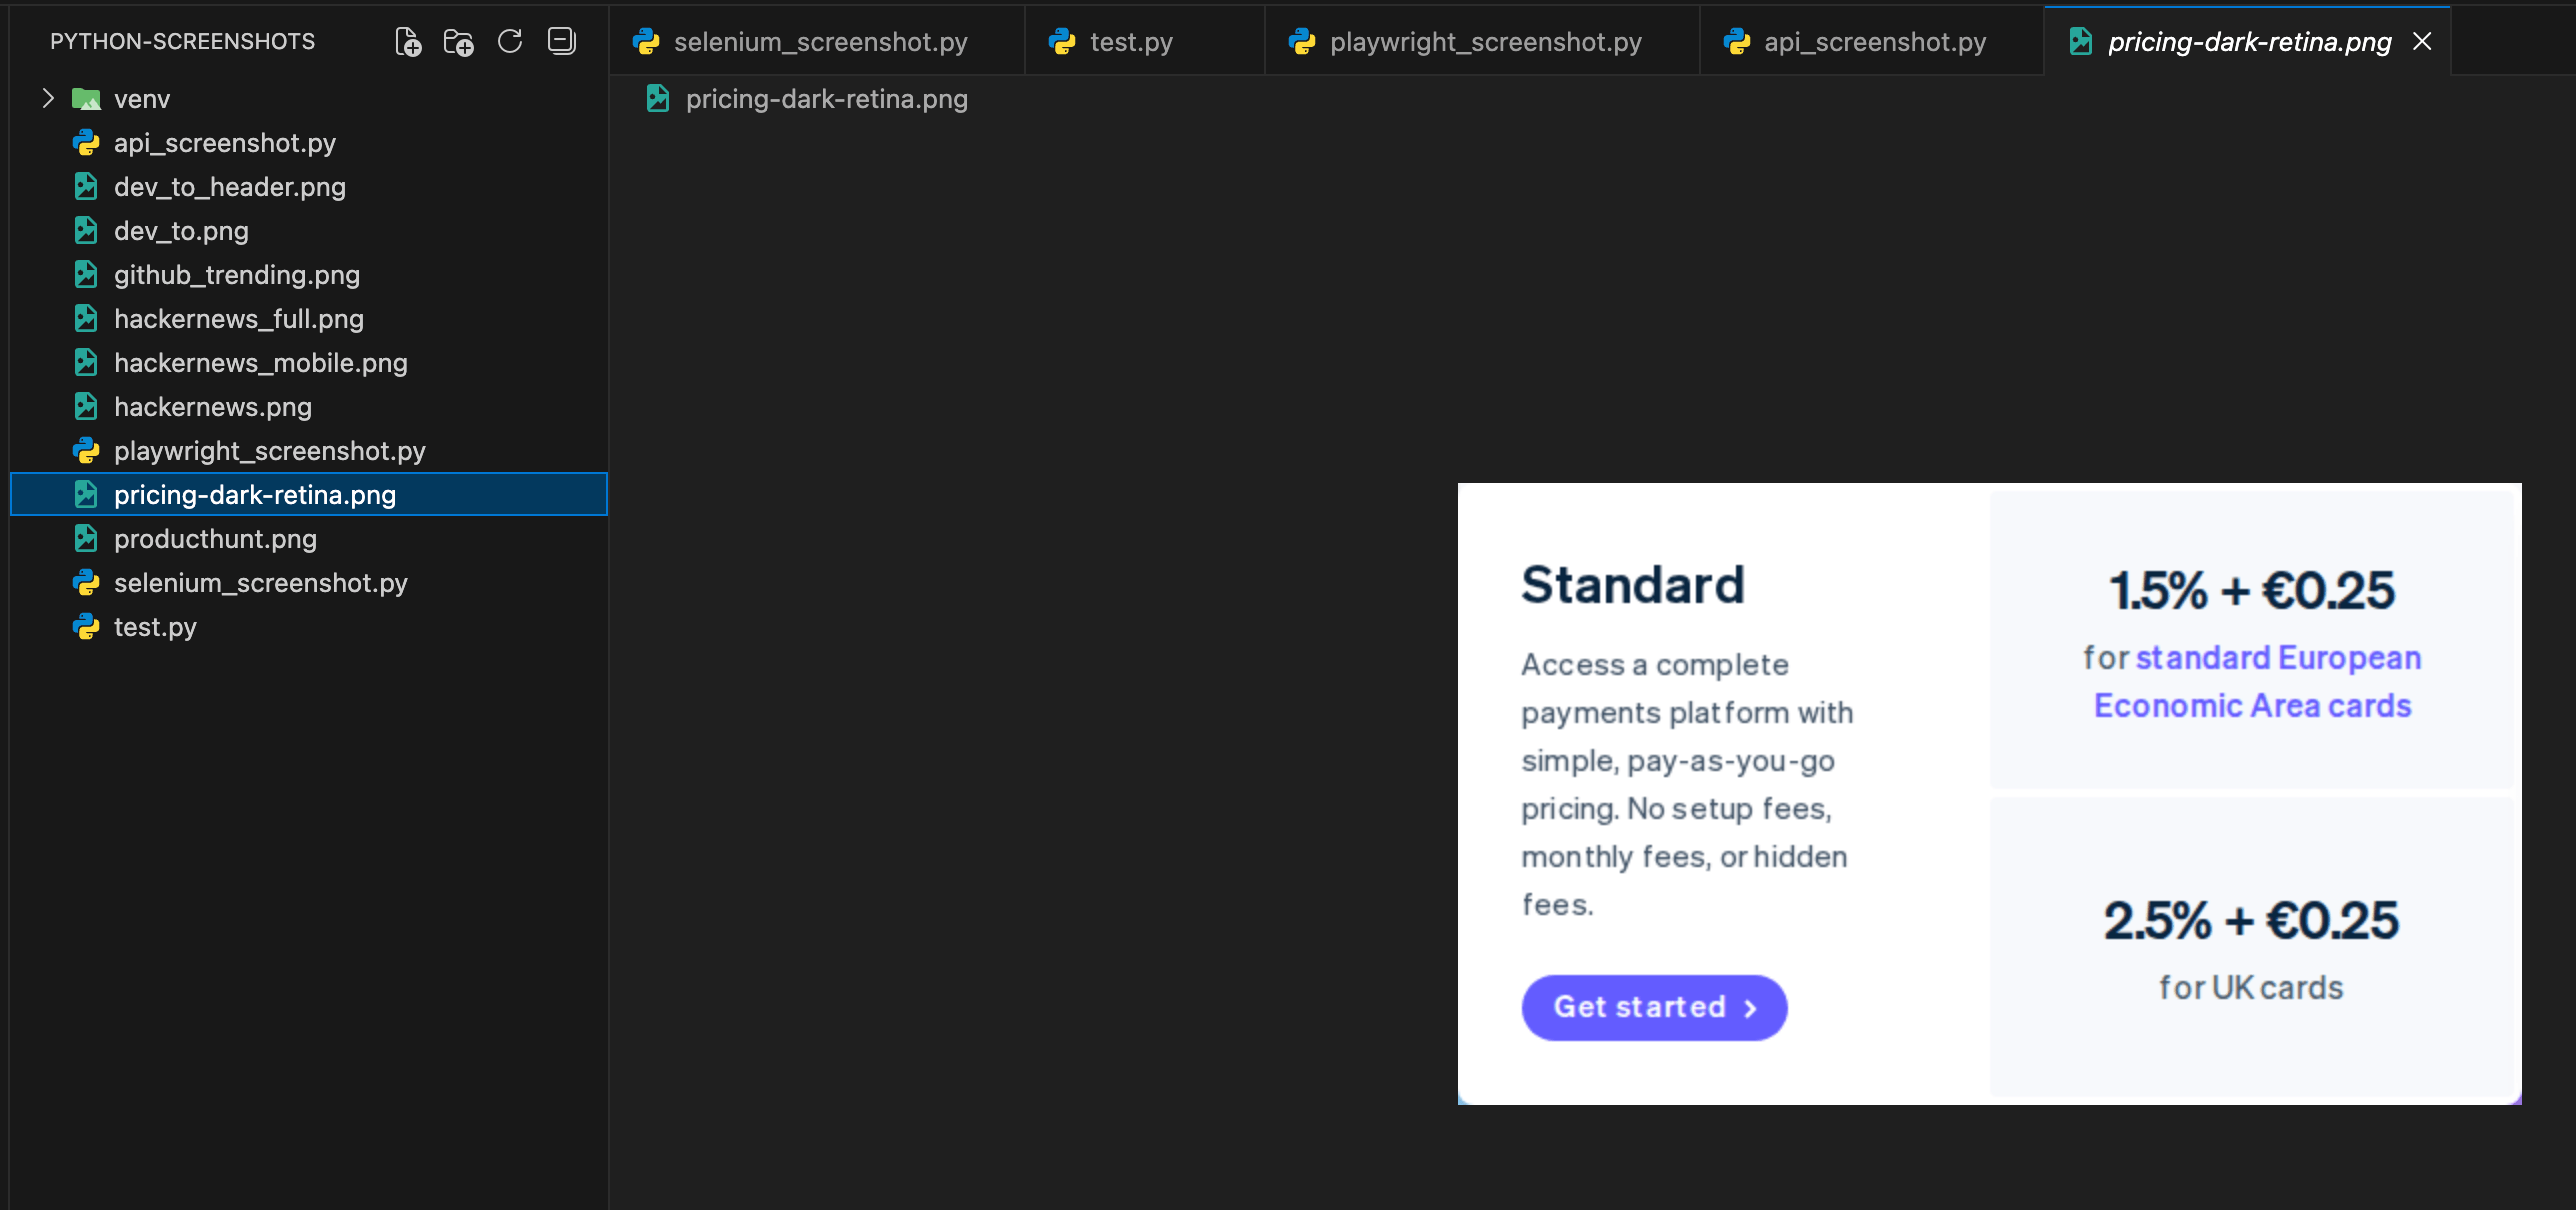
print(f"Screenshot ID: {screenshot_id}")The script returns a screenshot ID, something like 550e8400-e29b-41d4-a716-446655440000. The screenshot is still rendering at this point, so you can't download it right away. Wait a couple of seconds and grab the result with cURL:
curl -H "Authorization: Bearer YOUR_API_KEY" \
  https://api.screenshotrun.com/v1/screenshots/YOUR_SCREENSHOT_ID/image \
  -o pricing-dark-retina.png
Or with Python:
import requests

API_KEY = 'YOUR_API_KEY'
SCREENSHOT_ID = 'YOUR_SCREENSHOT_ID'

image = requests.get(
    f"https://api.screenshotrun.com/v1/screenshots/{SCREENSHOT_ID}/image",
    headers={'Authorization': f'Bearer {API_KEY}'},
)

with open("pricing-dark-retina.png", "wb") as f:
    f.write(image.content)

print("Saved: pricing-dark-retina.png")
Two separate steps work fine for experimenting, but in production you'd want to poll the status or use webhooks to get notified when the screenshot is ready for download.
Gotchas that trip people up with element screenshots
A few things I learned the hard way:
Element not found. If the selector doesn't match anything, Playwright throws an error, Puppeteer returns null, and the screenshotrun API responds with a 422. Always handle this case. Pages change, selectors break.
Element loads dynamically. On SPA pages (React, Vue, Angular), the element might not exist in the DOM when the page first loads. With Playwright, call page.waitForSelector('#pricing') before taking the screenshot. With the API, the delay parameter gives the page extra time to render. Two or three seconds usually does it.
Sticky header overlapping the element. If the page has a fixed navigation bar, it can end up on top of your element in the screenshot. The API has hide_selectors for this. Hide the header before capturing. With Playwright, inject CSS via page.addStyleTag().
Multiple matches. All three methods capture only the first matching element. Be specific with your selectors so you don't end up screenshotting the wrong block.
I covered similar screenshot API use cases in a separate post, including archiving and monitoring scenarios where element screenshots come in handy.
Which approach fits which situation
If Playwright or Puppeteer is already in your stack and you're taking screenshots on a build server or locally, just use them directly. Element screenshots work well, and you don't need extra dependencies.
If you need element screenshots in a production backend (processing user requests, generating thumbnails, archiving), running a headless browser on your server adds complexity: memory, timeouts, zombie processes, Chromium updates. A screenshot API handles all of that for you.
I wrote more about the tradeoffs between running your own browser and using an API in my Node.js guide and the PHP version.
Element screenshots are a simple feature once you know about the selector trick. The real work is usually not in the capture itself, but in finding a stable CSS selector for someone else's site and dealing with dynamic content.
How to handle screenshot API responses in production
A 200 OK from a screenshot API doesn't mean you got a screenshot — the transport and render layers fail independently. Which status codes to retry and which not, backoff with jitter, respecting Retry-After, catching blank images that pass as a 200, and a circuit breaker. Node.js code throughout.
Read more →
Screenshot API rate limiting strategies in production
Most rate limiting guides only cover retry strategies. That's only half the problem. Five concrete strategies — proactive (token bucket, queue) and reactive (Retry-After, exponential backoff, circuit breaker) — with Node.js code.
Read more →
Headless Chrome "net::ERR_CONNECTION_REFUSED" in Docker: causes and fixes
ERR_CONNECTION_REFUSED in headless Chrome inside Docker isn't one error — it's five different network problems sharing the same message. Diagnose with one curl from inside the container, then fix per cause.
Read more →