 Vitalii Holben
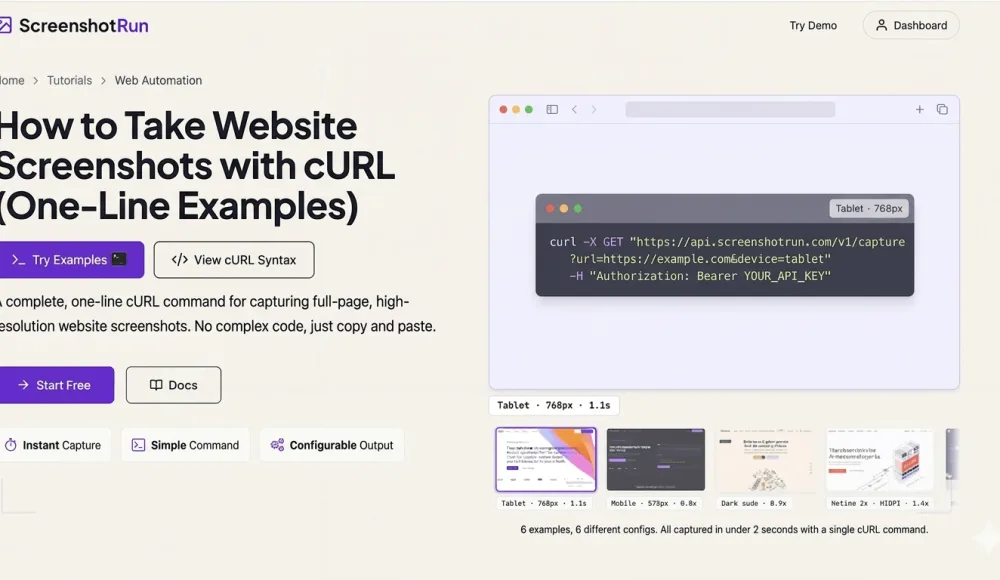
How to take website screenshots with cURL (one-line examples)
Capture website screenshots straight from your terminal. One-line cURL examples for full-page captures, mobile viewports, dark mode, PDF export, thumbnails, and cookie banner removal — no SDKs, no libraries, just cURL.
Sometimes you don't want to spin up a Node.js project or write a Python script just to grab a single screenshot. You need a quick capture from the terminal: test an API parameter, check an edge case, take a before/after shot. Or maybe you're SSHed into a server and cURL is all you've got.
I use cURL all the time when debugging screenshotrun: testing parameters, poking at edge cases, grabbing quick screenshots. Below are the examples that live in my shell history. Every one is a single cURL command: copy it, swap in your API key, run it. I'll cover basic capture, full-page, mobile viewport, dark mode, PDF, thumbnails, CSS injection, hiding cookie banners, and rendering raw HTML. Each command can be saved as a shell alias or dropped into a bash script.
Getting your API key set up
If you don't have a screenshotrun account yet, sign up here. The free plan gives you 200 screenshots per month, no credit card needed.
Once you're in, head to Dashboard → API Keys and create a new key:
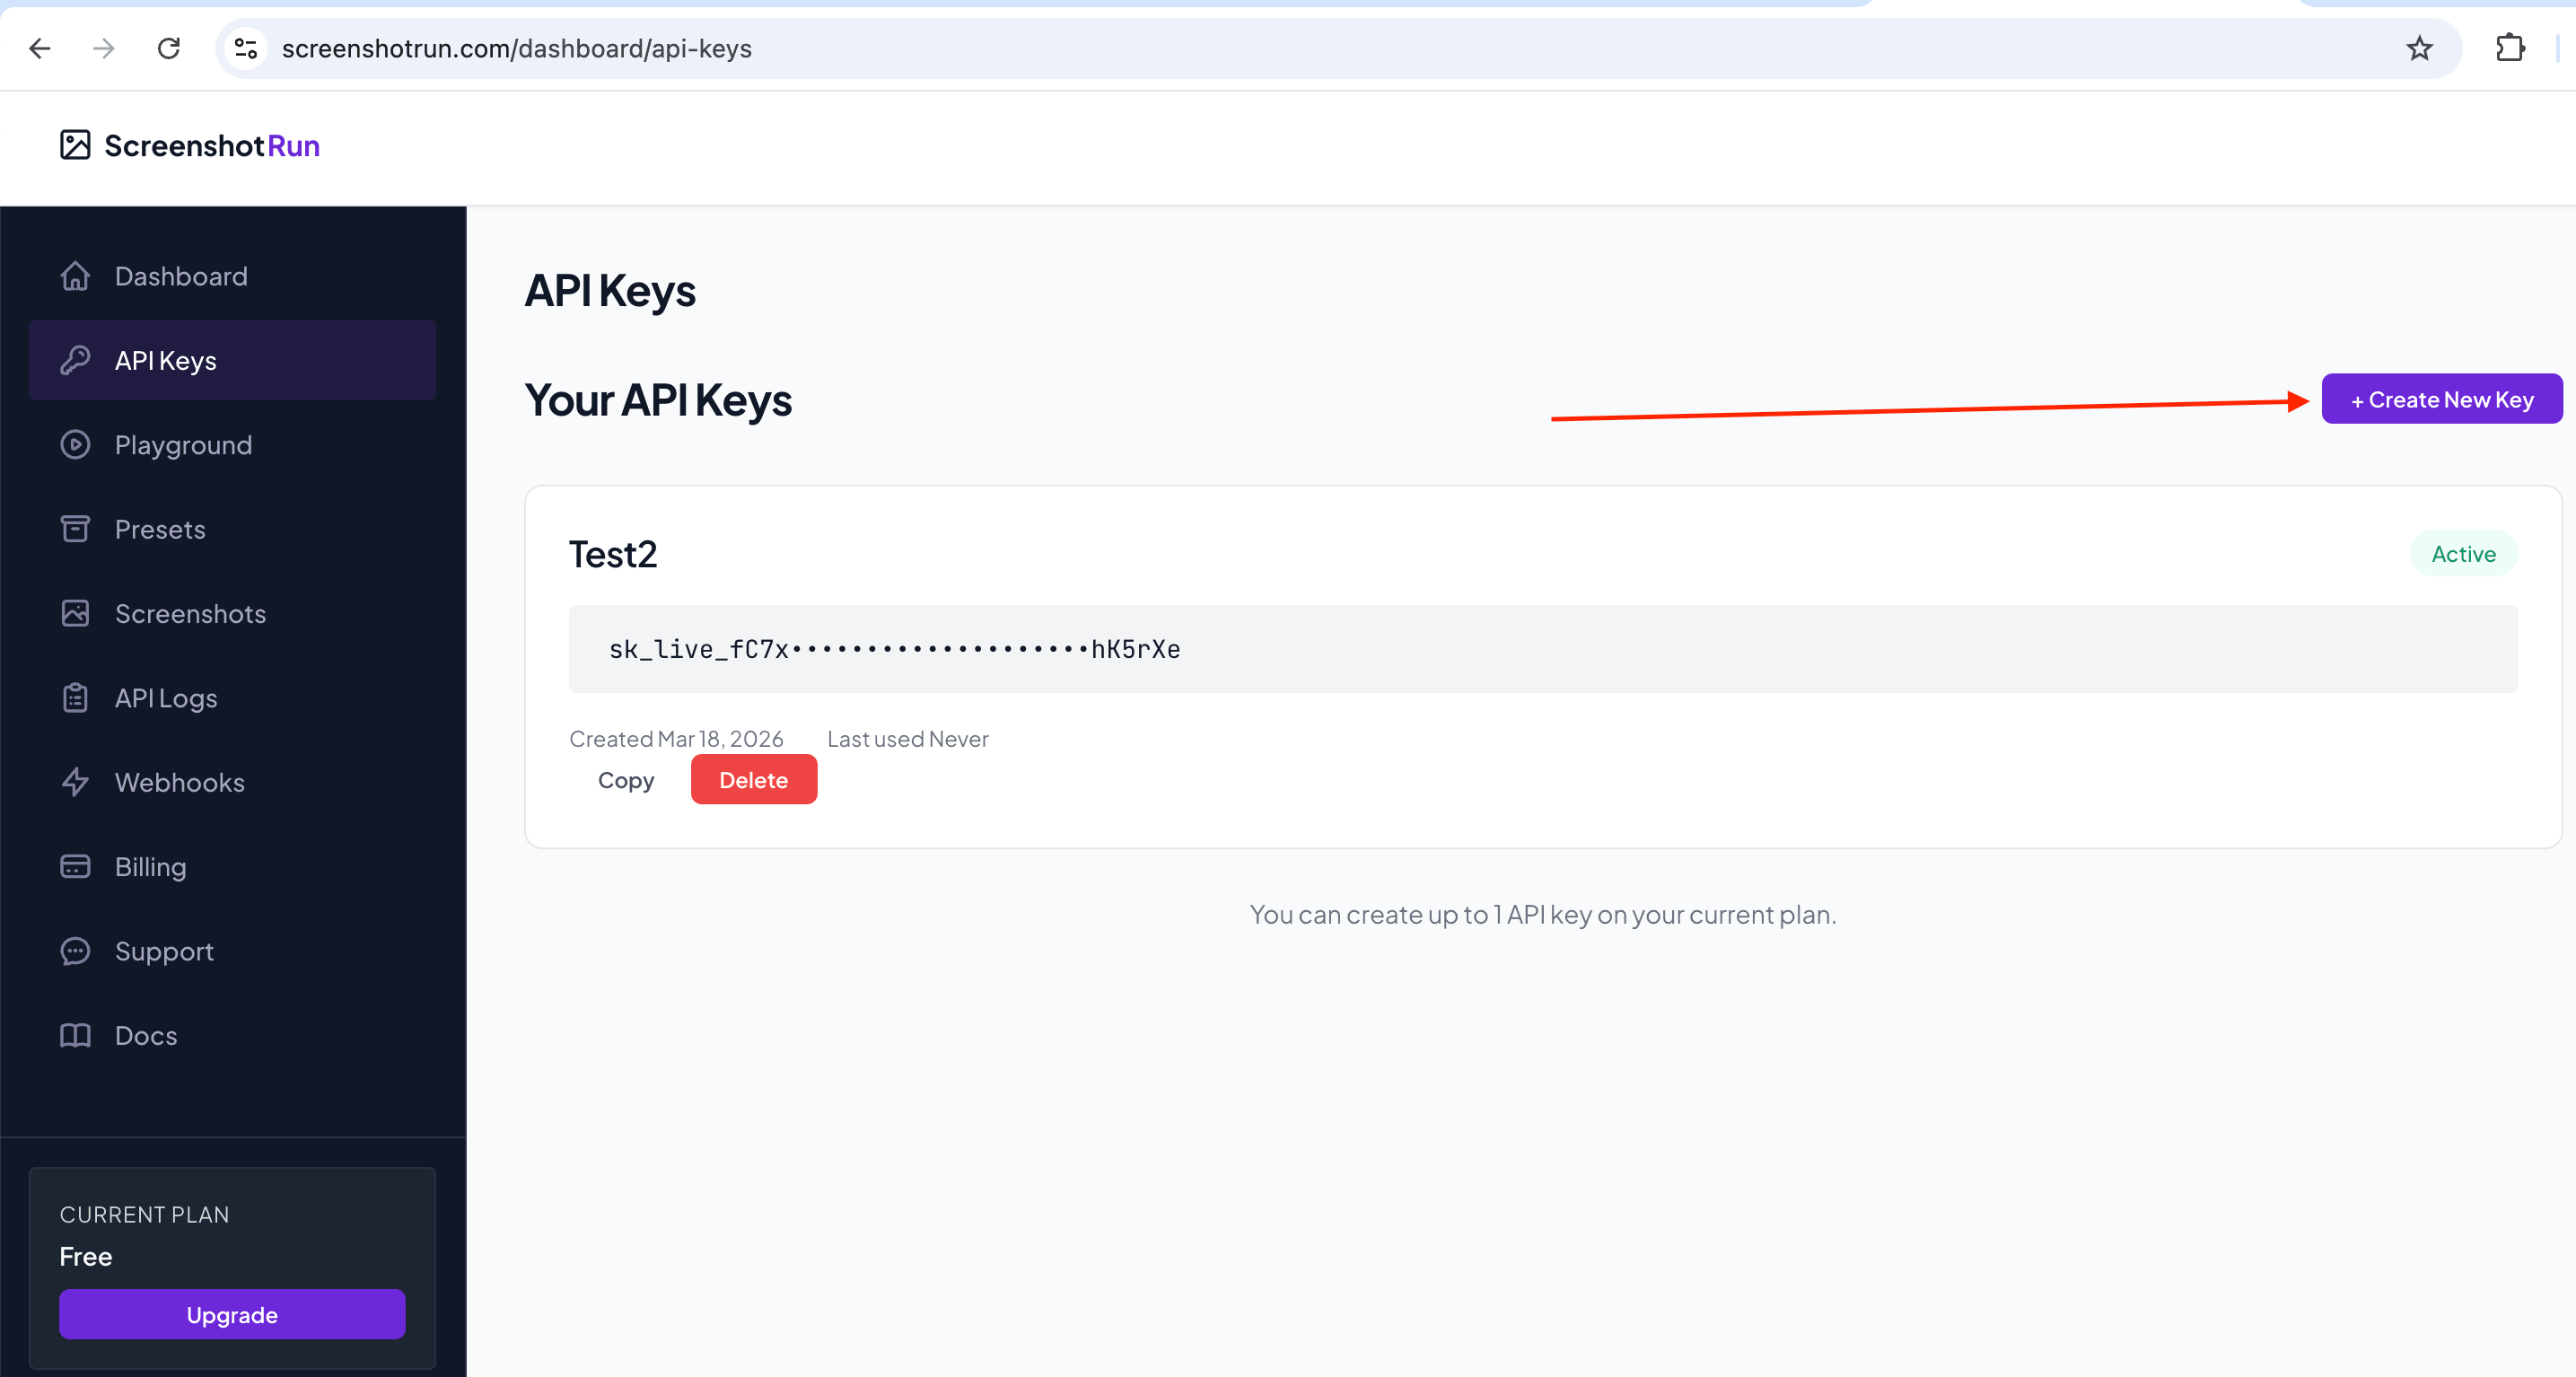
It will look something like this:
sk_live_aBcDeFgHiJkLmNoPqRsTuVwXyZ0123456789abI usually export it as an environment variable so I don't have to paste it every time:
export SCREENSHOTRUN_KEY="sk_live_your_key_here"Now every example below uses $SCREENSHOTRUN_KEY instead of the raw token. Cleaner, and your key stays out of your shell history.
Set up a working directory
Before we start, let's create a dedicated folder for our experiments. All screenshots will land here, so you won't have to hunt for them across your disk later:
mkdir -p ~/screenshots-curl && cd ~/screenshots-curlOne command, folder created and we're already inside. Every example below saves files to the current directory, so everything stays in one place.
Important: the API returns JSON, not a file
One thing that might trip you up before we get going. When you send a request to create a screenshot, the API doesn't return an image directly. You get back JSON with the screenshot ID and its status. The actual file has to be downloaded with a separate command using that ID.
So the workflow is always three steps: create the screenshot → check the status → download the image.
Basic screenshot
The simplest capture is just a URL with default settings (1280×800, PNG, desktop viewport):
curl -X POST https://api.screenshotrun.com/v1/screenshots \
  -H "Authorization: Bearer $SCREENSHOTRUN_KEY" \
  -H "Content-Type: application/json" \
  -d '{"url": "https://github.com"}'
You'll get back JSON with a pending status, meaning the screenshot is queued. The API works asynchronously, and processing takes a few seconds.
Now grab the id from the response and check whether it's ready:
curl -H "Authorization: Bearer $SCREENSHOTRUN_KEY" \
  https://api.screenshotrun.com/v1/screenshots/SCREENSHOT_ID
Once status changes to completed, download the image with a separate command. Notice the /image at the end of the URL:
curl -H "Authorization: Bearer $SCREENSHOTRUN_KEY" \
  https://api.screenshotrun.com/v1/screenshots/SCREENSHOT_ID/image \
  -o screenshot.png
Only this third command saves a file to disk. The first two just deal with JSON data.
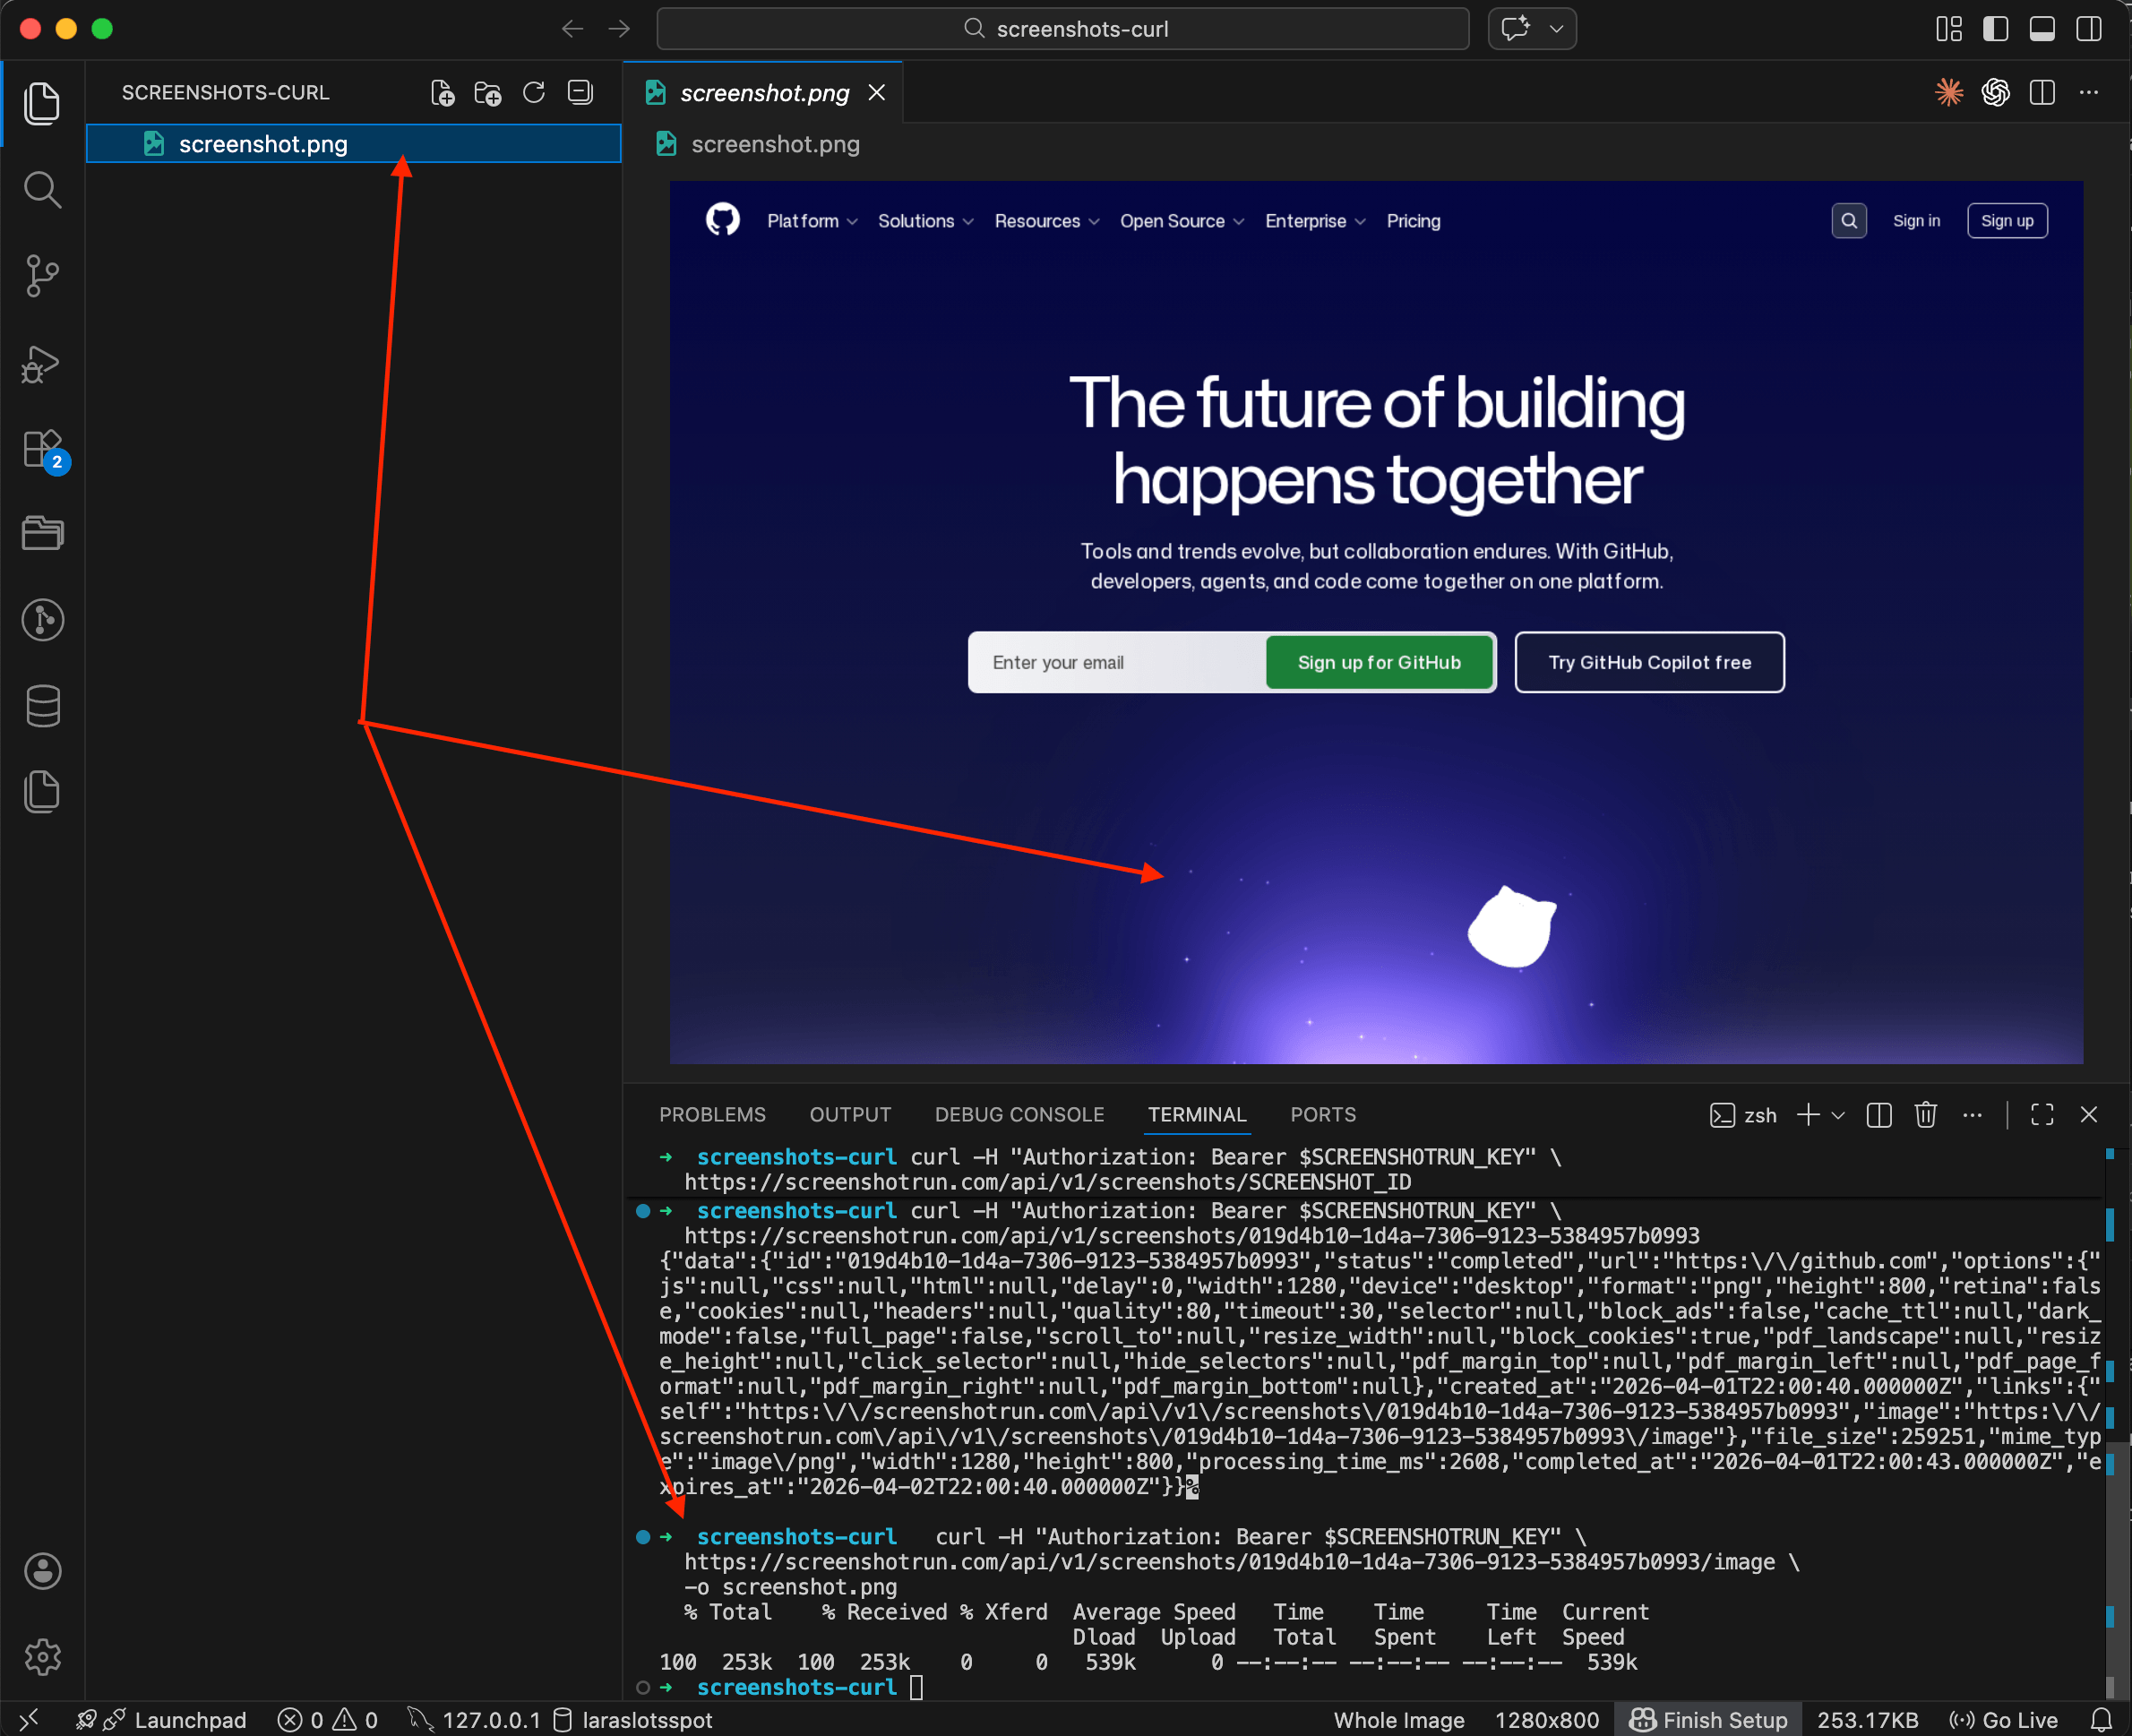
Three steps: create, check, download. If you want it shorter, there's a bash script at the end that chains all three into a single run.
Full-page screenshot
Most websites extend well beyond the viewport. Add full_page to capture the entire scrollable page:
curl -X POST https://api.screenshotrun.com/v1/screenshots \
  -H "Authorization: Bearer $SCREENSHOTRUN_KEY" \
  -H "Content-Type: application/json" \
  -d '{"url": "https://github.com/trending", "full_page": true}'
The API stitches the page into one tall image. I use this a lot when I need to archive a landing page or check how a long article looks end to end. If the page has lazy-loaded content, throw in a delay of 2-3 seconds so everything loads before the capture fires.
I covered the nuances of full-page captures in more detail in my post about taking screenshots with Node.js.
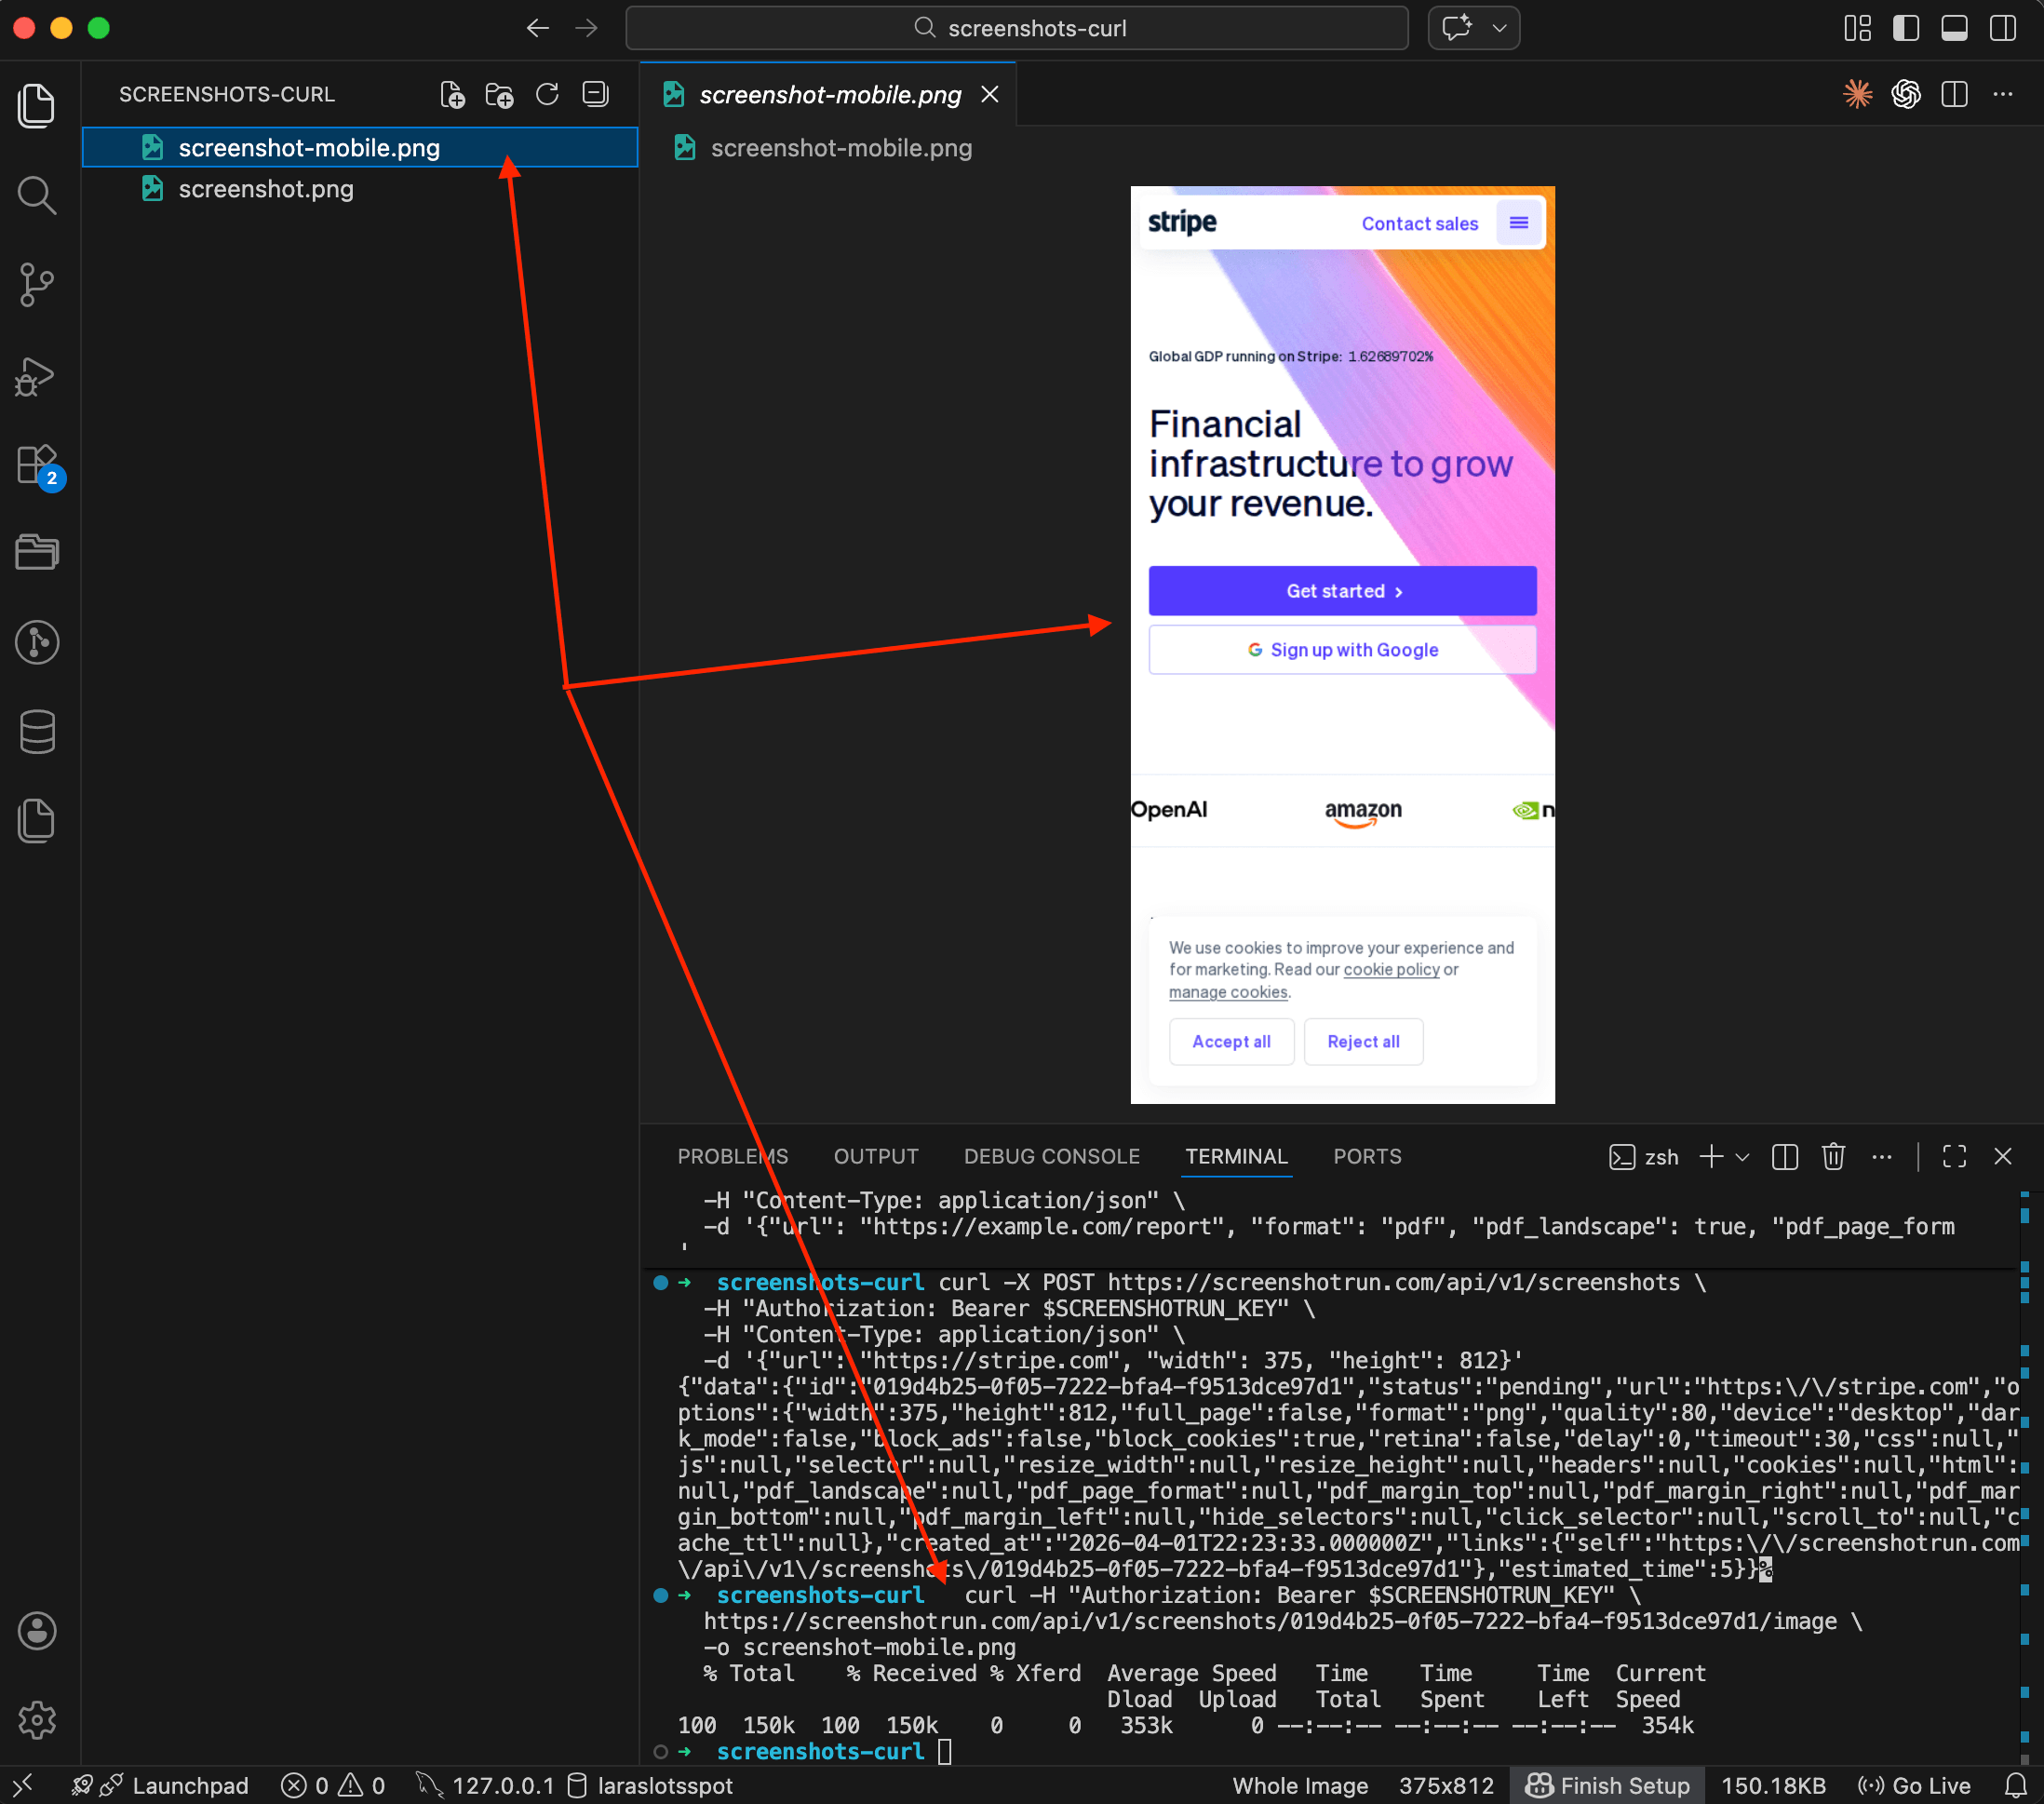
Mobile screenshot
Switch the viewport to phone size with the device parameter:
curl -X POST https://api.screenshotrun.com/v1/screenshots \
  -H "Authorization: Bearer $SCREENSHOTRUN_KEY" \
  -H "Content-Type: application/json" \
  -d '{"url": "https://stripe.com", "device": "mobile"}'
Three options: desktop (default), tablet, and mobile. Each one sets the right viewport size and user-agent, so the site actually renders its responsive layout, not just a squished desktop version.
You can also set a custom viewport if the presets don't fit:
curl -X POST https://api.screenshotrun.com/v1/screenshots \
  -H "Authorization: Bearer $SCREENSHOTRUN_KEY" \
  -H "Content-Type: application/json" \
  -d '{"url": "https://stripe.com", "width": 375, "height": 812}'
That's an iPhone X viewport. Comes in handy when your designer asks "how does it look on this exact device?"
Dark mode
Some sites support prefers-color-scheme: dark. You can trigger it with dark_mode:
curl -X POST https://api.screenshotrun.com/v1/screenshots \
  -H "Authorization: Bearer $SCREENSHOTRUN_KEY" \
  -H "Content-Type: application/json" \
  -d '{"url": "https://github.com", "dark_mode": true}'
Not every site will respond to this. The site needs to support dark mode via CSS media queries. But for those that do, you get the real dark theme with no browser extensions or workarounds.
I wrote about generating OG images with the screenshot API. Dark OG images tend to stand out more in social feeds.
WebP and JPEG (smaller files, faster delivery)
PNG is the default, but if you don't need lossless quality, switch to WebP or JPEG for much smaller files:
curl -X POST https://api.screenshotrun.com/v1/screenshots \
  -H "Authorization: Bearer $SCREENSHOTRUN_KEY" \
  -H "Content-Type: application/json" \
  -d '{"url": "https://example.com", "format": "webp", "quality": 70}'
The quality parameter (1-100) controls compression. I usually go with 70-80 for WebP. File size drops by 60-70% compared to PNG with barely any visible difference. JPEG works the same way:
curl -X POST https://api.screenshotrun.com/v1/screenshots \
  -H "Authorization: Bearer $SCREENSHOTRUN_KEY" \
  -H "Content-Type: application/json" \
  -d '{"url": "https://example.com", "format": "jpeg", "quality": 75}'
If you're building website preview thumbnails for a link directory, WebP is the obvious pick. Smaller payloads mean faster page loads for your users.
Thumbnail
Capture at full resolution and resize down to a target width. The API handles resizing server-side, so you're not downloading a huge image just to shrink it yourself:
curl -X POST https://api.screenshotrun.com/v1/screenshots \
  -H "Authorization: Bearer $SCREENSHOTRUN_KEY" \
  -H "Content-Type: application/json" \
  -d '{"url": "https://example.com", "format": "webp", "resize_width": 320}'
Aspect ratio is preserved automatically. You can set resize_height too, or both, and the image fits within those dimensions without stretching.
That's the same approach I described in my article on adding preview thumbnails to link directories, just stripped down to a single cURL command.
Save as PDF
Swap the format to pdf and you get a paginated document instead of an image:
curl -X POST https://api.screenshotrun.com/v1/screenshots \
  -H "Authorization: Bearer $SCREENSHOTRUN_KEY" \
  -H "Content-Type: application/json" \
  -d '{"url": "https://example.com/report", "format": "pdf", "pdf_landscape": true, "pdf_page_format": "A4"}'
You can control margins too:
curl -X POST https://api.screenshotrun.com/v1/screenshots \
  -H "Authorization: Bearer $SCREENSHOTRUN_KEY" \
  -H "Content-Type: application/json" \
  -d '{
    "url": "https://example.com/invoice",
    "format": "pdf",
    "pdf_page_format": "Letter",
    "pdf_margin_top": "20mm",
    "pdf_margin_bottom": "20mm",
    "pdf_margin_left": "15mm",
    "pdf_margin_right": "15mm"
  }'
PDF captures work well for archiving reports, generating invoices from HTML templates, or saving articles for offline reading. Page breaks follow Chrome's print layout engine, so what you see in Chrome's print preview is what you get.
Hide cookie banners and popups
Cookie consent banners ruin screenshots, and there are two ways to deal with them.
First, the simple flag. block_cookies is enabled by default, so the API already tries to block common consent dialogs:
curl -X POST https://api.screenshotrun.com/v1/screenshots \
  -H "Authorization: Bearer $SCREENSHOTRUN_KEY" \
  -H "Content-Type: application/json" \
  -d '{"url": "https://bbc.com", "block_cookies": true}'
But some sites have custom banners that the auto-blocker doesn't catch. For those, use hide_selectors to target specific elements by CSS selector:
curl -X POST https://api.screenshotrun.com/v1/screenshots \
  -H "Authorization: Bearer $SCREENSHOTRUN_KEY" \
  -H "Content-Type: application/json" \
  -d '{
    "url": "https://example.com",
    "hide_selectors": [".cookie-banner", "#newsletter-popup", ".ads-container"]
  }'
Or if the banner has an "Accept" button, click it before the capture:
curl -X POST https://api.screenshotrun.com/v1/screenshots \
  -H "Authorization: Bearer $SCREENSHOTRUN_KEY" \
  -H "Content-Type: application/json" \
  -d '{"url": "https://example.com", "click_selector": "#accept-cookies"}'
I spent a lot of time getting cookie blocking right in screenshotrun. European sites are the worst. Many have multi-step consent flows hidden behind iframes. The auto-blocker handles most of them, but hide_selectors is your escape hatch for the stubborn ones. I wrote up the full three-layer approach I use (network blocking, CSS injection, and click-accept fallback) in a separate post on hiding cookie banners, ads, and chat widgets.
CSS injection
Need to tweak the page before capturing? Inject CSS directly:
curl -X POST https://api.screenshotrun.com/v1/screenshots \
  -H "Authorization: Bearer $SCREENSHOTRUN_KEY" \
  -H "Content-Type: application/json" \
  -d '{
    "url": "https://example.com",
    "css": "header { display: none !important; } .sidebar { display: none !important; } body { background: #ffffff; }"
  }'
I mostly use this for documentation screenshots: strip out the nav, sidebars, footers, anything that distracts from the main content. The CSS gets injected right before the capture.
Render raw HTML (no URL needed)
You don't always need a live URL. Pass raw HTML and the API renders it directly:
curl -X POST https://api.screenshotrun.com/v1/screenshots \
  -H "Authorization: Bearer $SCREENSHOTRUN_KEY" \
  -H "Content-Type: application/json" \
  -d '{
    "html": "<html><body style=\"padding:40px;font-family:sans-serif;background:#1a1a2e;color:#eee\"><h1>Monthly Report</h1><p>Generated on April 1, 2026</p></body></html>",
    "width": 800,
    "height": 400
  }'
That's how I build dynamic OG images: create an HTML template, inject data, render it to an image. I covered the details in my post about generating OG images with a screenshot API. The html parameter accepts up to 500,000 characters, so you can pass fairly complex templates.
Retina (2x resolution)
For a high-DPI screenshot, throw in the retina flag:
curl -X POST https://api.screenshotrun.com/v1/screenshots \
  -H "Authorization: Bearer $SCREENSHOTRUN_KEY" \
  -H "Content-Type: application/json" \
  -d '{"url": "https://example.com", "retina": true, "format": "webp"}'
The output image will be 2x the viewport dimensions, so a 1280×800 viewport produces a 2560×1600 image. Text and vector graphics come out noticeably sharper. I'd pair it with WebP though, because retina PNGs get large fast.
Caching to avoid paying for duplicates
If you're capturing the same URL repeatedly and the content doesn't change much, set a cache TTL:
curl -X POST https://api.screenshotrun.com/v1/screenshots \
  -H "Authorization: Bearer $SCREENSHOTRUN_KEY" \
  -H "Content-Type: application/json" \
  -d '{"url": "https://example.com", "cache_ttl": 3600}'
The cache_ttl value is in seconds. This tells the API: "if you've already captured this exact URL with these exact options in the last hour, return the cached result." No new render, no credit spent. I wrote a whole article on screenshot caching strategies if you want to go deeper.
Quick capture via GET
Every example above uses POST with a JSON body. There's also a GET endpoint that takes parameters as query strings:
curl -H "Authorization: Bearer $SCREENSHOTRUN_KEY" \
  "https://api.screenshotrun.com/v1/screenshots/capture?url=https://example.com&format=webp&full_page=true"
Same result, shorter syntax. The GET endpoint is handy for testing in the browser address bar or for simple integrations where building a JSON body feels like overkill.
Bonus: all-in-one bash script
Here's a small script that creates a screenshot, waits for it to finish, and downloads the image, all in one go:
#!/bin/bash
URL="${1:-https://example.com}"
KEY="$SCREENSHOTRUN_KEY"
API="https://api.screenshotrun.com/v1"

# Create the screenshot and extract the ID
ID=$(curl -s -X POST "$API/screenshots" \
  -H "Authorization: Bearer $KEY" \
  -H "Content-Type: application/json" \
  -d "{\"url\": \"$URL\", \"format\": \"webp\", \"full_page\": true}" \
  | grep -o '"id":"[^"]*"' | head -1 | cut -d'"' -f4)

echo "Screenshot ID: $ID"

# Poll until ready
while true; do
  STATUS=$(curl -s -H "Authorization: Bearer $KEY" "$API/screenshots/$ID" \
    | grep -o '"status":"[^"]*"' | head -1 | cut -d'"' -f4)
  echo "Status: $STATUS"
  [ "$STATUS" = "completed" ] && break
  [ "$STATUS" = "failed" ] && echo "Failed!" && exit 1
  sleep 2
done

# Download
curl -s -H "Authorization: Bearer $KEY" \
  "$API/screenshots/$ID/image" -o "screenshot.webp"

echo "Saved: screenshot.webp"
Save it as screenshot.sh, make it executable (chmod +x screenshot.sh), and run:
./screenshot.sh https://github.comNot the prettiest script, but it gets the job done. For anything more complex I'd reach for Python or Node.js.
Quick reference table
| Parameter | What it does | Example value |
|---|---|---|
url | URL to capture | "https://example.com" |
html | Render raw HTML (instead of URL) | "<html>...</html>" |
full_page | Capture the full scrollable page | true |
device | Viewport preset | "mobile", "tablet" |
width / height | Custom viewport size | 375 / 812 |
format | Output format | "png", "webp", "jpeg", "pdf" |
quality | Compression (JPEG/WebP) | 70 |
dark_mode | Trigger prefers-color-scheme: dark | true |
retina | 2x resolution | true |
resize_width | Resize the output image | 320 |
delay | Wait before capture (seconds) | 3 |
cache_ttl | Return cached result if available | 3600 |
block_cookies | Auto-block cookie banners | true (default) |
hide_selectors | Hide elements by CSS selector | [".banner", "#popup"] |
click_selector | Click an element before capture | "#accept-cookies" |
css | Inject custom CSS | "header { display: none; }" |
pdf_landscape | Landscape PDF | true |
pdf_page_format | PDF page size | "A4", "Letter" |
Full API docs here if you want the complete list.
How to handle screenshot API responses in production
A 200 OK from a screenshot API doesn't mean you got a screenshot — the transport and render layers fail independently. Which status codes to retry and which not, backoff with jitter, respecting Retry-After, catching blank images that pass as a 200, and a circuit breaker. Node.js code throughout.
Read more →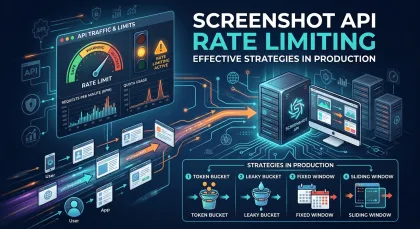
Screenshot API rate limiting strategies in production
Most rate limiting guides only cover retry strategies. That's only half the problem. Five concrete strategies — proactive (token bucket, queue) and reactive (Retry-After, exponential backoff, circuit breaker) — with Node.js code.
Read more →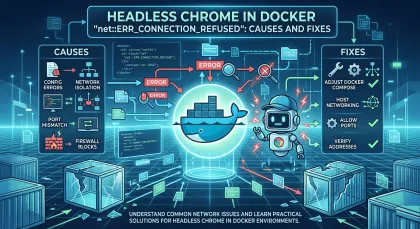
Headless Chrome "net::ERR_CONNECTION_REFUSED" in Docker: causes and fixes
ERR_CONNECTION_REFUSED in headless Chrome inside Docker isn't one error — it's five different network problems sharing the same message. Diagnose with one curl from inside the container, then fix per cause.
Read more →