 Vitalii Holben
How to add website preview thumbnails to your link directory with a screenshot API
Learn how to automatically generate website preview thumbnails for your link directory using a screenshot API. Step-by-step PHP and Node.js code with caching, real output screenshots, and tips for handling cookie banners and large directories.
If you run a link directory, a resource list, or any kind of bookmark-style app, you've probably run into this problem: you open the page and it's just a wall of text links that nobody cares about. People scan URLs they can't evaluate at a glance, there's nothing visual to latch onto, and they scroll past without clicking.
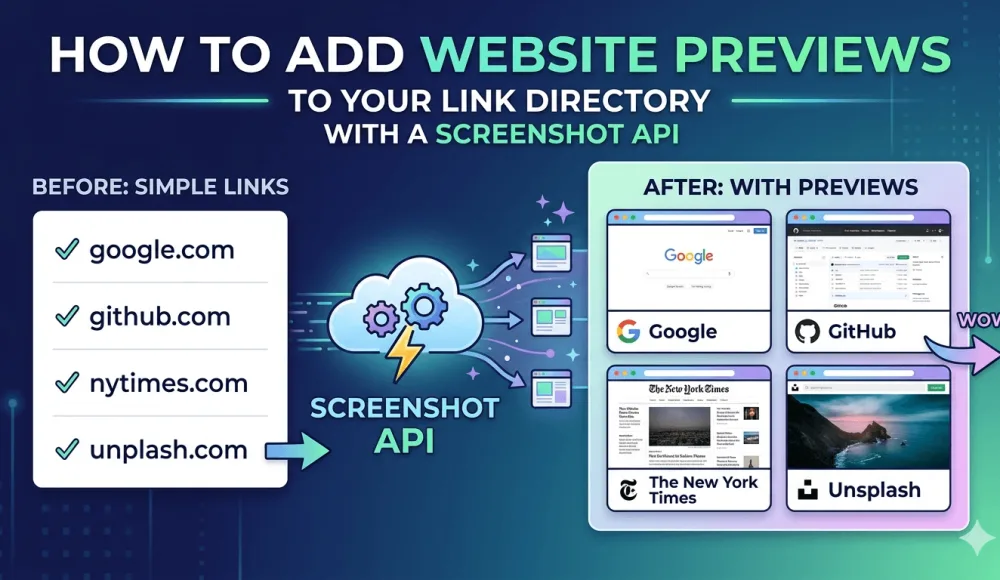
The obvious fix is to show a thumbnail of each website next to its URL. Popular sites like Product Hunt do this, Notion bookmarks work the same way. Link previews in Slack and Discord follow the same idea: there's a thumbnail, and the information is easier to take in. The only problem is that when you try to do this yourself, it turns out to be harder than it looks. Below I'll explain why and show the simplest working approach.
In this tutorial I'll show how to do it with a headless-browser screenshot service: one HTTP request, one ready-made thumbnail, no need to set up anything on your server. Step-by-step code for PHP and Node.js, with real output at each step.
Why link directories need visual previews
People evaluate links faster when they can see what's behind them. When someone lands on your directory page, they scan with their eyes looking for something relevant. A URL like https://example.com/tools/analytics-dashboard tells them almost nothing, but a 300x200 thumbnail of the actual page tells them what it is in about half a second — the logo, the layout, the overall feel of the site.
There's also a trust factor. I've noticed that links with a visible preview feel safer to click. You can see the page is real, has actual content, and isn't some parked domain full of ads. If your directory accepts user submissions, thumbnails alone are enough to cut down on "is this link even real?" complaints.
And the plainer reason: thumbnails make your directory look like a product someone cared about building, not a text file uploaded to shared hosting in 2009. If you're monetizing through ads or premium listings, that visual difference shows up in click-through rates.
Why not self-hosted Puppeteer
The first thing that comes to mind is running a headless browser on your own server. Install Node.js, install Puppeteer, write a script that visits each URL and takes a screenshot. This works, and I've already covered it: there's a step-by-step guide for Node.js, for Python, and for PHP.
But the problems start with scaling and maintenance. Each Puppeteer instance eats 200-400 MB of RAM. If you're generating thumbnails for 50 links at the same time, that's 10-20 GB just for screenshots. Headless Chrome crashes silently when it runs out of memory. Pages with cookie consent banners (basically any EU-facing website) render with a giant popup covering the content. Sites behind Cloudflare anti-bot protection return challenge pages instead of the actual content. You end up spending more time maintaining the screenshot infrastructure than building your actual product.
If you have a DevOps team and predictable high volumes, self-hosting makes sense. For everyone else, it's overkill just to generate link thumbnails — I wrote a deeper build vs. buy comparison if you want the full breakdown. So in this article, we'll take a different path and call an external screenshot service over HTTP.
Self-hosted vs hosted service: quick comparison
| Self-hosted Puppeteer | Hosted screenshot service | |
|---|---|---|
| Setup time | 2-4 hours | 10 minutes |
| Server requirements | 2+ GB RAM, Node.js, Chrome | None |
| Cookie banner handling | Manual (CSS injection) | Usually a built-in parameter |
| Anti-bot protection (Cloudflare etc.) | Fails without proxies | Handled by the provider |
| Reliability | Medium (crashes, memory leaks) | High |
Picking a screenshot service
There are a handful of hosted screenshot APIs you can use for this — ScreenshotOne, Urlbox, ApiFlash, and screenshotrun (the one I built). The code in this tutorial works with any of them — they all accept GET or POST requests with parameters like url, width, height, format, and return an image binary or a JSON response with a download link.
I'll show the code with screenshotrun endpoints since that's what I use day-to-day, but you can swap the URL and auth header for any provider with no other changes.
Step 1: capture your first screenshot
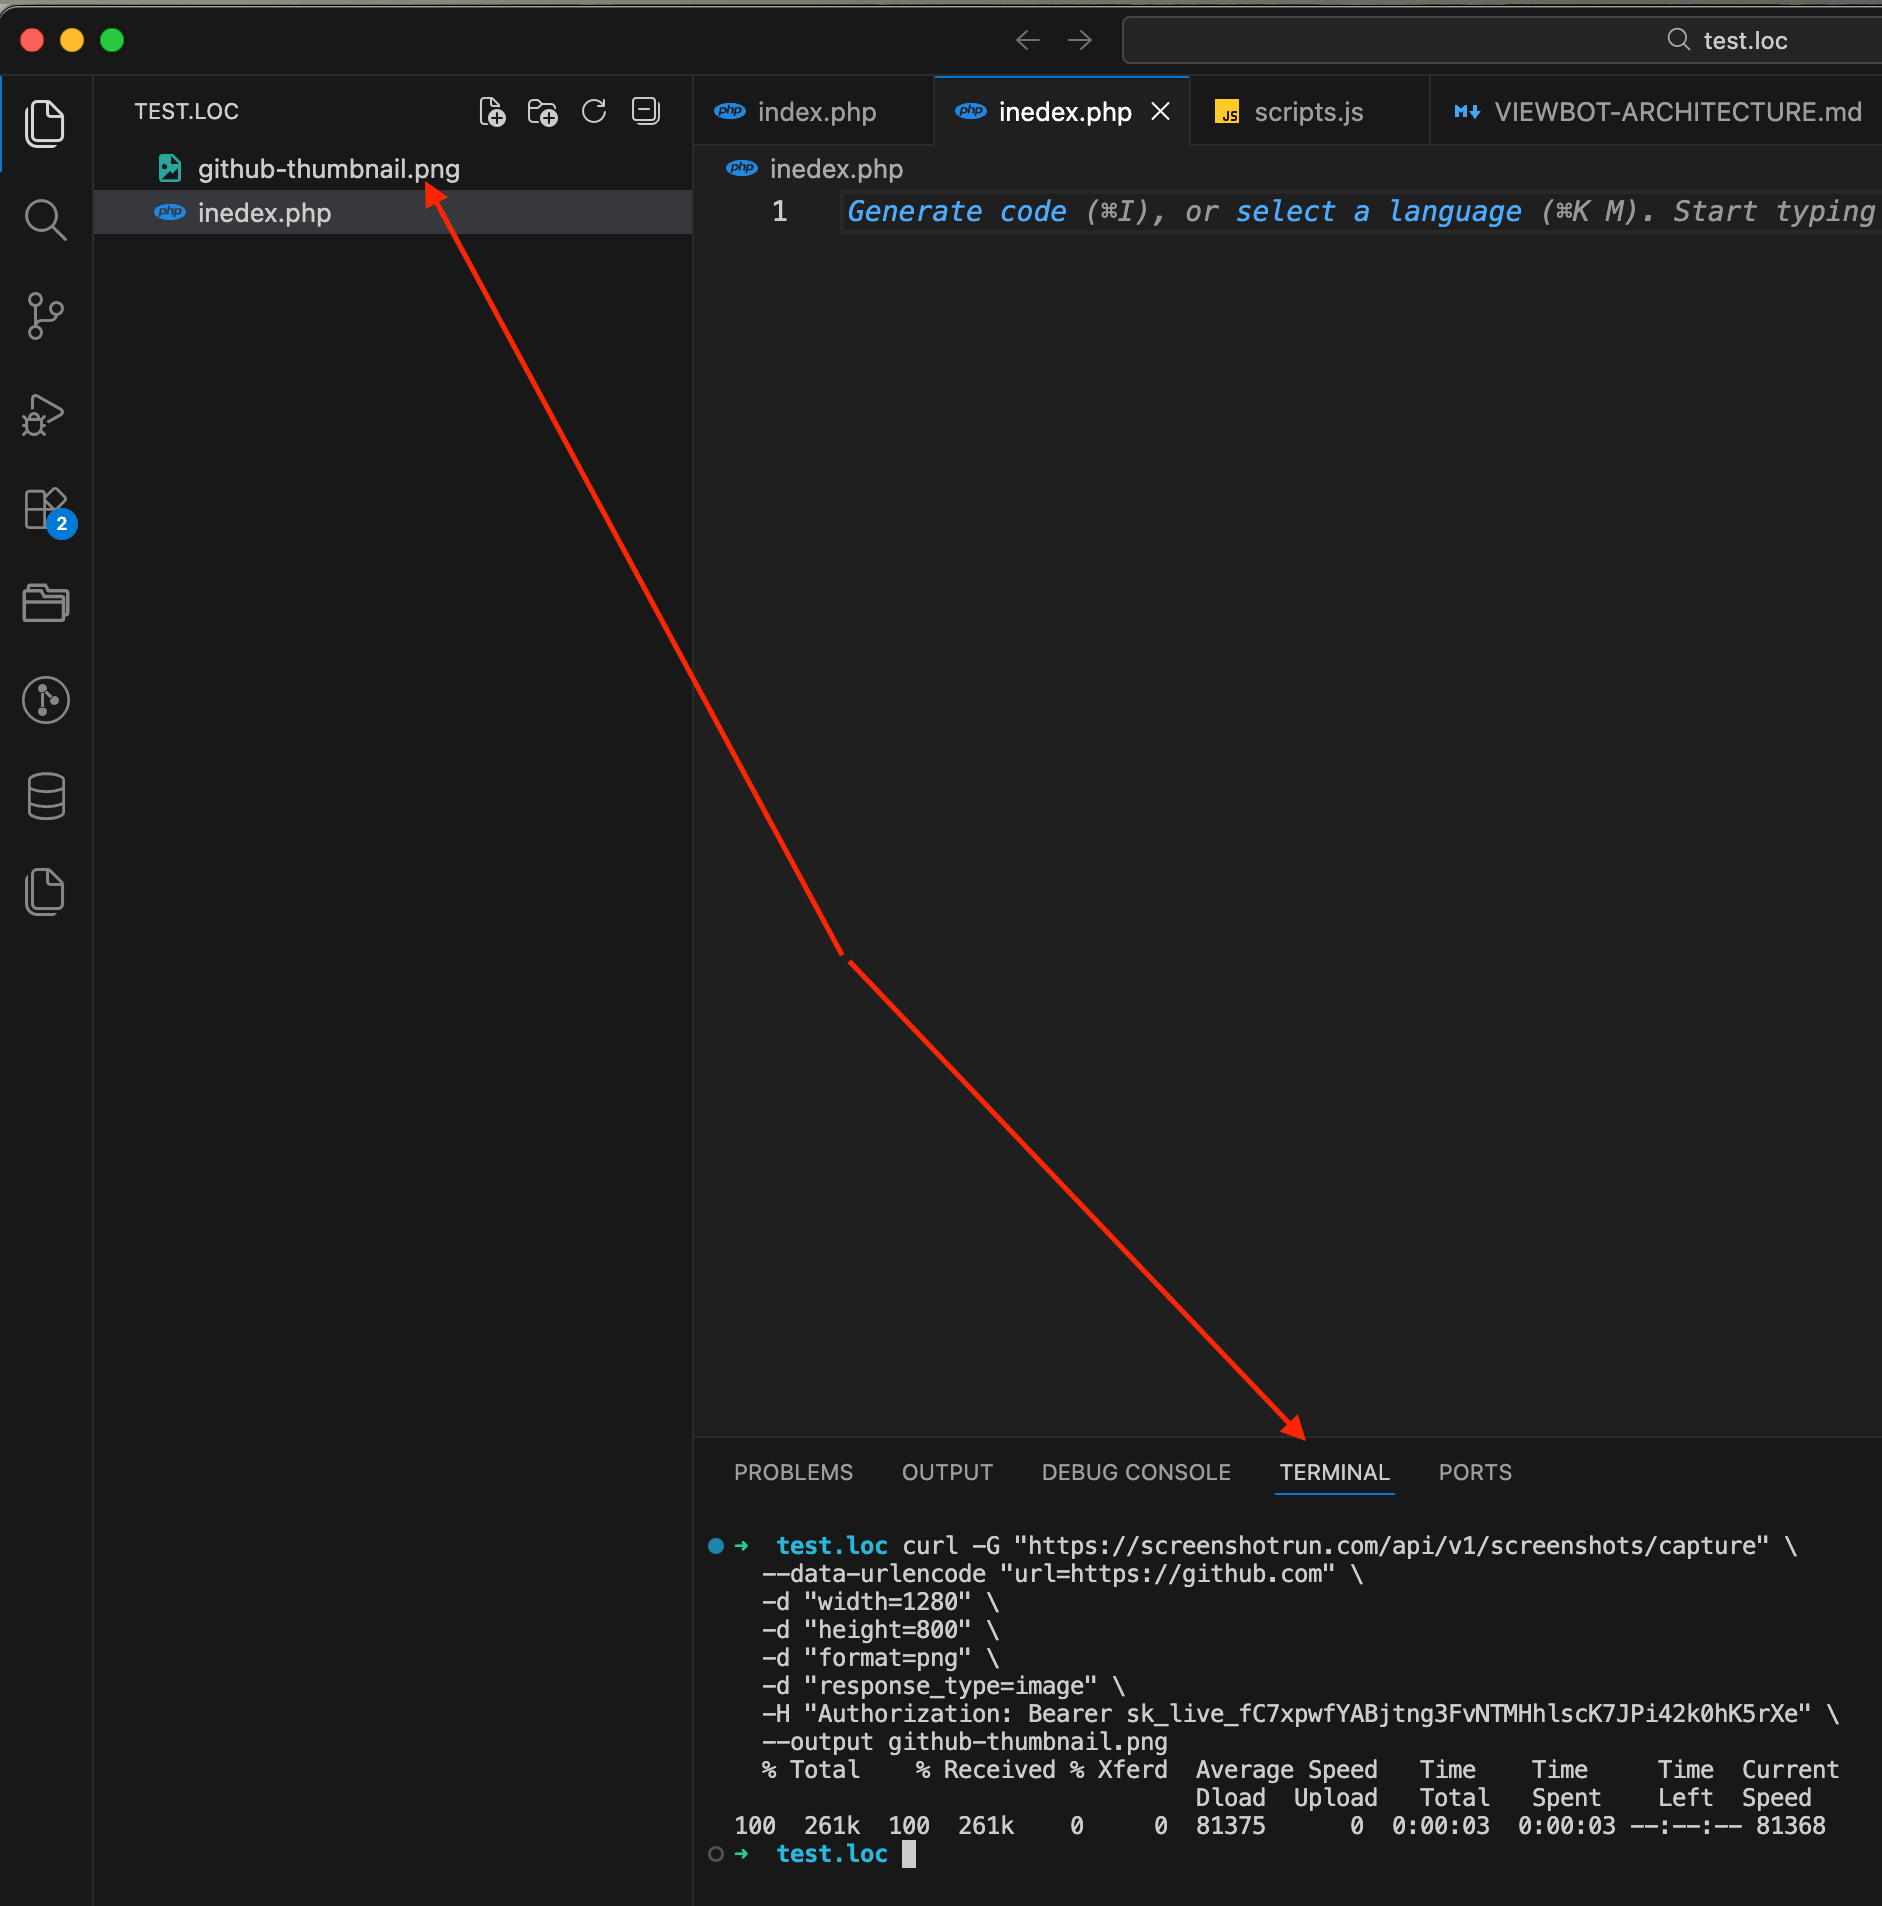
Let's start with a simple cURL command to make sure everything works before writing any application code. Open your terminal and run:
curl -G "https://api.screenshotrun.com/v1/screenshots/capture" \
  --data-urlencode "url=https://github.com" \
  -d "width=1280" \
  -d "height=800" \
  -d "format=png" \
  -d "response_type=image" \
  -H "Authorization: Bearer YOUR_API_KEY" \
  --output github-thumbnail.png
Here we're sending a GET request with a few parameters: the target URL, the viewport size (1280×800 mimics a standard laptop screen), PNG format, and response_type=image which tells the API to return raw binary image data instead of a JSON response. The result gets saved to github-thumbnail.png in your current directory.
Open the file and you should see a clean screenshot of GitHub's homepage.
If you want a smaller image that loads faster on your directory page, change the width parameter. For thumbnails, 640x400 or even 480x300 works well:
curl -G "https://api.screenshotrun.com/v1/screenshots/capture" \
  --data-urlencode "url=https://github.com" \
  -d "width=640" \
  -d "height=400" \
  -d "format=png" \
  -d "response_type=image" \
  -H "Authorization: Bearer YOUR_API_KEY" \
  --output github-thumb-small.png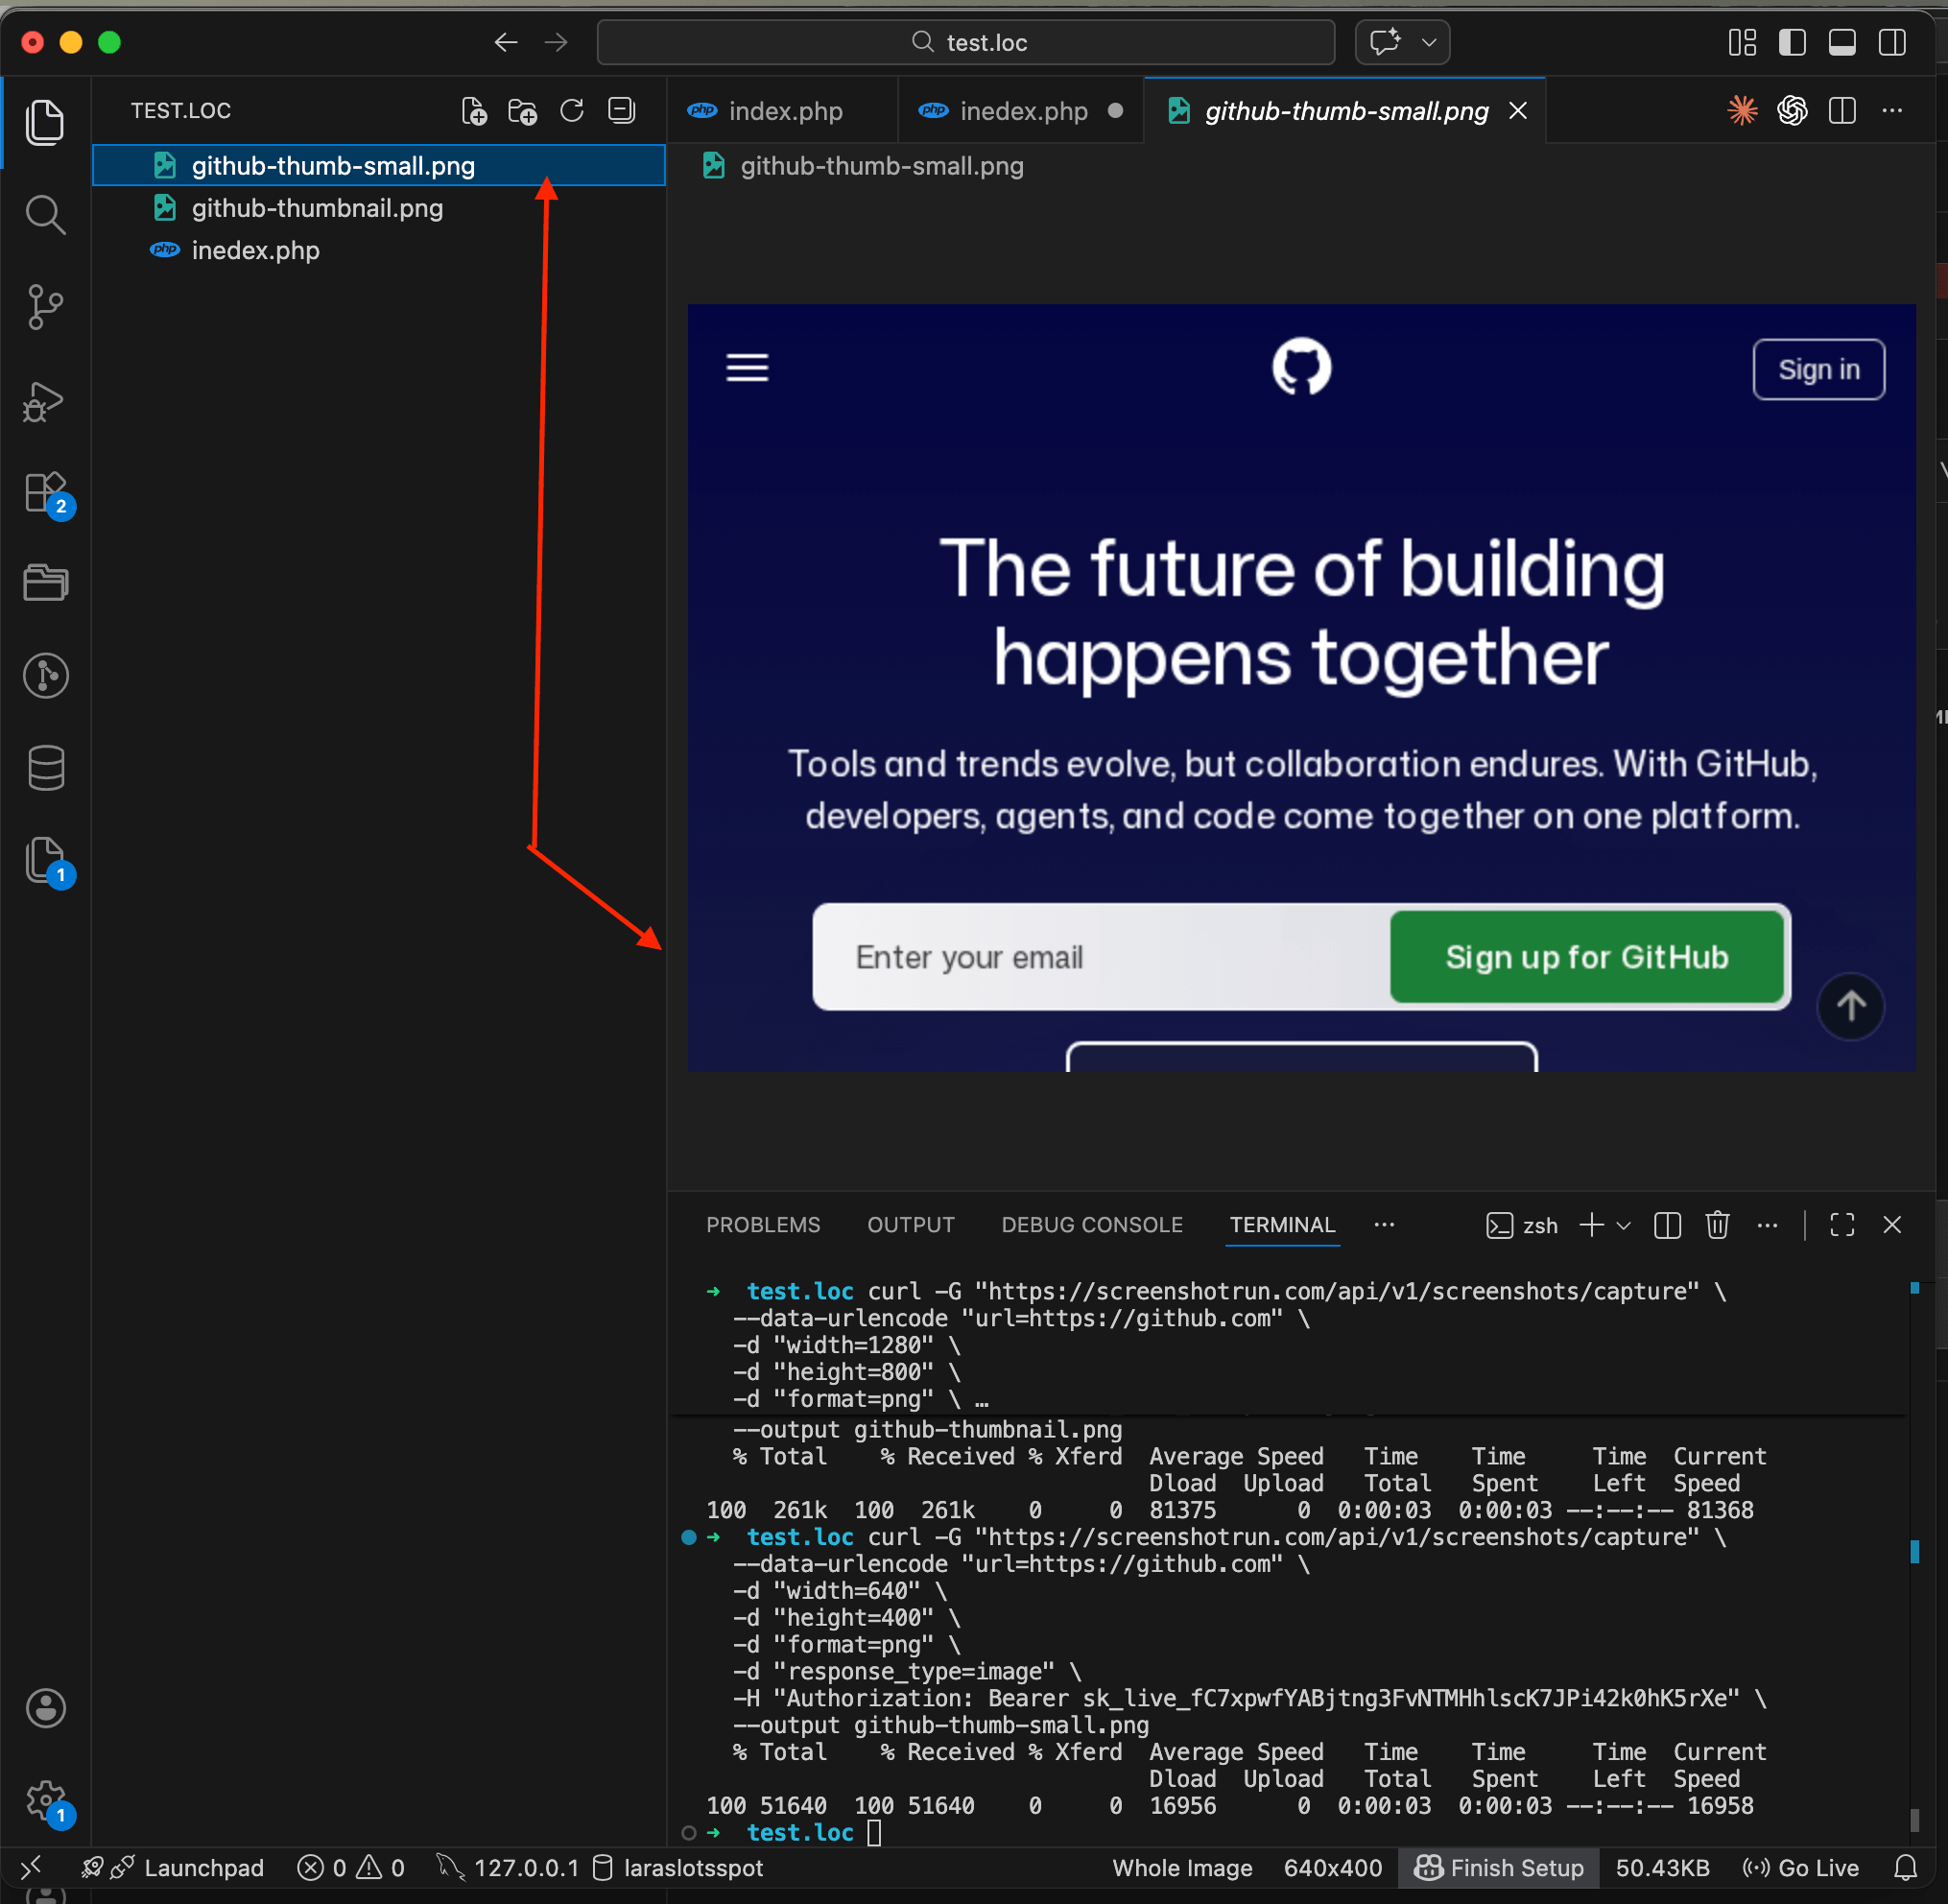
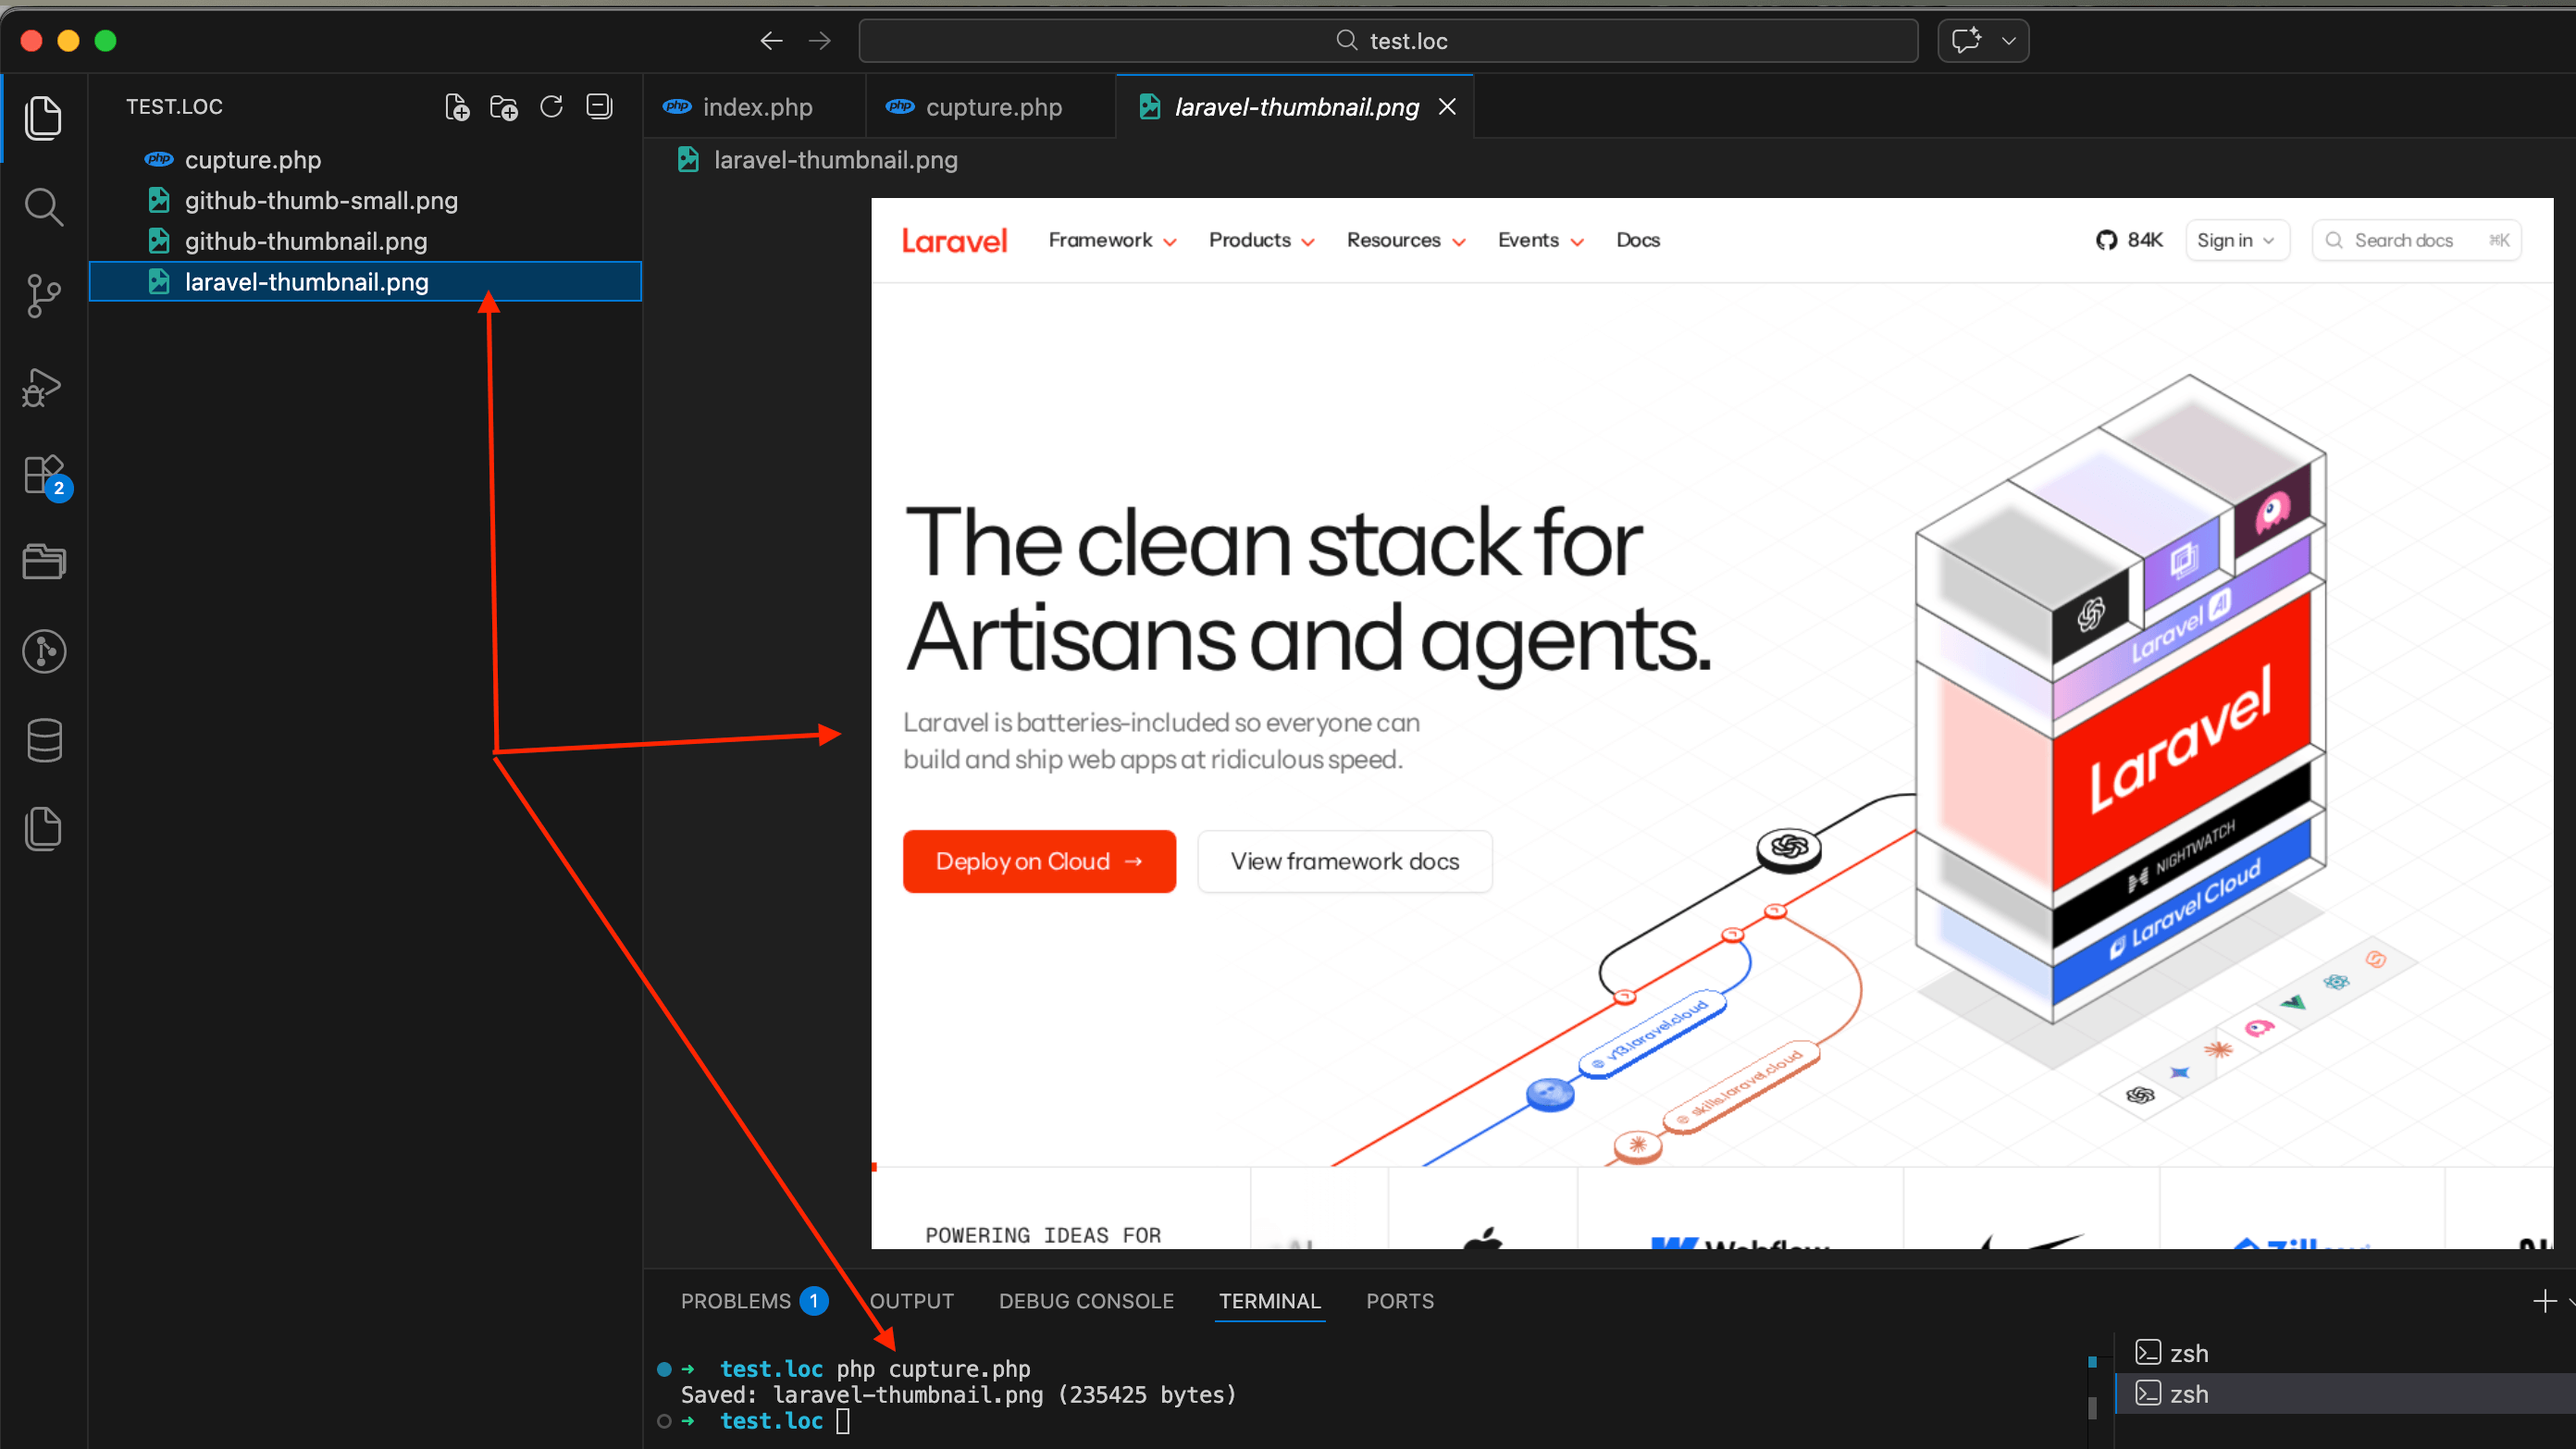
Step 2: capture a screenshot from PHP
Now let's do the same thing from PHP code. Create a file called capture.php:
<?php

$apiKey = getenv('SCREENSHOT_API_KEY');
$endpoint = 'https://api.screenshotrun.com/v1/screenshots/capture';
$targetUrl = 'https://laravel.com';

$params = http_build_query([
    'url'           => $targetUrl,
    'width'         => 1280,
    'height'        => 800,
    'format'        => 'png',
    'response_type' => 'image',
]);

$ch = curl_init($endpoint . '?' . $params);
curl_setopt($ch, CURLOPT_RETURNTRANSFER, true);
curl_setopt($ch, CURLOPT_TIMEOUT, 60);
curl_setopt($ch, CURLOPT_HTTPHEADER, [
    'Authorization: Bearer ' . $apiKey,
]);

$imageData = curl_exec($ch);
$httpCode = curl_getinfo($ch, CURLINFO_HTTP_CODE);
curl_close($ch);

if ($httpCode === 200 && $imageData) {
    file_put_contents('laravel-thumbnail.png', $imageData);
    echo "Saved: laravel-thumbnail.png (" . strlen($imageData) . " bytes)\n";
} else {
    echo "Error: HTTP $httpCode\n";
}
Run it from the terminal:
SCREENSHOT_API_KEY=your_key_here php capture.phpYou'll see something like Saved: laravel-thumbnail.png (235425 bytes) in the terminal, and a file with a screenshot of laravel.com will appear in your project folder.
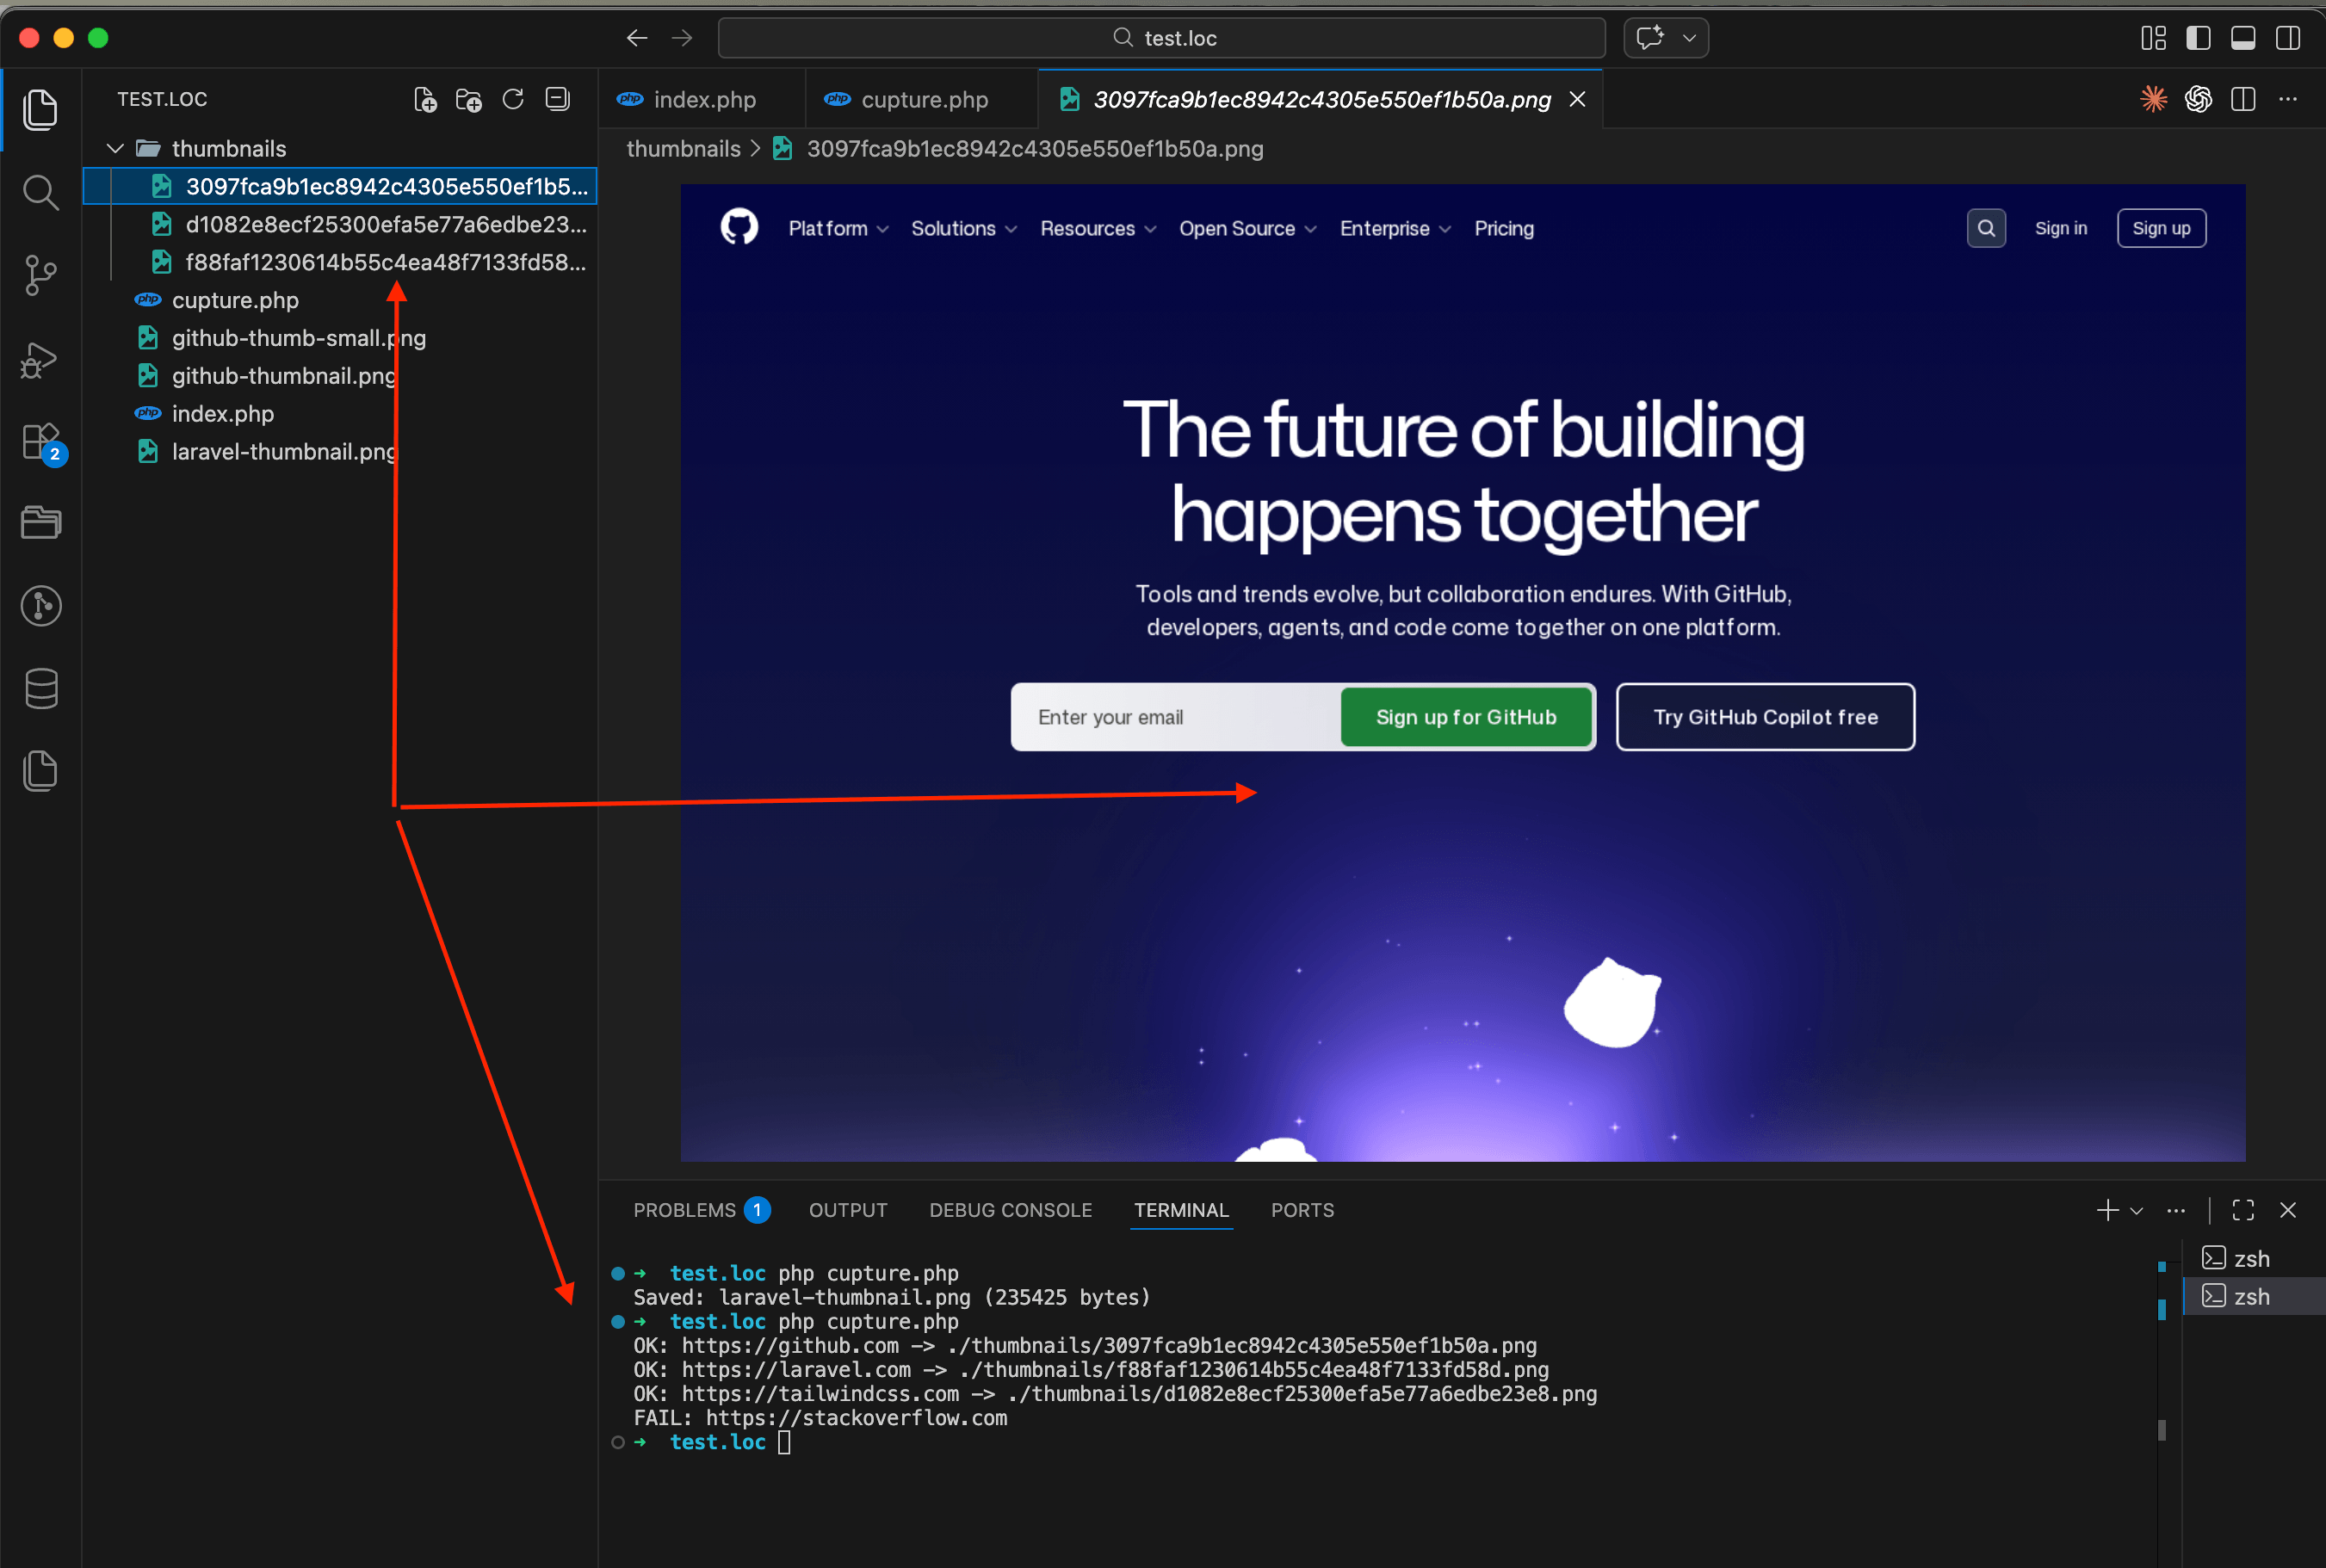
Step 3: cache thumbnails to save API requests
Every API call uses one request from your quota, no matter which provider you pick. If your directory page re-fetches the same thumbnails on every page load, you'll burn through your quota in a day. The fix is simple: save each thumbnail locally and check if it already exists before calling the API. I wrote a deeper guide on caching strategies (TTL-based, content-hash, and webhook-driven) that goes beyond the basic file check I'm about to show — worth a read once your directory grows past a few dozen URLs.
Here's a function that wraps the capture logic with file-based caching:
<?php

function getThumbnail(string $url, string $apiKey, string $cacheDir = './thumbnails'): ?string
{
    if (!is_dir($cacheDir)) {
        mkdir($cacheDir, 0755, true);
    }

    // Use a hash of the URL as the filename
    $filename = md5($url) . '.png';
    $filepath = $cacheDir . '/' . $filename;

    // Return cached version if it exists
    if (file_exists($filepath)) {
        return $filepath;
    }

    // Capture a fresh screenshot
    $params = http_build_query([
        'url'           => $url,
        'width'         => 1280,
        'height'        => 800,
        'format'        => 'png',
        'response_type' => 'image',
    ]);

    $endpoint = 'https://api.screenshotrun.com/v1/screenshots/capture?' . $params;

    $ch = curl_init($endpoint);
    curl_setopt($ch, CURLOPT_RETURNTRANSFER, true);
    curl_setopt($ch, CURLOPT_TIMEOUT, 60);
    curl_setopt($ch, CURLOPT_HTTPHEADER, [
        'Authorization: Bearer ' . $apiKey,
    ]);

    $imageData = curl_exec($ch);
    $httpCode = curl_getinfo($ch, CURLINFO_HTTP_CODE);
    curl_close($ch);

    if ($httpCode !== 200 || !$imageData) {
        return null;
    }

    file_put_contents($filepath, $imageData);
    return $filepath;
}

// Usage
$apiKey = getenv('SCREENSHOT_API_KEY');

$links = [
    'https://github.com',
    'https://laravel.com',
    'https://tailwindcss.com',
    'https://stackoverflow.com',
];

foreach ($links as $url) {
    $path = getThumbnail($url, $apiKey);
    if ($path) {
        echo "OK: $url -> $path\n";
    } else {
        echo "FAIL: $url\n";
    }
}
Run it once and all four thumbnails will be captured and saved to the thumbnails/ folder with MD5 hashes as filenames. Run it again and they'll load instantly from cache, zero API calls used.
Step 4: putting it all together in one page
Now let's build a complete working example. Create a file called directory-demo.php that combines the getThumbnail function, a list of links, and the HTML output all in one page:
<?php

function getThumbnail(string $url, string $apiKey, string $cacheDir = './thumbnails'): ?string
{
    if (!is_dir($cacheDir)) {
        mkdir($cacheDir, 0755, true);
    }

    $filename = md5($url) . '.png';
    $filepath = $cacheDir . '/' . $filename;

    if (file_exists($filepath)) {
        return $filepath;
    }

    $params = http_build_query([
        'url'           => $url,
        'width'         => 1280,
        'height'        => 800,
        'format'        => 'png',
        'response_type' => 'image',
    ]);

    $endpoint = 'https://api.screenshotrun.com/v1/screenshots/capture?' . $params;

    $ch = curl_init($endpoint);
    curl_setopt($ch, CURLOPT_RETURNTRANSFER, true);
    curl_setopt($ch, CURLOPT_TIMEOUT, 60);
    curl_setopt($ch, CURLOPT_HTTPHEADER, [
        'Authorization: Bearer ' . $apiKey,
    ]);

    $imageData = curl_exec($ch);
    $httpCode = curl_getinfo($ch, CURLINFO_HTTP_CODE);
    curl_close($ch);

    if ($httpCode !== 200 || !$imageData) {
        return null;
    }

    file_put_contents($filepath, $imageData);
    return $filepath;
}

$apiKey = getenv('SCREENSHOT_API_KEY');

$links = [
    'https://github.com',
    'https://laravel.com',
    'https://tailwindcss.com',
];

?>
<!DOCTYPE html>
<html lang="en">
<head>
    <meta charset="UTF-8">
    <meta name="viewport" content="width=device-width, initial-scale=1.0">
    <title>Link Directory with Thumbnails</title>
    <style>
        * { margin: 0; padding: 0; box-sizing: border-box; }

        body {
            font-family: -apple-system, BlinkMacSystemFont, 'Segoe UI', Roboto, sans-serif;
            background: #f8fafc;
            color: #1e293b;
            padding: 2rem;
        }

        h1 { font-size: 1.75rem; margin-bottom: 0.5rem; }
        .subtitle { color: #64748b; margin-bottom: 2rem; }

        .directory-grid {
            display: grid;
            grid-template-columns: repeat(auto-fill, minmax(280px, 1fr));
            gap: 1.5rem;
            padding: 2rem 0;
        }

        .directory-card {
            border: 1px solid #e2e8f0;
            border-radius: 8px;
            overflow: hidden;
            text-decoration: none;
            background: #fff;
            transition: box-shadow 0.2s;
        }

        .directory-card:hover {
            box-shadow: 0 4px 12px rgba(0, 0, 0, 0.1);
        }

        .directory-card img {
            width: 100%;
            height: auto;
            display: block;
        }

        .directory-card .placeholder {
            width: 100%;
            height: 200px;
            display: flex;
            align-items: center;
            justify-content: center;
            background: #f1f5f9;
            color: #94a3b8;
            font-size: 0.875rem;
        }

        .directory-url {
            display: block;
            padding: 0.75rem 1rem;
            color: #475569;
            font-size: 0.875rem;
        }
    </style>
</head>
<body>

<h1>Link Directory</h1>
<p class="subtitle">Website previews generated automatically</p>

<div class="directory-grid">
    <?php foreach ($links as $url): ?>
        <?php $thumb = getThumbnail($url, $apiKey); ?>
        <a href="<?= htmlspecialchars($url) ?>" class="directory-card" target="_blank">
            <?php if ($thumb): ?>
                <img
                    src="<?= htmlspecialchars($thumb) ?>"
                    alt="Preview of <?= htmlspecialchars($url) ?>"
                    loading="lazy"
                >
            <?php else: ?>
                <div class="placeholder">Preview unavailable</div>
            <?php endif; ?>
            <span class="directory-url"><?= htmlspecialchars(parse_url($url, PHP_URL_HOST)) ?></span>
        </a>
    <?php endforeach; ?>
</div>

</body>
</html>
Plug in your API key, drop the file into your project root, and open it in the browser. Here's what I got:
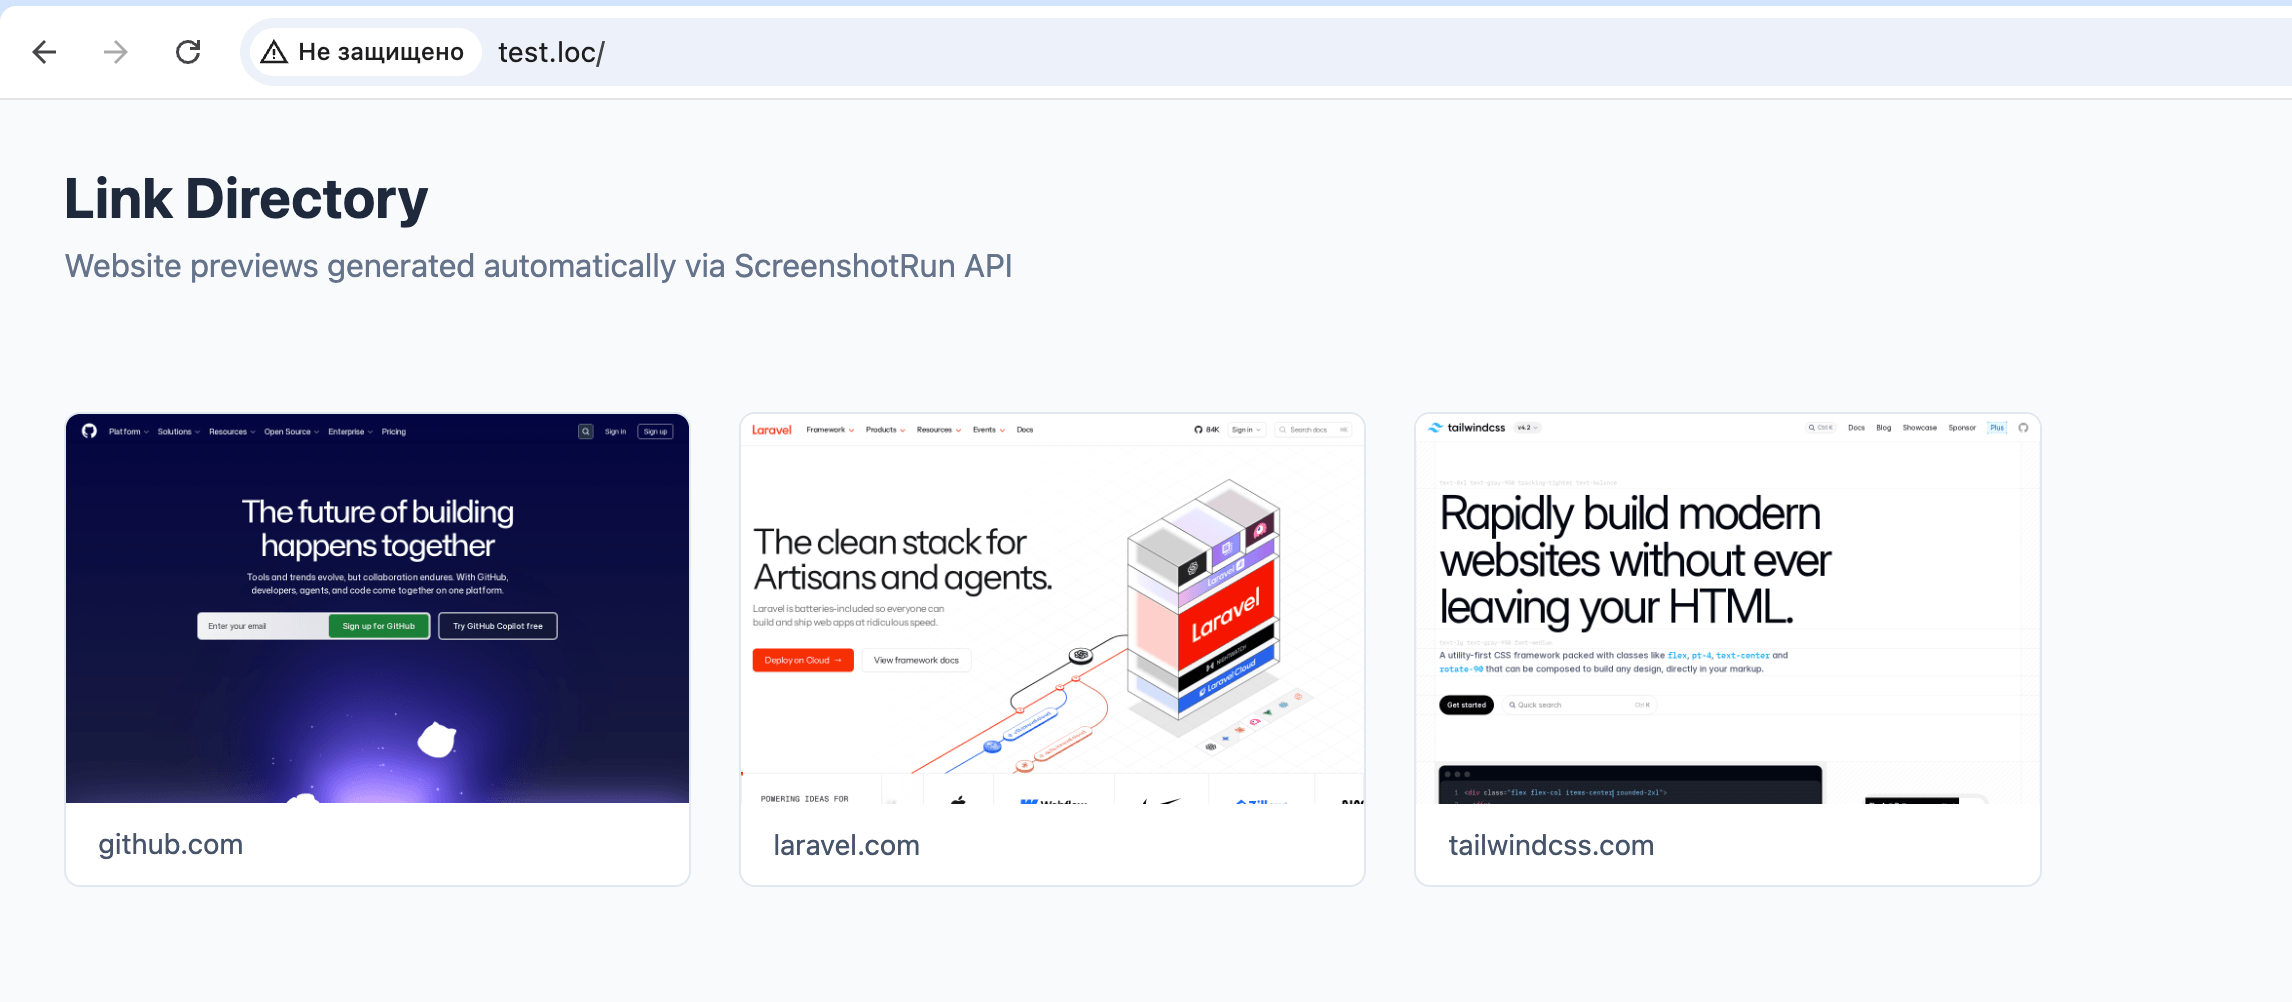
This is a test example so you can see how everything works together. In a real project you wouldn't store a list of links in an array right in the file. You'd integrate the getThumbnail function into your existing architecture: pull URLs from a database, trigger thumbnail generation through a queue or background job, store file paths in your model. The capture and caching logic stays the same, only where the data comes from and where the result goes will be different.
Node.js equivalent
If your directory runs on Node.js (Express, Next.js, or anything else), here's the equivalent code using fetch and the filesystem module:
import { writeFileSync, existsSync, mkdirSync } from 'fs';
import { createHash } from 'crypto';

const API_KEY = process.env.SCREENSHOT_API_KEY;
const CACHE_DIR = './thumbnails';

async function getThumbnail(url) {
  if (!existsSync(CACHE_DIR)) {
    mkdirSync(CACHE_DIR, { recursive: true });
  }

  const hash = createHash('md5').update(url).digest('hex');
  const filepath = `${CACHE_DIR}/${hash}.png`;

  if (existsSync(filepath)) {
    return filepath;
  }

  const params = new URLSearchParams({
    url,
    width: '1280',
    height: '800',
    format: 'png',
    response_type: 'image',
  });

  const response = await fetch(
    `https://api.screenshotrun.com/v1/screenshots/capture?${params}`,
    {
      headers: { Authorization: `Bearer ${API_KEY}` },
      signal: AbortSignal.timeout(60000),
    }
  );

  if (!response.ok) {
    console.error(`Failed: ${url} (HTTP ${response.status})`);
    return null;
  }

  const buffer = Buffer.from(await response.arrayBuffer());
  writeFileSync(filepath, buffer);
  return filepath;
}

// Capture thumbnails for a list of URLs
const links = [
  'https://github.com',
  'https://laravel.com',
  'https://tailwindcss.com',
  'https://stackoverflow.com',
];

for (const url of links) {
  const path = await getThumbnail(url);
  console.log(path ? `OK: ${url} -> ${path}` : `FAIL: ${url}`);
}
Save this as capture.mjs (the .mjs extension enables ES module imports) and run it with node capture.mjs. You need Node.js 18+ for the built-in fetch and AbortSignal.timeout.
Common problems and how to handle them
Once you get the basic version working, you'll run into a few edge cases. Here's how to deal with them:
Cookie banners blocking the page. A lot of European websites show a full-screen GDPR popup that covers the actual content. Most screenshot APIs expose a
hide_selectors-style parameter (ScreenshotRun has a dedicated cookie blocking feature) that removes specific CSS elements before capturing. For common cookie banners, passing something like.cookie-banner,.consent-popup,#onetrust-banner-sdkcovers the main frameworks. Many APIs also have aclick_selectoroption to click an "Accept" button before the capture. I wrote up the full layered approach I use — network-level blocking, CSS injection, and auto-click fallback — in a separate post on hiding cookie banners, ads, and chat widgets.Slow-loading pages. Some sites take a few seconds to render JavaScript content (SPAs, dashboards, pages with heavy animations). Add a
delayparameter (usually in milliseconds) to wait before capturing. By default the screenshot is taken right after the page fires its load event, which is too early for client-side rendered apps.Broken or parked domains. Not every URL in a user-submitted directory points to a real website. The API will return an error or a screenshot of an error page. Check the HTTP status code in your code and fall back to a placeholder image when the capture fails. A simple gray card with a "Preview unavailable" label works fine.
Thumbnail freshness. Website designs change over time. A thumbnail from six months ago might look nothing like the current site. Set up a simple cron job or scheduled task that deletes cached files older than 30 days (or 7 days for directories where freshness matters). The
getThumbnailfunction above will automatically re-capture them on the next page load.Rate limiting and large directories. If your directory has 500+ links and you need to capture all of them at once, don't fire 500 concurrent API requests. Process them in batches of 5-10 with a short delay between batches. A queue-based approach (Laravel Horizon, BullMQ, or even a simple
sleep(1)between batches) keeps things stable. The same pattern applies to batch OG image generation when you're backfilling previews for a whole blog archive.
When to refresh your thumbnails
There's no single right answer. It depends on how often the sites in your directory change and how much you care about accuracy.
For most directories, re-capturing thumbnails once a month is enough. Websites don't redesign their homepages every week. A monthly cron job that clears the cache folder and lets thumbnails regenerate on demand keeps things fresh without burning through your API quota.
If you run a directory where listings change frequently (job boards, real estate, e-commerce aggregators), weekly or even daily recapture might make sense. In that case, a background job that processes a batch of URLs each night is better than regenerating everything on page load.
Another option is to trigger a recapture when a user updates their listing. If someone submits a new URL or edits an existing one, delete the cached thumbnail for that URL. The next visitor to the directory page will trigger a fresh capture automatically.
That's the whole setup. Write getThumbnail, cache results to disk, handle the edge cases. About 20 minutes of work, and your directory stops looking like a text file from 2009. The code above works as-is against any of the screenshot APIs I mentioned earlier — just swap the endpoint and auth header to match whichever provider you pick. For a broader look at how website thumbnail APIs compare on features, pricing, and caching at scale, the website thumbnails use case page covers the full picture.
Frequently Asked Questions
Send each URL to a screenshot API (like ScreenshotRun) as an HTTP GET request with parameters for viewport size and image format. The API returns a PNG or JPEG image that you save locally. Cache the result using an MD5 hash of the URL as the filename, so subsequent page loads serve the cached image instead of calling the API again.
For most directories, once a month is enough — websites rarely redesign their homepages more frequently than that. Set up a cron job to clear the cache folder monthly and let thumbnails regenerate on demand. For fast-changing directories (job boards, real estate), weekly or daily recapture through a background job is more appropriate.
Most screenshot APIs have a built-in parameter to block cookie consent banners (e.g. block_cookie_banners=true). You can also pass CSS selectors to hide specific elements before capture. For self-hosted solutions, use Playwright's route interception to block consent script domains like onetrust.com or cookiebot.com at the network level.
A viewport of 1280x800 pixels produces a standard desktop screenshot that works well as a thumbnail. For smaller cards, you can capture at 640x400 to reduce file size and improve page load speed. The aspect ratio matters more than the exact dimensions — 16:10 or 4:3 ratios look natural in most grid layouts.
Yes, but process them in batches of 5-10 concurrent requests with a short delay between batches. Use a queue system (Laravel Horizon, BullMQ, or a simple cron job) to spread the work over time. Cache aggressively so you only call the API once per URL, and re-capture only when the cached file expires or a user updates their listing.
How to handle screenshot API responses in production
A 200 OK from a screenshot API doesn't mean you got a screenshot — the transport and render layers fail independently. Which status codes to retry and which not, backoff with jitter, respecting Retry-After, catching blank images that pass as a 200, and a circuit breaker. Node.js code throughout.
Read more →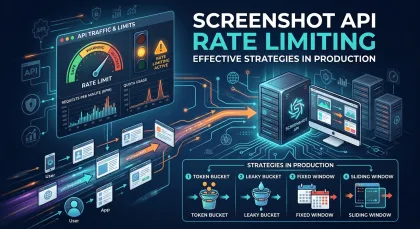
Screenshot API rate limiting strategies in production
Most rate limiting guides only cover retry strategies. That's only half the problem. Five concrete strategies — proactive (token bucket, queue) and reactive (Retry-After, exponential backoff, circuit breaker) — with Node.js code.
Read more →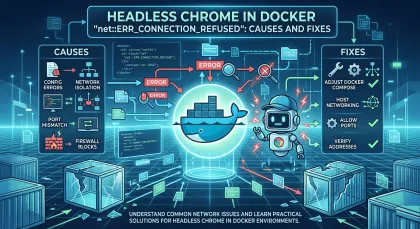
Headless Chrome "net::ERR_CONNECTION_REFUSED" in Docker: causes and fixes
ERR_CONNECTION_REFUSED in headless Chrome inside Docker isn't one error — it's five different network problems sharing the same message. Diagnose with one curl from inside the container, then fix per cause.
Read more →