
Getting Started
This guide walks you through your first screenshot in under 5 minutes. You will create an account, generate an API key, and capture a website screenshot with a single request.
1. Create an Account
Sign up for a free account at the registration page. No credit card required. The free plan includes 200 screenshots per month.
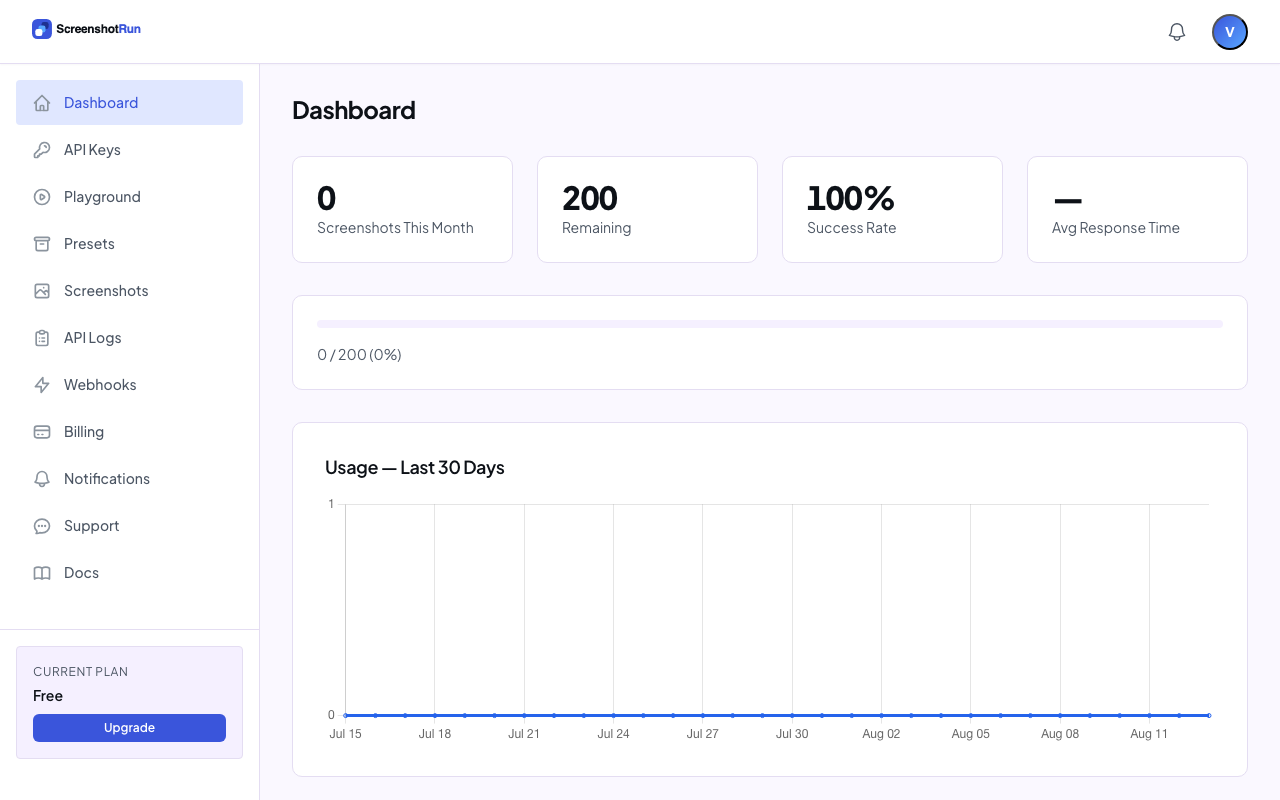
After signing in, you will see your dashboard with usage stats, quick start tips, and navigation to all features.
2. Generate an API Key
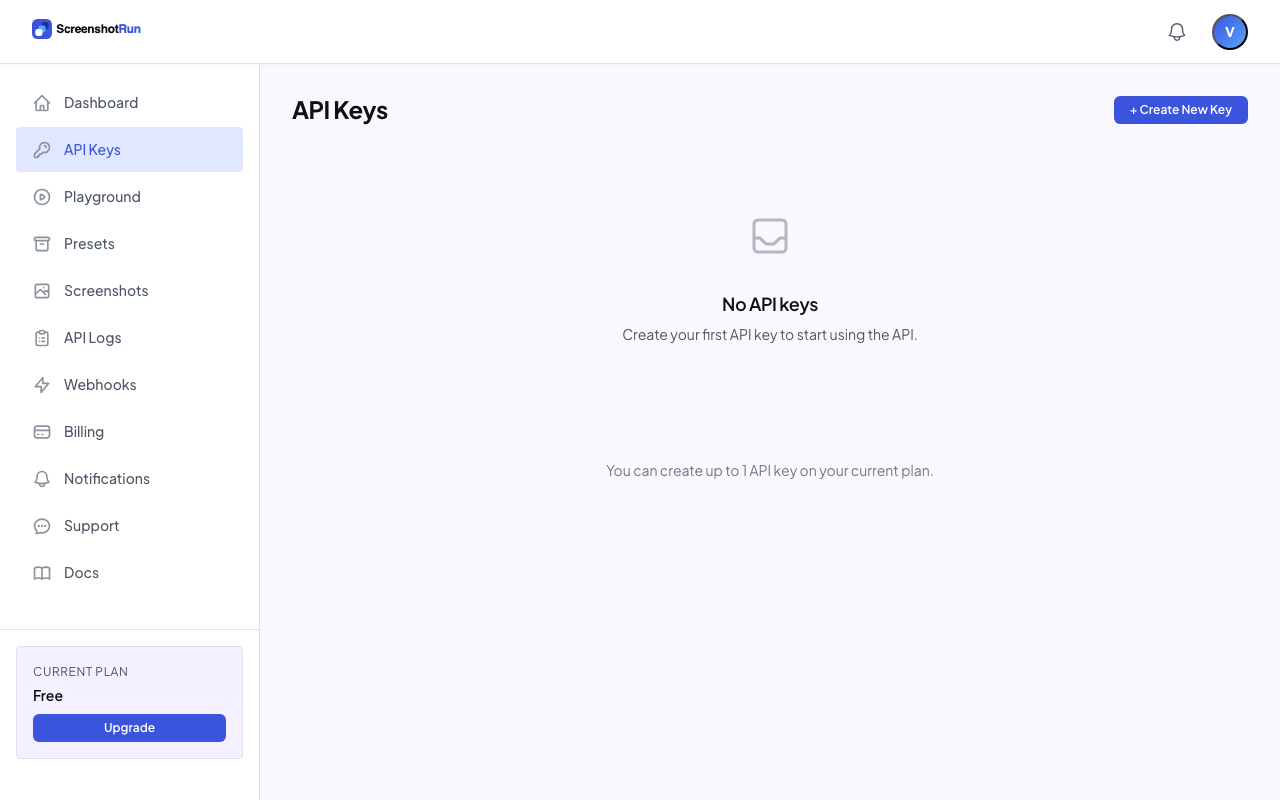
Go to API Keys in the sidebar and click + Create New Key. Give it a name like "My App" or "Development".
Copy the key immediately. For security, it will only be shown once. Your key looks like this:
sk_live_aBcDeFgHiJkLmNoPqRsTuVwXyZ0123456789abStore it in an environment variable or a secrets manager. Do not hardcode it in your source code.
3. Take Your First Screenshot
The fastest way to capture a screenshot is the GET /v1/screenshots/capture endpoint. It returns the image file directly, no polling or callbacks needed.
Open your terminal and paste this command, replacing YOUR_API_KEY with the key from Step 2:
curl -H "Authorization: Bearer YOUR_API_KEY" \
  "https://api.screenshotrun.com/v1/screenshots/capture?url=https://example.com" \
  -o screenshot.png
That is it. Open screenshot.png and you will see a screenshot of example.com. The entire flow from request to file is one HTTP call.
Same request in other languages
Python
import requests

response = requests.get(
    "https://api.screenshotrun.com/v1/screenshots/capture",
    headers={"Authorization": "Bearer YOUR_API_KEY"},
    params={"url": "https://example.com"}
)

with open("screenshot.png", "wb") as f:
    f.write(response.content)

print("Screenshot saved!")
JavaScript (Node.js)
import { writeFile } from "fs/promises";

const response = await fetch(
  "https://api.screenshotrun.com/v1/screenshots/capture?url=https://example.com",
  { headers: { "Authorization": "Bearer YOUR_API_KEY" } }
);

await writeFile("screenshot.png", Buffer.from(await response.arrayBuffer()));
console.log("Screenshot saved!");
PHP
$image = Http::withToken('YOUR_API_KEY')
    ->get('https://api.screenshotrun.com/v1/screenshots/capture', [
        'url' => 'https://example.com',
    ]);

Storage::put('screenshot.png', $image->body());
echo "Screenshot saved!";
4. Try the Playground (No Code Needed)
If you prefer a visual interface, open the API Playground in your dashboard. Enter a URL, adjust parameters like viewport size and image format, and click Render to preview the result instantly.
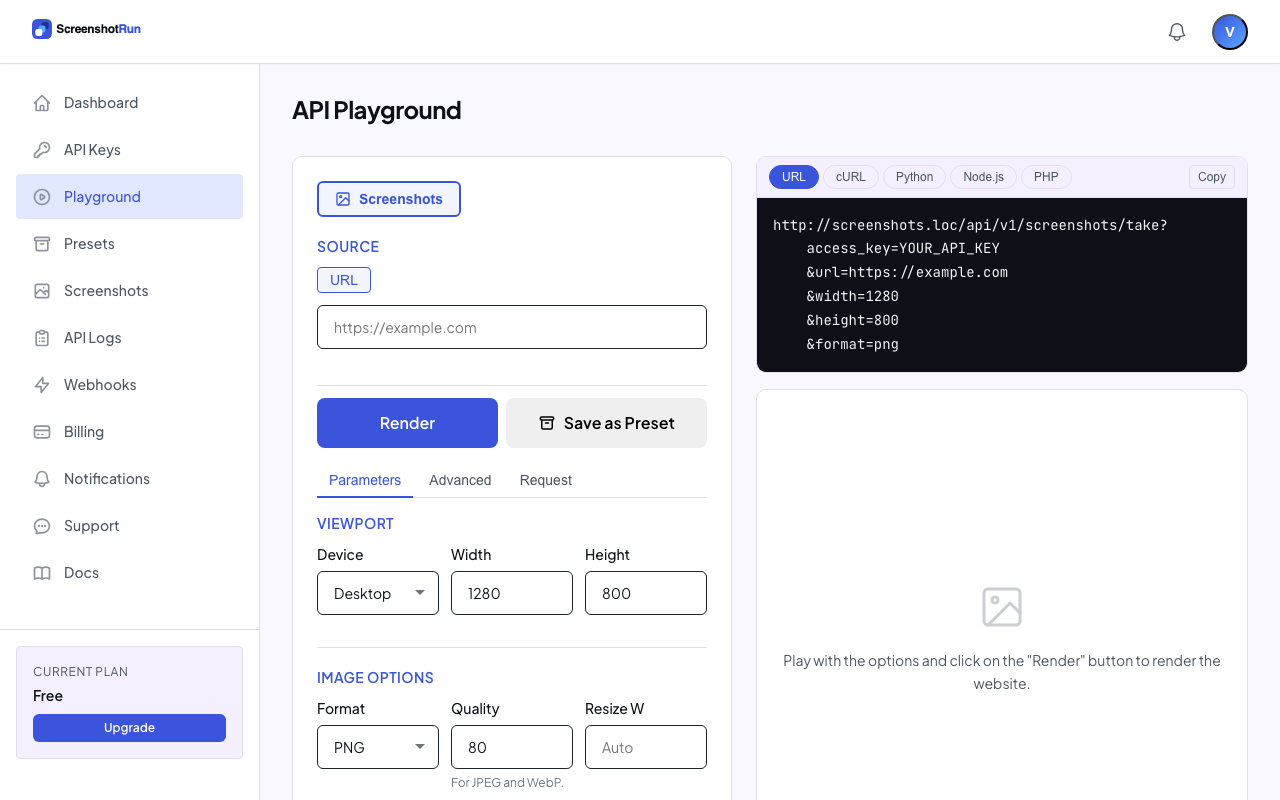
The Playground also generates ready-to-copy code snippets in cURL, Python, Node.js, and PHP for any configuration you build.
5. Add Options
Customize your screenshots with query parameters. Here are the most commonly used ones:
# Full-page screenshot in WebP format
curl -H "Authorization: Bearer YOUR_API_KEY" \
  "https://api.screenshotrun.com/v1/screenshots/capture?url=https://example.com&full_page=true&format=webp" \
  -o screenshot.webp

# Mobile viewport
curl -H "Authorization: Bearer YOUR_API_KEY" \
  "https://api.screenshotrun.com/v1/screenshots/capture?url=https://example.com&device=mobile" \
  -o mobile.png

# Custom size with dark mode
curl -H "Authorization: Bearer YOUR_API_KEY" \
  "https://api.screenshotrun.com/v1/screenshots/capture?url=https://example.com&width=1440&height=900&dark_mode=true" \
  -o dark.png
See the full parameter reference for all available options including PDF export, element selectors, custom CSS/JS injection, and more.
6. Async Mode (For Larger Workloads)
The GET /capture endpoint waits until the screenshot is ready and returns the file. This is the simplest approach, but it holds the connection open during rendering (typically 3-8 seconds).
For production workloads or batch processing, use the async flow instead:
- Create a screenshot with
POST /v1/screenshots. You get back a202 Acceptedresponse with a screenshot ID. - Wait for it to finish via webhooks (recommended) or by polling the status endpoint.
- Download the image from
GET /v1/screenshots/{id}/image.
# Step 1: Create screenshot (returns immediately)
curl -X POST https://api.screenshotrun.com/v1/screenshots \
  -H "Authorization: Bearer YOUR_API_KEY" \
  -H "Content-Type: application/json" \
  -d '{"url": "https://example.com"}'

# Step 2: Check status (use the ID from the response)
curl -H "Authorization: Bearer YOUR_API_KEY" \
  https://api.screenshotrun.com/v1/screenshots/SCREENSHOT_ID

# Step 3: Download when status is "completed"
curl -H "Authorization: Bearer YOUR_API_KEY" \
  https://api.screenshotrun.com/v1/screenshots/SCREENSHOT_ID/image \
  -o screenshot.png
The async response looks like this:
{
  "data": {
    "id": "550e8400-e29b-41d4-a716-446655440000",
    "status": "pending",
    "url": "https://example.com",
    "options": {
      "width": 1280,
      "height": 800,
      "format": "png",
      "full_page": false,
      "device": "desktop"
    },
    "estimated_time": 5,
    "created_at": "2026-03-09T10:30:00.000000Z",
    "links": {
      "self": "https://api.screenshotrun.com/v1/screenshots/550e8400-e29b-41d4-a716-446655440000"
    }
  }
}
Screenshot Statuses
| Status | Meaning |
|---|---|
pending | Queued for processing |
processing | Being captured right now |
completed | Ready to download |
failed | Something went wrong (check the error field) |
Base URL & Versioning
All API requests use the following base URL:
https://api.screenshotrun.com/v1/The API is versioned via the URL path (/v1/). When breaking changes are introduced, they will be released under a new version. Non-breaking additions (new fields, new optional parameters) may be added to v1 without a version bump.
CORS
The API supports Cross-Origin Resource Sharing (CORS) with Access-Control-Allow-Origin: *, so you can call it directly from browser-based JavaScript. If you do, your API key will be visible to users. Use domain restrictions on your key to prevent unauthorized usage.
Next Steps
- Authentication — API key security, domain restrictions, best practices
- Screenshots — Full parameter reference and all endpoints
- Webhooks — Real-time notifications instead of polling
- Account & Usage — Monitor your API usage and limits
- SDKs & Libraries — Production-ready client classes for popular languages
- Error Codes — Handle errors and rate limits